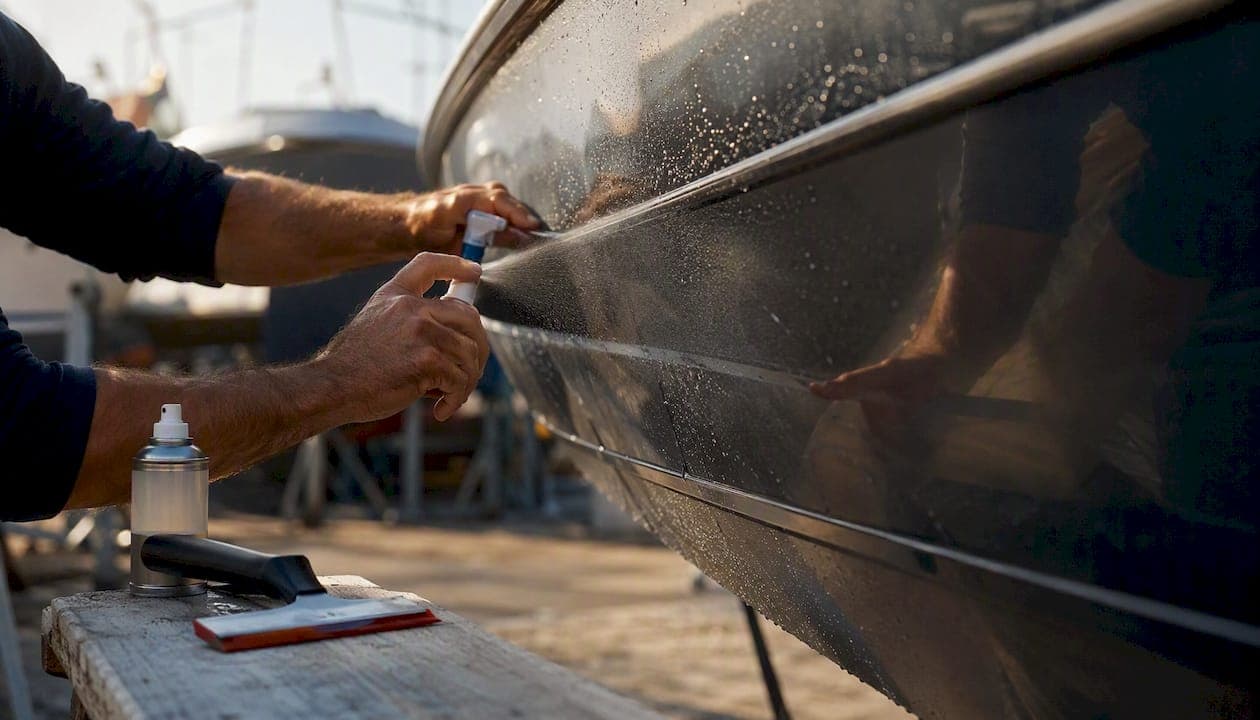
You can apply a clear coat over decals, but only when the decal material and the clear coat chemistry are proven compatible first. The decision rule is simple: if you cannot confirm compatibility through a test patch, skip the clear coat and use an overlaminate or graphic-safe UV protectant instead. Applying an incompatible solvent-based clear to a vinyl decal can melt, wrinkle, or bleed the graphic in seconds, and there is no undoing that.
Pro Tip: Before committing to any topcoat, apply it to a scrap piece of the same decal stock on the same substrate and let it cure fully. That sacrificial test patch is the only reliable way to know what will happen.
Key Takeaways
Applying a clear coat over decals is a conditional yes: compatibility testing is mandatory, and for most boat owners, marine-grade vinyl with proper maintenance outperforms any aftermarket topcoat.
| Point | Details |
|---|---|
| Test patch is mandatory | Run a sacrificial test on the same decal stock and clear coat before touching the real job. |
| Water-based clears are safest | Water-based acrylic and waterborne automotive clears carry the lowest risk of solvent attack on vinyl. |
| Clear coat makes removal hard | Once topcoated, replacing a decal typically requires sanding and refinishing the surrounding paint. |
| Avoid solvent waxes on vinyl | Petroleum-based waxes accelerate vinyl degradation; use graphic-safe waxes or UV protectants instead. |
| Registrationdecals marine-grade vinyl | UV-resistant and saltwater-proof from the factory, reducing the need for aftermarket topcoats on boat decals. |
Table of Contents
- When does clear coating over a decal actually make sense?
- Which decal types tolerate a topcoat, and which ones don't?
- Which clear coats are safe, and which ones will wreck your decal?
- Step-by-step: how to apply clear coat over decals with minimum risk
- Common problems and how to fix them
- Safer alternatives to clear-coating your decals
- Marine-specific guidance: protecting boat decals without creating edge traps
- Quick checklist: should you clear coat this decal right now?
- The case for starting with the right decal instead
- Marine-grade decals built for the conditions you're actually in
- Sources
When does clear coating over a decal actually make sense?
Clear-coating over decals earns its place in specific situations. It is not a universal upgrade.
Do it when:
- The decal faces heavy abrasion (truck beds, work vehicles, high-traffic boat hulls)
- The surface gets power-washed frequently and the decal edges need extra anchoring
- Thin, intricate lettering would catch a wash rag or squeegee without a topcoat holding it flat
- The decal is a permanent installation and removability is not a concern
Skip it when:
- You want the decal removable later. Once clear-coated, removing the decal means sanding and refinishing the surrounding paint.
- The decal is a printed laminated graphic not rated for solvent topcoats
- The application is purely cosmetic with no abrasion or weather exposure
- You cannot source the decal manufacturer's compatibility data
On timing: let a freshly applied decal outgas for at least 24–72 hours before topcoating. Some cast vinyl installers wait a full week in cold or humid conditions. Read the decal manufacturer's instructions first, because that window varies by material.
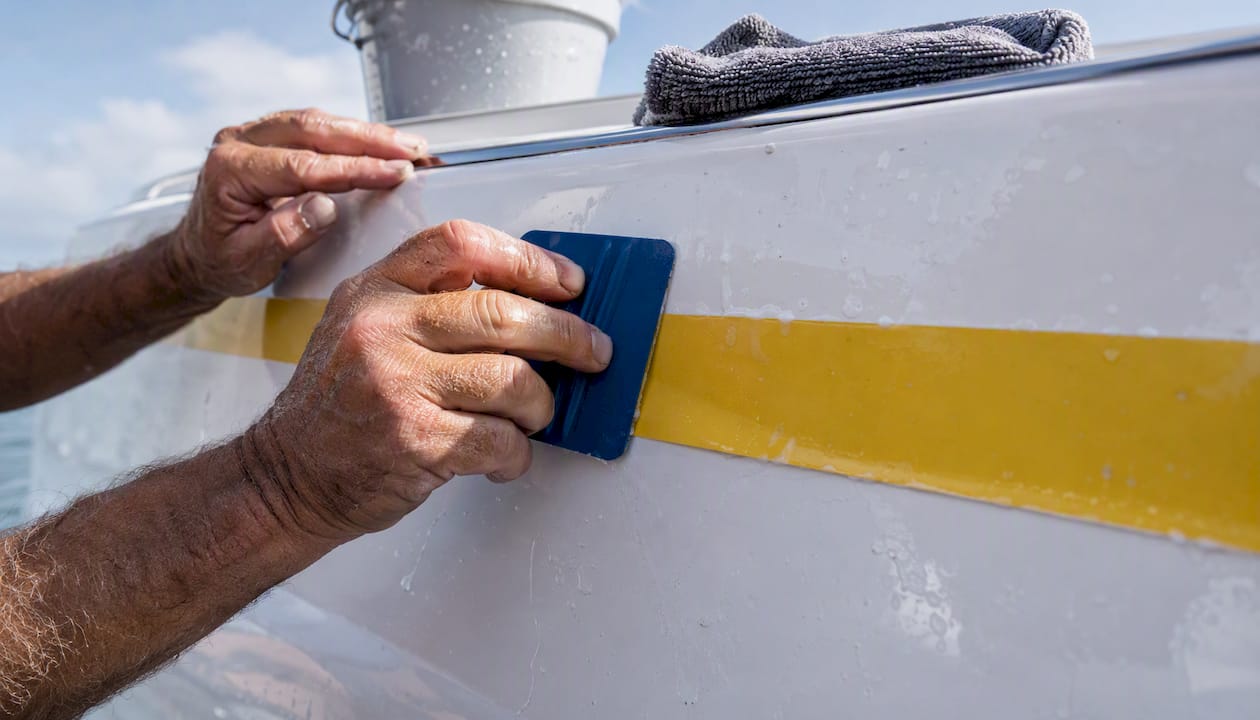
Pro Tip: If the decal has any lifting edges, burnish them flat with a squeegee before topcoating. A raised edge under a clear coat becomes a permanent moisture trap.
Which decal types tolerate a topcoat, and which ones don't?
The decal's construction determines whether a clear coat is even worth attempting. Four types come up most often:
Cast vinyl is the most dimensionally stable and solvent-resistant of the common vinyl types. It conforms to curves without memory, and when it carries a compatible laminate, it usually handles a waterborne clear coat without reacting. It is the best candidate for topcoating.
Calendared vinyl is stiffer and less solvent-tolerant. It tends to shrink under heat and solvent exposure, which means a clear coat can accelerate edge lifting rather than prevent it.
Printed laminated decals (inkjet or UV-printed graphics with a pressure-sensitive laminate on top) are a mixed case. The laminate protects the ink, but the laminate itself may not be rated for solvent-based clears. Check the laminate spec sheet, not just the vinyl spec.
Waterslide transfers are the most fragile. They have no pressure-sensitive adhesive and no vinyl carrier, so solvent exposure almost always causes bleeding or delamination. Avoid topcoating these entirely.
| Decal type | Laminate present | Typical solvent resistance | Removability after clear coat |
|---|---|---|---|
| Cast vinyl | Sometimes | Moderate to high | Difficult; requires sanding |
| Calendared vinyl | Rarely | Low to moderate | Very difficult; edge shrink risk |
| Printed laminated | Yes (laminate) | Depends on laminate spec | Difficult; laminate may delaminate |
| Waterslide transfer | No | Very low | Not recommended |
Which clear coats are safe, and which ones will wreck your decal?
The chemistry of the clear coat matters more than the brand name on the can.
Safer categories:
- Water-based acrylic clear coats: Low solvent content, slow penetration, least likely to attack vinyl inks or adhesives. These are the default recommendation for DIY topcoating over decals.
- Dedicated vinyl flow coats: Formulated specifically for graphics; check the product label for "vinyl compatible" or "graphic safe" language.
- Waterborne automotive clears: Used in professional body shops; lower VOC and solvent load than traditional catalyzed systems, though still require a test patch.
High-risk categories:
- Aggressive solvent-based lacquers: Fast-evaporating solvents (MEK, acetone-adjacent systems) penetrate vinyl quickly and can dissolve the ink layer or cause the decal to wrinkle within minutes.
- Rattle-can lacquer clears: Convenient but unpredictable. The solvent blend varies by brand and batch, and untested aerosol clears are the most common cause of instant decal failure in DIY applications.
- Two-part catalyzed urethane clears (without testing): Powerful chemistry that bonds aggressively. Safe only when the specific vinyl and laminate have been tested against that exact system.
The core risk is chemical incompatibility, not application technique. Even a perfectly sprayed coat of the wrong clear will destroy a decal. Professional finishers treat clear-coating as a system-level decision: the decal, the base coat, and the clear coat must all be proven compatible before a single drop goes on.
Always read both the clear coat label and the decal manufacturer's spec sheet. If either document does not address vinyl compatibility, treat that as a red flag and run a test patch.
Step-by-step: how to apply clear coat over decals with minimum risk
Follow this sequence. Skipping steps, especially the test patch, is where most DIY jobs go wrong.
- Run a sacrificial test patch first. Use the same decal stock, the same clear coat, and the same ambient temperature and humidity. Apply the clear to the test piece and let it cure fully before touching the real job. This is the mandatory first step, not optional.
- Clean the surface. Wipe the decal and surrounding paint with isopropyl alcohol (70% or higher). Remove all wax, grease, and dust. Let it dry completely, at least 15–20 minutes.
- Burnish all decal edges. Press every edge firmly with a hard squeegee or a fingernail wrapped in a cloth. Raised edges will lift further under spray pressure.
- Mask adjacent areas. Tape off paint areas you do not want overspray on. Clear coat that lands behind a decal edge and cures there creates a ridge that is nearly impossible to remove cleanly.
- Set up your spray equipment. An airbrush or HVLP spray gun gives you the most control. Rattle cans are acceptable only if the product is labeled vinyl-compatible and your test patch passed. Thin, soft flash coats reduce solvent exposure and mechanical displacement of decal edges.
- Apply the first coat. Hold the gun 8–12 inches from the surface. Use a light, even pass. This first coat should be almost a mist, not a wet coat. Let it flash off fully, typically 10–15 minutes at 70°F, before adding the next.
- Apply two to three additional coats. Build coverage gradually. Each coat should flash before the next goes on. Rushing this step traps solvents under the film and causes cloudiness or wrinkling.
- Sand between coats only if appropriate. For waterborne clears over cast vinyl, a light 800-grit pass between coats can improve adhesion. Do not sand over printed laminates; the laminate surface scratches permanently.
- Allow full cure before stress. A clear coat may feel dry to the touch in a few hours but needs 24–72 hours of full cure before power-washing or heavy handling. Wait at least a week before applying paint protection film on top.
Pro Tip: Run your test patch at the same temperature and humidity you expect during the real application.
Common problems and how to fix them
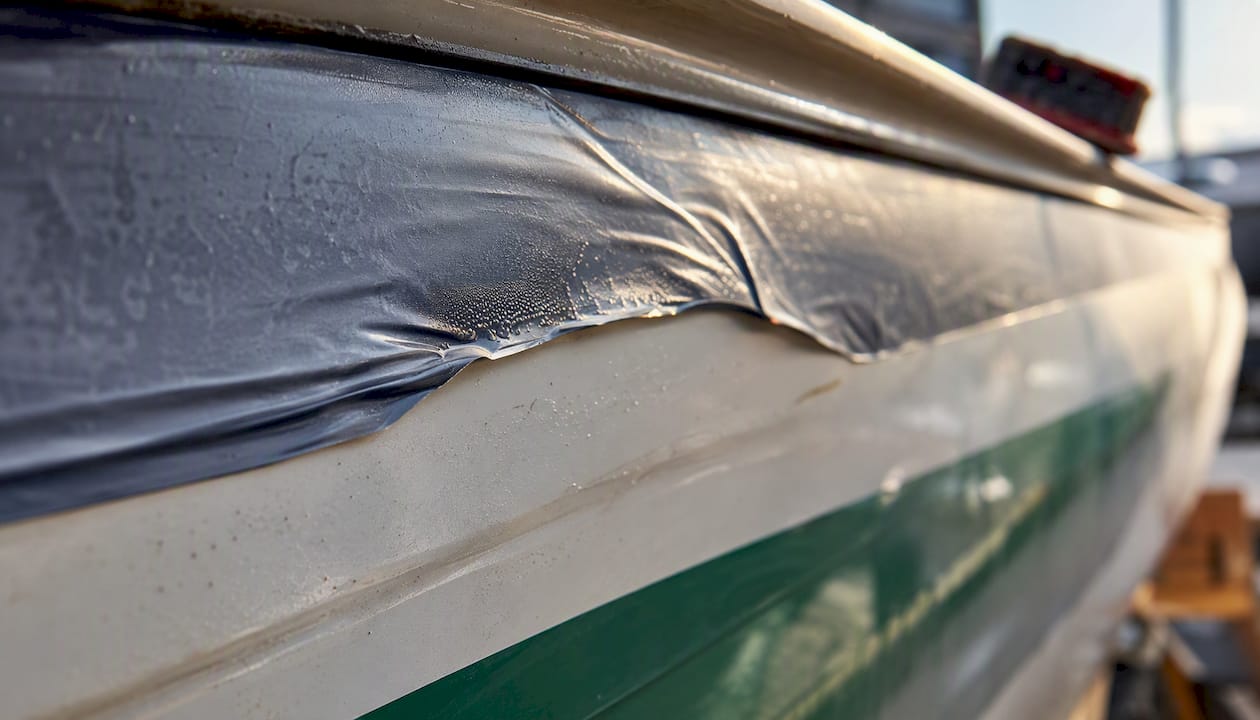
Wrinkling or bubbling: Caused by solvent penetrating the vinyl faster than it can escape. If caught within minutes, stop spraying immediately. Light wrinkling sometimes relaxes as the solvent flashes off, but severe wrinkling means the decal is chemically incompatible with that clear. The decal will need to be replaced.
Color bleed: Ink from the decal migrates into the clear coat, producing a halo or smear around the graphic. This is a chemical reaction, not a technique error. Once it starts, it cannot be reversed. Sand the area, remove the decal, and start over with a compatible system.
Edge lifting: Edges that were not fully burnished before topcoating will lift further as the clear coat shrinks during cure. Catch it early by pressing the edge back down while the clear is still soft. If the clear has cured, the edge is locked in place and moisture will eventually work underneath it.
Cloudy or hazy finish: Often caused by trapped moisture or solvents. Light surface cloudiness on a waterborne clear sometimes polishes out with a fine compound after full cure. Deep haze that extends into the clear coat layer requires sanding back and recoating.
Delamination: The clear coat separates from the decal surface in sheets. This usually means the decal's laminate or vinyl surface was not compatible with the clear's adhesion promoters. Once clear-coated, replacing the decal requires sanding and refinishing, so delamination is an expensive outcome.
When the underlying paint is at risk, stop DIY attempts and take the panel to a body shop. A professional detailer can assess whether the clear can be wet-sanded back without cutting through to the base coat.
Safer alternatives to clear-coating your decals
For most applications, especially marine ones, these options carry less risk than a topcoat.
- Pressure-sensitive overlaminates: A thin film applied directly over the decal before installation. Many installers prefer overlaminates because they protect the graphic without bonding it permanently to the paint. The decal stays removable, and the laminate takes the UV and abrasion load.
- Graphic-safe waxes and UV protectants: Products like Graphix Wax are formulated specifically for vinyl graphics. They clean and protect without the petroleum-based solvents found in standard car waxes. Standard petroleum-based waxes accelerate vinyl degradation, so this distinction matters. Apply graphic-safe wax every few months as a maintenance step.
- Paint protection film (PPF): A thick, optically clear urethane film applied over the decal and surrounding paint. PPF handles high-abrasion environments better than a spray clear coat and is removable without damaging the decal underneath. The cost is higher, but so is the protection level.
- Careful maintenance: For decals in moderate exposure environments, regular washing with mild soap, avoiding pressure-wash nozzles aimed directly at edges, and periodic UV protectant application often extends life without any topcoat at all.
For boat owners specifically, explore domed registration number alternatives that are engineered for marine exposure from the start, which sidesteps the topcoat question entirely.
Marine-specific guidance: protecting boat decals without creating edge traps
Marine-grade vinyl registration decals are manufactured to resist UV radiation and saltwater exposure. For most boat owners, the decal's built-in durability combined with proper installation and routine maintenance is the primary defense against premature failure, not additional topcoats.
The moisture trap problem is real and underappreciated. When you seal a decal edge with a clear coat or heavy sealant, any water that finds a micro-gap in that seal has nowhere to escape. It sits under the film, softens the adhesive, and accelerates the exact peeling you were trying to prevent. Incremental maintenance, cleaning and UV protection applied regularly, beats a single heavy sealing attempt in most marine scenarios.
Marine protocol: Use graphic-safe waxes or dedicated UV protectants on vinyl decals. Avoid solvent-based waxes entirely. If a clear flow-coat system is genuinely required (a professional refinishing job, for example), treat it as a full refinishing workflow with tested, catalyzed chemistry and professional-level prep. That is not a rattle-can job.
Edge burnishing during installation is the single most effective low-risk step for marine decal longevity. Press every edge firmly at installation, and you reduce moisture ingress without creating a sealed trap. For boat owners who need state-compliant registration decals that hold up in saltwater conditions, starting with the right material matters more than any aftermarket topcoat.
For marine environments with high vibration or spray exposure, marine-grade protective accessories like the ATV UTV Tek Clearview UTV Sun Visor designed for harsh outdoor conditions can complement good decal care.
Quick checklist: should you clear coat this decal right now?
Run through these before picking up a spray can.
- Exposure level: Is this decal in a high-abrasion or frequent power-wash environment? If no, a topcoat is probably unnecessary.
- Decal type confirmed: Is it cast vinyl with a compatible laminate? If it is calendared vinyl, printed laminated, or a waterslide transfer, reconsider.
- Removability: Do you need this decal to come off cleanly later? If yes, do not clear coat it.
- Manufacturer compatibility: Have you checked both the decal spec sheet and the clear coat label for vinyl compatibility? If either is silent on this, stop.
- Test patch completed: Have you run a sacrificial test on the same stock with the same clear at the same ambient conditions and confirmed no wrinkling, bleeding, or lifting after full cure? If no, do not proceed.
Go if all five boxes are checked. Don't go if any box is unchecked. Consult a pro if the underlying paint is expensive or the decal is on a vehicle panel where a mistake means a body shop visit.
The case for starting with the right decal instead
Most of the risk in topcoating comes from trying to compensate for a decal that was not built for the environment it is in. A cast vinyl decal on a boat hull that faces UV, saltwater, and weekly washdowns is already fighting an uphill battle if the material is not marine-grade. Adding a clear coat on top of a marginal decal does not fix the underlying material problem.
The smarter move, especially for boat owners, is to start with a decal engineered for that exposure. Proper installation, edge burnishing, and graphic-safe maintenance will carry a quality marine-grade decal through years of hard use without a topcoat. The test patch is still mandatory if you choose to topcoat, but the better question to ask first is whether the decal itself is up to the job.
Marine-grade decals built for the conditions you're actually in
Registrationdecals makes custom boat registration decals from marine-grade vinyl that is UV-resistant and saltwater-proof from the factory. No topcoat required to handle sun, spray, or regular washdowns. The online design tool lets you set your registration numbers, pick your colors and fonts, and place an order in minutes. Production runs 3–5 business days, and shipping is free across the contiguous United States. For marinas and dealerships, bulk ordering is available with the same material specs. If you want a decal that holds up without the compatibility guesswork, Registrationdecals.
Sources
The following sources informed the compatibility guidance, marine cautions, and application steps in this article. Check manufacturer labels for both your decal and your chosen clear coat before proceeding, and always run the sacrificial test patch.
- Waxing Boat Graphics - What Every Owner Needs to Know
- Can vinyl decals go between the base coat and clear coat?
- How to Clear Coat Over Vinyl Decals - Coastal Signs Plus
- Can I Clear Coating Car Decals? - Will It Ruin My Decals?