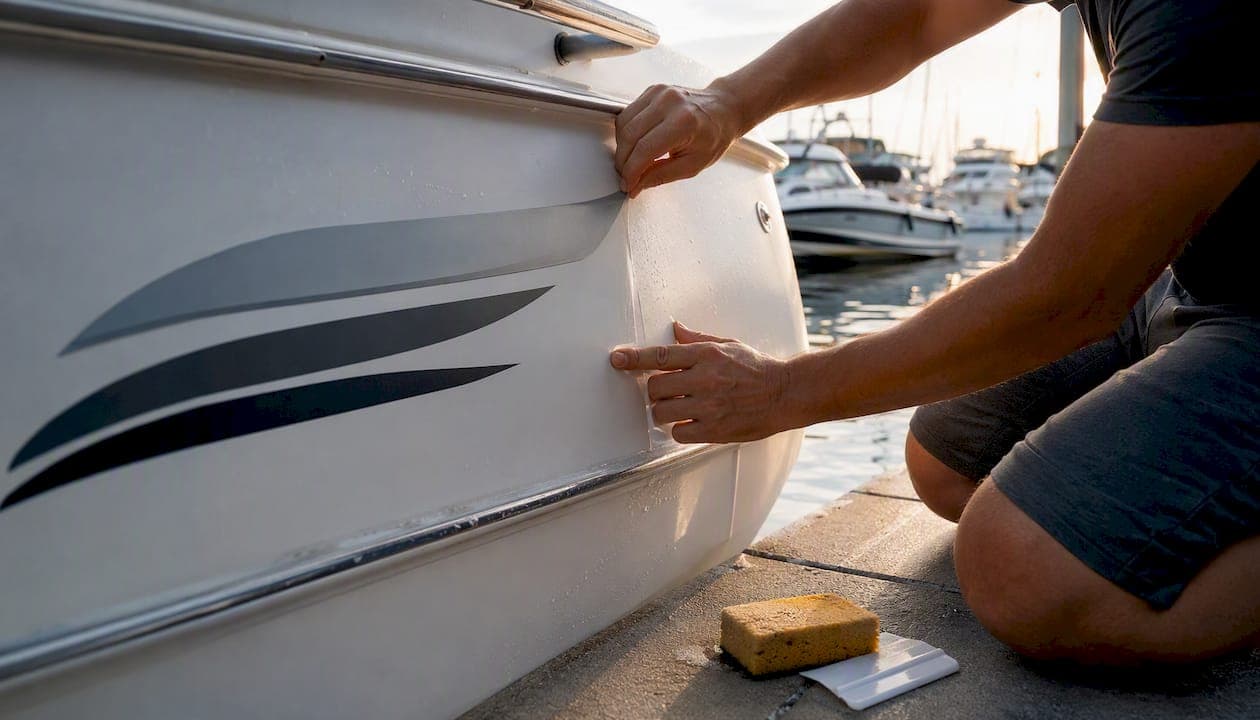
To prevent boat decal fading, apply a marine-grade overlaminate at installation, rinse decals with fresh water after every saltwater outing, use a vinyl UV protectant every 30–60 days, and keep the boat covered or shaded when it sits idle. Those four habits alone account for most of the difference between decals that last two years and ones that last seven.
Start this weekend:
- Rinse all decals thoroughly with fresh water (salt crystals are abrasive and corrosive)
- Wash with a pH-neutral boat soap and dry with a microfiber cloth
- Inspect every decal edge for lifting or bubbling
- Apply a marine vinyl UV protectant if you haven't in the past month
- Cover the boat or move it to shade if it will sit unused for more than a few days
The sections below explain why each step matters, which materials to specify when ordering replacements, and how to safely remove old decals without gouging your gelcoat.
Key Takeaways
Marine-grade cast vinyl with a factory overlaminate, combined with a consistent rinse-and-protectant routine, is the most effective way to prevent boat decal fading and extend graphic life significantly.
| Point | Details |
|---|---|
| Rinse after every saltwater use | Salt crystals left to dry on vinyl cause abrasion and edge oxidation that shortens decal life. |
| Apply UV protectant every 30–60 days | Marine vinyl protectants (such as 303) slow pigment oxidation and reduce surface dulling between washes. |
| Specify cast vinyl and overlaminate | Cast marine-grade vinyl with a Series 3220-style overlaminate resists UV and abrasion far better than calendared vinyl alone. |
| Replace when color or adhesion fails | Once pigment has oxidized or adhesive has released in patches, restoration cannot recover the decal. |
| Registrationdecals.com | Offers marine-grade, overlaminated registration decals with 3–5 day production and free contiguous US shipping. |
Table of Contents
- Why do boat decals fade? UV, salt, abrasion, and installation failures
- Which vinyls, adhesives, and finishes actually resist fading?
- How to protect existing decals: cleaning, protectants, and storage
- Overlaminate film vs. spray clear coats and polymer sealants
- Can faded decals be restored, or do they need replacement?
- Safe removal of old decals: step-by-step with tools and cautions
- How to apply new decals for maximum longevity
- When should you replace decals, and what specs should you demand?
- What experienced installers actually do differently
- Registrationdecals.com makes it easy to order marine-grade decals
- Sources
Why do boat decals fade? UV, salt, abrasion, and installation failures
UV radiation is the primary driver of decal fading, but it rarely works alone. Salt, abrasion, chemical exposure, and poor installation each accelerate the damage, often in combination.
- UV radiation breaks down vinyl pigments at the molecular level and weakens the adhesive beneath the film. Prolonged sun exposure causes colors to oxidize and shift, starting with the most saturated hues (reds and blues fade fastest).
- Salt exposure leaves microscopic crystals on the surface after water evaporates. Those crystals scratch the film during washing and promote oxidation at the edges, which is why rinsing after every saltwater use matters so much.
- Abrasion from dock lines, fenders, and even careless washing with stiff brushes creates micro-scratches that scatter light and make graphics look dull long before the pigment itself fails.
- Chemical attack is often self-inflicted. Household cleaners, bilge spray, fuel drips, and sunscreen residue all degrade vinyl. Arlon's marine application guidance specifically warns against acetone, MEK, and lacquer thinner, which can soften vinyl and dissolve adhesives.
- Adhesive and installation failures are the sneaky ones. A decal applied to a waxed, wet, or contaminated surface never bonds fully. Water works under the film, the adhesive releases in patches, and the decal begins peeling from the edges inward, often within the first season.
Watch out for common household products near your decals. Bleach-based hull cleaners, acetone nail polish remover, and silicone sprays can all degrade vinyl adhesive and accelerate peeling. If a product isn't labeled safe for marine vinyl, keep it away from your graphics.
Which vinyls, adhesives, and finishes actually resist fading?
The strongest combination is cast marine-grade vinyl printed with UV-stable inks, covered by a factory overlaminate film, and bonded with a marine-rated pressure-sensitive adhesive. Specify all four, or you are accepting a shorter lifespan by default.
Cast vs. calendared vinyl
Cast vinyl is manufactured by spreading a liquid vinyl compound onto a casting sheet and letting it cure. The result is a thinner, more dimensionally stable film that conforms to curved hull surfaces and resists shrinking under UV exposure. Calendared vinyl is rolled through heated drums, which leaves internal stress in the film. That stress relaxes over time in marine heat, causing edges to lift and the film to shrink away from cuts. For anything above the waterline on a boat, cast vinyl is the correct choice. You can read more about how long marine vinyl decals last and what manufacturing choices drive that lifespan.
The role of an overlaminate
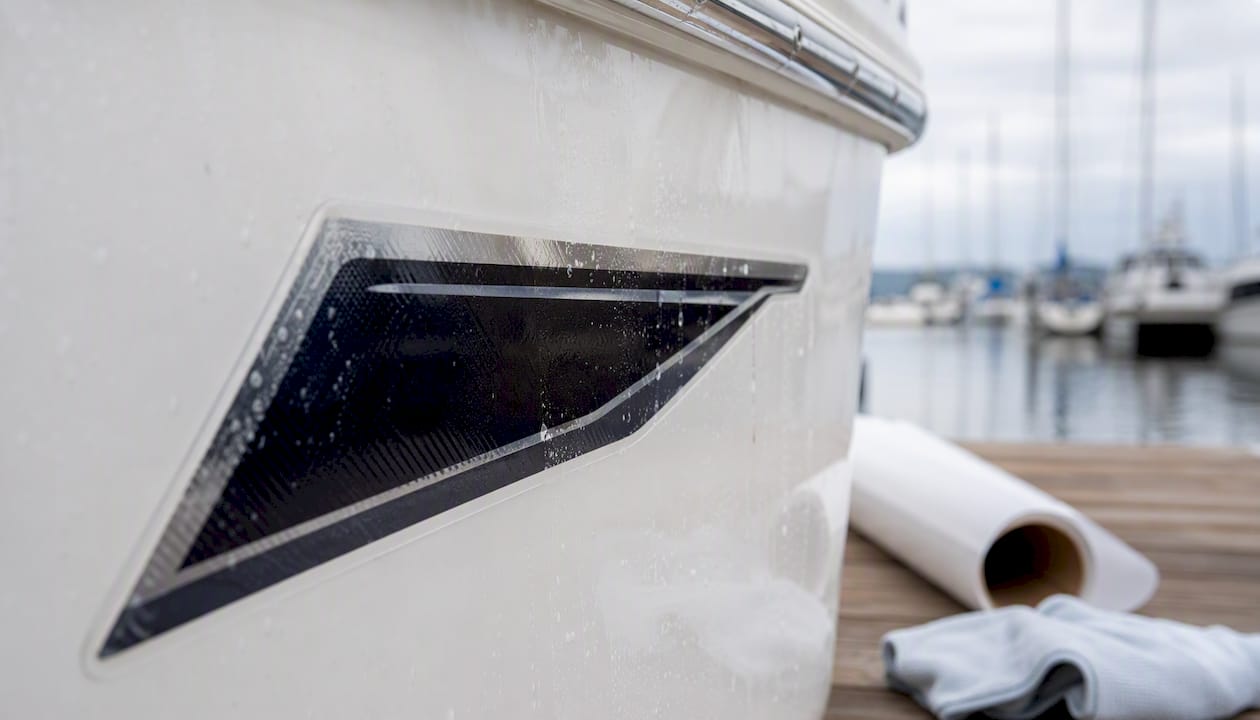
An overlaminate is a clear protective film laminated over the printed graphic before installation. Arlon's marine guidance recommends a Series 3220-style overlaminate, which reduces abrasion damage and blocks a significant portion of UV from reaching the printed ink layer beneath. Without it, every wash cycle and every hour of sun directly attacks the ink. With it, the overlaminate takes the punishment instead, and it can be replaced without replacing the graphic.
What to demand in adhesives and edge finishing
Ask for a UV-stable, marine-rated pressure-sensitive adhesive. At the waterline and chafe points, request an edge seal to close any raw vinyl edges. Exposed edges are where water intrusion starts, and once water gets under the film, peeling follows quickly.
- Cast marine-grade vinyl (not calendared)
- UV-stable, fade-resistant inks
- Factory overlaminate (Series 3220-style or equivalent)
- Marine-rated, UV-stable adhesive
- Edge seal at waterline and high-chafe areas
Pro Tip: Ask the supplier for a product datasheet or warranty card before ordering. A legitimate marine-grade decal supplier can name the vinyl series, ink system, and overlaminate spec. If they can't, the product probably isn't what they're calling it.
How to protect existing decals: cleaning, protectants, and storage
The maintenance schedule that actually keeps decals looking sharp is simpler than most owners think. The problem isn't that people don't know to clean their boat. It's that they use the wrong products or skip the rinse after a saltwater day because they're tired.
Rinsing with fresh water after every saltwater outing, washing with pH-neutral boat soap, drying with microfiber, and applying a vinyl UV protectant regularly significantly reduces both fading and edge failure. That cadence is the baseline.
Maintenance schedule:
- After every use in salt water: Rinse all decals with fresh water. Don't let salt dry on the surface.
- Weekly (or after every few outings): Wash with a pH-neutral boat soap using a soft sponge or microfiber cloth. Rinse completely and dry.
- Monthly (or every 30–60 days): Apply a marine vinyl UV protectant such as 303 Aerospace Protectant or a Star brite equivalent. These products contain UV inhibitors that slow pigment oxidation.
- Seasonally: Inspect all edges for lifting. Press down any minor edge lift with a plastic roller and a drop of vinyl-compatible adhesive. Check for bubbles and address them before water gets in.
Products to use vs. avoid:
- Use: pH-neutral boat soap, marine vinyl protectants (303, Star brite Marine Vinyl Cleaner), soft sponges, microfiber towels
- Avoid: acetone, MEK, bleach, lacquer thinner, silicone sprays, abrasive pads, stiff brushes
One distinction worth making: wax and polish belong on the surrounding gelcoat, not on vinyl graphics. Wax can leave a residue that interferes with protectant adhesion and makes the surface look milky. Use a vinyl-specific protectant on the decal itself and keep the wax on the hull.
Overlaminate film vs. spray clear coats and polymer sealants
Overlaminate film is the preferred protection method. Select polymer sealants are a reasonable secondary option for decals already installed without a laminate. Spray clear coats carry real risks and should be approached with caution.
| Protection method | UV blocking | Abrasion resistance | Reapplication | Risk to vinyl | Best use case |
|---|---|---|---|---|---|
| Factory overlaminate film | High | High | Not needed (replace film) | Very low | New installs, marine graphics |
| Marine polymer sealant | Moderate | Low–moderate | Every 30–60 days | Low if solvent-free | Existing decals without overlaminate |
| Spray clear coat | Moderate | Moderate | Annually or as needed | Moderate–high | Non-marine or controlled environments |
The overlaminate wins because it physically separates the printed ink from the environment. Arlon's Series 3220-style overlaminate reduces both abrasion and oxidation risk, and it allows cleaning with a soft sponge without worrying about scratching the ink directly. Pressure washing is acceptable at or below 1,300 PSI at a minimum 60° angle to the surface.
Polymer sealants applied by spray or wipe-on are useful for decals that were installed without a factory laminate. They add a UV-filtering layer and some surface protection. The catch is that they need reapplication every 30–60 days and provide no meaningful abrasion resistance.
Before applying any spray clear coat or sealant to a vinyl decal, test it on a small, inconspicuous corner and wait 24 hours. Some clear coat formulations contain solvents that soften vinyl adhesive, causing bubbles or edge lifting. If the test area shows any change in texture or adhesion, don't use that product on the rest of the decal.
Professional application of overlaminate film is worth the cost on large or complex graphics. DIY polymer sealant application is straightforward and appropriate for maintenance between professional services.
Can faded decals be restored, or do they need replacement?
Surface dulling and light UV haze can often be improved. True color loss cannot be reversed. That's the line.
Once vinyl pigments have oxidized, the color itself is gone at the molecular level. Sealants and polyurethane overcoats can reduce the visible effects of light surface fading, but they cannot chemically restore pigment. If you're looking at a decal that has shifted from red to pink or from navy to pale gray, no product will bring it back. Replacement is the only real fix.
Decision checklist:
- Restore if: the surface looks dull or hazy but the original color is still recognizable; edges are intact; the decal is still adhered fully
- Replace if: color has shifted noticeably (more than a shade or two); the vinyl is brittle or cracking; edges are lifting significantly; the adhesive has failed in patches; registration numbers are no longer clearly legible
Light restoration steps (for surface dulling only):
- Clean the decal thoroughly with pH-neutral soap and rinse completely.
- Apply a vinyl-safe protectant and let it dwell for the time the product specifies.
- If an overlaminate is present, a gentle plastic-safe polish can improve clarity.
- Do not use abrasive compounds directly on raw printed vinyl ink. The ink layer is thin and abrasion removes it.
- Apply a UV protectant after cleaning to slow further oxidation.
When replacement is the right call, plan for surface prep time in addition to the decal cost. Old adhesive residue needs to come off completely before new graphics go on, and any ghosting (lighter gelcoat under the old decal from uneven UV exposure) may need compounding or polishing. Power & Motoryacht notes that wet-sanding is a last resort for severe ghosting because it removes gelcoat.
Safe removal of old decals: step-by-step with tools and cautions
The safest removal sequence is: wash the surface, apply heat, lift with a plastic tool, switch to an eraser wheel if the vinyl is brittle, apply adhesive remover, then polish and protect. Skipping steps or reaching for a metal razor is how gelcoat gets damaged.
Step-by-step removal:
- Wash the area with pH-neutral soap to remove salt, wax, and surface grime. De-waxing first allows any adhesive remover applied later to penetrate efficiently.
- Apply heat with a heat gun on its lowest setting, held 6–12 inches from the surface. Keep the gun moving constantly. The goal is to warm the adhesive, not cook the gelcoat.
- Lift at a low angle. BetterBoat's damage-free removal guide recommends peeling at approximately a 5° angle with a plastic scraper or your fingernail. This is the cleanest starting method for decals that are still flexible.
- Switch to an eraser wheel if the vinyl is brittle and tearing rather than peeling. Custom Boat Repairs documents that a drill-mounted rubber eraser wheel is highly effective on old, cracked graphics. Keep the wheel moving to avoid heat buildup. Wear eye protection because the wheel throws residue.
- Apply marine-safe adhesive remover to the remaining adhesive. Let it dwell for the time specified on the label, then wipe with a microfiber cloth. Products like Vinyl-Off are formulated to penetrate old adhesive without attacking gelcoat.
- Polish and protect. West Marine's removal guide recommends finishing with a marine polish and then a UV protectant or wax on the bare gelcoat.
Tool list:
- Heat gun (low setting, variable temperature preferred)
- Plastic scraper or plastic razor blade
- Variable-speed drill with rubber eraser wheel attachment
- Marine-safe adhesive remover
- Microfiber towels
- Safety glasses and gloves
Safety reminders:
- Test any solvent on a small hidden area first
- Never use metal razor blades on gelcoat
- Work in a ventilated area when using adhesive removers
- Avoid overheating: if the gelcoat feels hot to the touch, move the heat gun away
Pro Tip: After removing the adhesive, check for ghosting before ordering new decals. If the area under the old decal is noticeably lighter than the surrounding hull, a light compound and polish pass may even out the tone before the new graphic goes on. It's much easier to address this now than after new decals are installed.
How to apply new decals for maximum longevity
The single most important factor in decal longevity is surface preparation. A perfectly made decal applied to a waxed or contaminated surface will fail in months. The same decal applied correctly to a clean, dry surface can last years beyond its rated lifespan.
Prep and application steps:
- Remove all old wax from the application area using a wax remover or light compound.
- Wipe the surface with a 1:1 isopropyl alcohol and water solution. Arlon's installation guidance specifies this final IPA wipe as the last step before application.
- Allow the surface to dry completely. Any moisture under the film traps water and compromises adhesion.
- Apply in temperatures between 60°F and 90°F. Below 60°F, adhesives don't bond properly. Above 90°F, the film can stretch during application.
- Use dry application (not wet). Wet application risks adhesive re-wetting and premature failure, particularly in marine environments.
- Smooth from the center outward with a squeegee or application card to eliminate bubbles.
- Seal edges at chafe points with a vinyl-compatible edge sealer.
- Allow a 48-hour cure period before the boat goes back in the water.
Installation checklist:
- Surface de-waxed and IPA-wiped
- Surface completely dry before application
- Temperature between 60°F and 90°F
- Dry application method (no water)
- Edges sealed at waterline and high-wear areas
- 48-hour adhesive cure before water exposure
- Decals stored flat and at room temperature before use
For state-compliant placement of registration numbers, check where registration numbers go on a boat before applying new decals. Getting placement wrong means removing and reapplying, which stresses both the decal and the gelcoat.
When should you replace decals, and what specs should you demand?
Replace when you see brittle cracking, color loss that affects legibility, adhesive failure in multiple spots, or significant edge lifting that can't be pressed back down. Those are not cosmetic issues. A registration decal that's cracking or illegible may also put you out of compliance with your state's boating regulations.
Hard replacement signals:
- Vinyl is cracking or brittle (not just dull)
- Color has shifted enough that numbers or graphics are hard to read
- Adhesive has released in patches, leaving bubbles or lifted sections
- Edge lifting extends more than a quarter inch from any edge
- The decal has been on the boat for more than its rated lifespan
Buying spec checklist for replacement decals:
- Cast marine-grade vinyl (not calendared)
- UV-stable, fade-resistant inks
- Factory overlaminate (Series 3220-style or equivalent)
- Marine-rated, UV-stable pressure-sensitive adhesive
- Stated warranty or expected lifespan from the supplier
- Edge-seal option available
- Dry application recommended by the manufacturer
Pro Tip: Order one duplicate set when you replace your decals and store the spares flat in a cool, dry location. Label the bag with the date and the boat's registration number. If a decal gets damaged mid-season, you have an exact match ready to go without waiting for a new production run.
What experienced installers actually do differently
The owners who get the most life from their decals share a few habits that most people skip. They rinse every time, without exception. They never reach for a household cleaner when a marine vinyl protectant is what the job calls for. And they don't try to wet-install decals because it's faster or because the temperature is outside the recommended range.
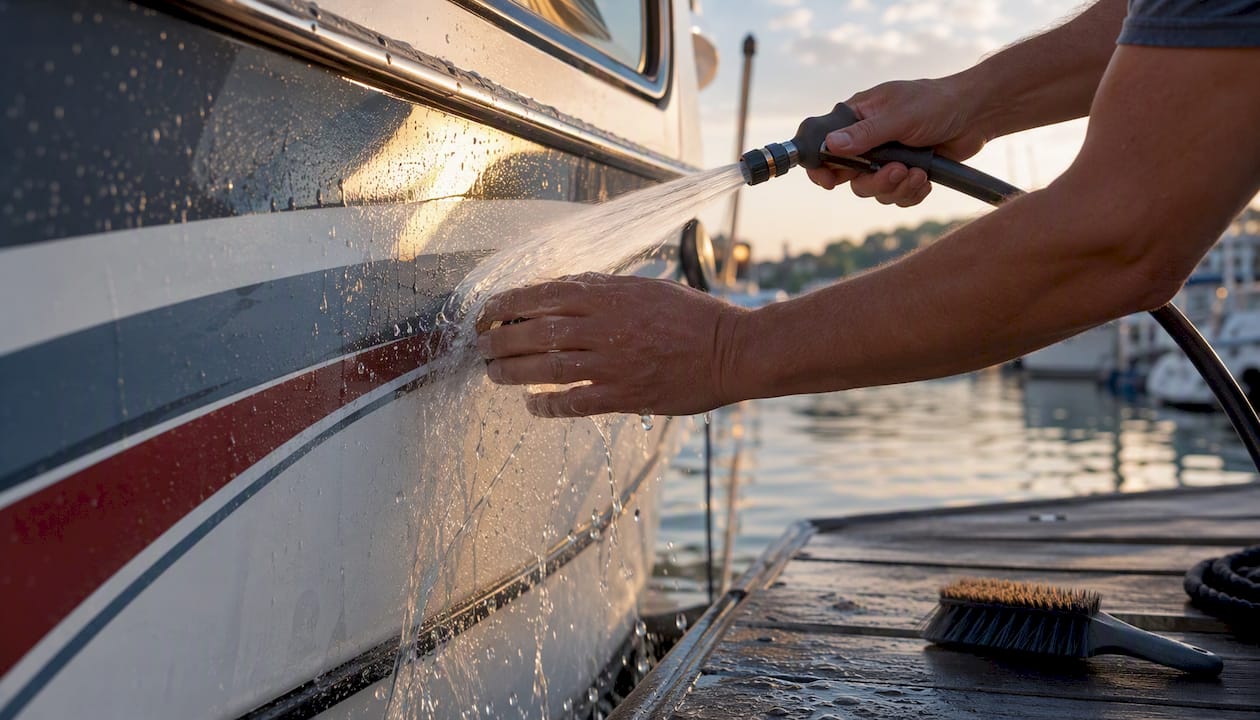
The mistakes that shorten decal life most consistently are skipping the post-saltwater rinse, using acetone or bleach-based cleaners near graphics, and applying new decals over waxed or damp surfaces. Each of those errors is easy to avoid once you know what it costs you.
Registrationdecals.com builds its decals to the spec this guide recommends: marine-grade cast vinyl, UV-stable inks, overlamination, and marine-rated adhesive. The spec exists because it's what actually holds up in saltwater environments. If you want to verify what a supplier is using before you order, ask for the vinyl series and overlaminate spec by name. Any supplier confident in their materials will answer without hesitation.
Registrationdecals.com makes it easy to order marine-grade decals
When your decals are past restoration and you need a replacement that's built to last, Registrationdecals.com delivers marine-grade cast vinyl registration decals with UV-stable inks and factory overlamination, shipped free to the contiguous United States in 3–5 business days.
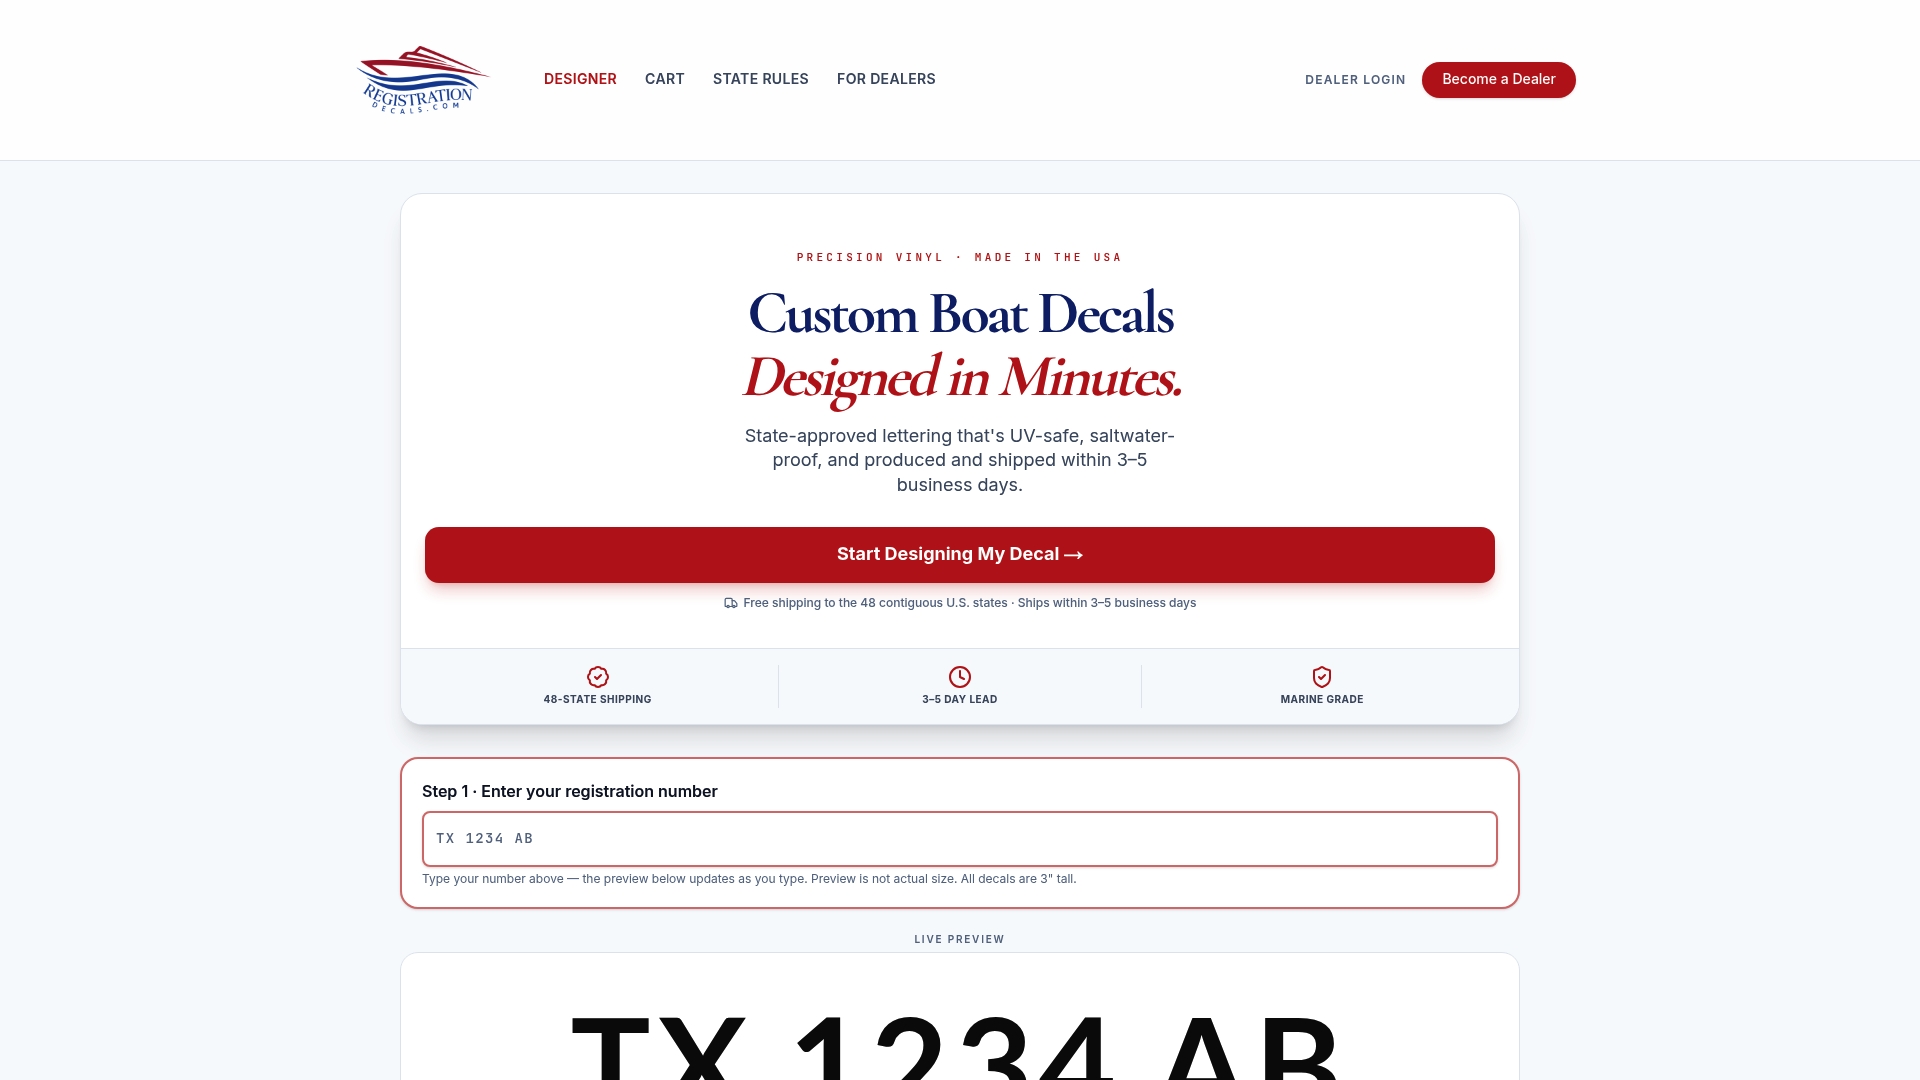
Every decal is designed through an online tool where you enter your registration number, pick your colors and fonts, and get a compliant set built to the exact spec this guide recommends. No guessing about materials. No waiting weeks. If you operate a marina or dealership and need volume orders, wholesale options for dealers are available through the same platform.
Ready to replace faded decals with ones that hold up? Registrationdecals and have them on your boat before the weekend.
Sources
The following sources were used to build this guide. Each one is worth bookmarking if you want to go deeper on a specific topic.
- How To Remove Boat Decals: A Damage-Free Guide | Better Boat
- Application Tips for Marine Marking
- Custom Boat Repairs | DIY Boat Repair Tips |How To Remove Decals And Stripes From A Boat
- How to Remove Vinyl Boat Decals | West Marine | West Marine
- Boat Rego Sticker Maintenance | How to Make Marine Vinyl Last Longer 2026
- How to Restore Faded Vinyl Decals
- How to change the name of a boat | Power & Motoryacht