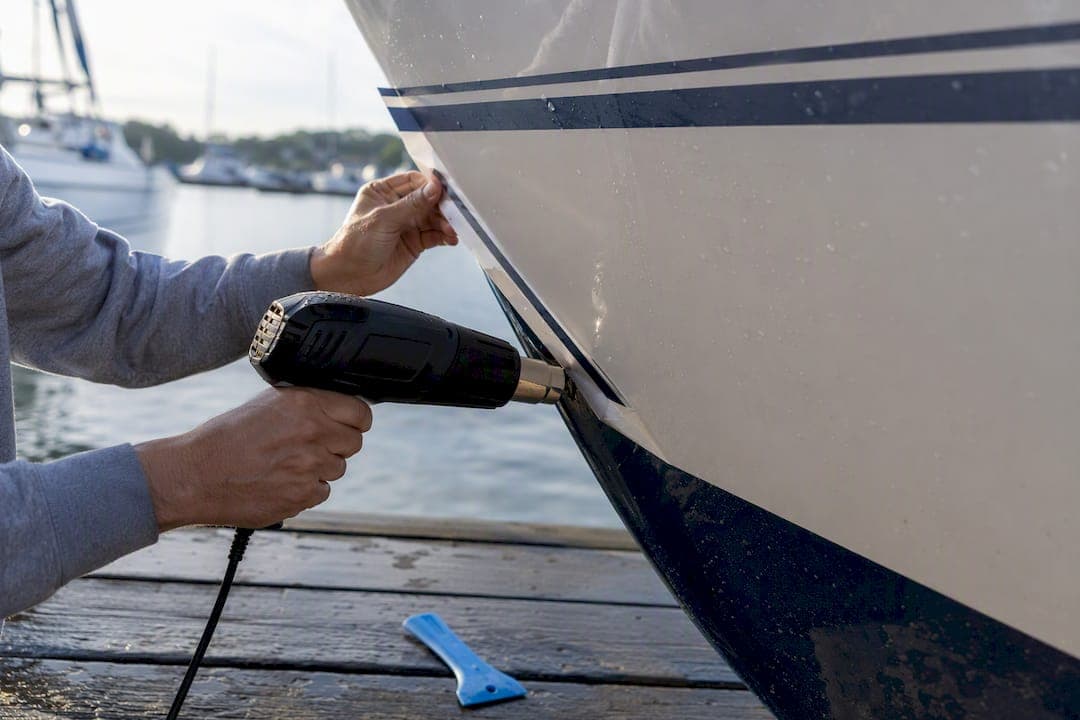
If the vinyl is still intact and flexible, use a heat gun and a plastic scraper. If it's cracked, chalky, or crumbling, skip the heat and go straight to a drill-mounted rubber eraser wheel. If the decal is already gone and you're just left with a gummy outline, forget both tools and reach for a marine-safe adhesive remover instead.
That's the whole decision tree. The bigger risk isn't picking the wrong tool. It's forcing one method on a decal that needs a different one, which is how gelcoat gets scorched or scratched. If you're staring at a large stripe job on a boat with an expensive paint match, it's worth pricing out a professional detailer before you start.
- Intact vinyl: variable heat gun + plastic scraper
- Brittle, sun-baked vinyl: drill + rubber eraser wheel
- Residue only: marine-safe adhesive remover + microfiber towel
Key Takeaways
Matching the removal method to the decal's actual condition, heat for intact vinyl, an eraser wheel for brittle vinyl, and a marine-safe remover for leftover residue, is what determines whether the job goes smoothly or damages the finish.
| Point | Details |
|---|---|
| Match method to condition | Heat for flexible vinyl, an eraser wheel for cracked or brittle vinyl, adhesive remover for residue-only jobs. |
| Respect the RPM range | Keep a drill-mounted eraser wheel between 1,000 and 1,500 RPM to avoid heat buildup and scratching. |
| Watch for confetti flaking | Vinyl breaking into small pieces under heat means it's time to switch to mechanical removal. |
| Neutralize solvents afterward | Wipe with a 50/50 rubbing alcohol and water mix to remove lingering solvent residue before polishing. |
| Replace with compliant decals | Registrationdecals offers marine-grade, state-compliant registration decals with 3 to 5 day production once the old ones are gone. |
Where to Learn More Before You Reapply New Decals
- How To Remove Boat Decals: A Damage-Free Guide, for detailed tool-by-tool breakdowns.
- How to Remove Vinyl Decals | West Marine, for heat-gun safety guidance.
- How to apply vinyl boat registration decals, for surface prep once the old decal is gone.
- How long do marine vinyl decals last?, to plan your next replacement cycle.
Table of Contents
- Tools and Materials You Need Before You Start
- How Do You Know Which Removal Method to Use?
- How Do You Remove Boat Decals With a Heat Gun?
- When Should You Use a Rubber Eraser Wheel Instead?
- Manual Scraping: The Low-Tech Option for Small Jobs
- How Do You Get Rid of Sticky Adhesive Residue?
- How Do You Fix the Ghost Outline Left Behind?
- Does the Hull Material Change Your Approach?
- How Long Does Decal Removal Take, and What Does It Cost?
- What Does the Research Say About Eraser Wheel Speed?
- When Does This Job Call for a Professional Instead of DIY?
- Frequently Asked Questions
- Sources
Tools and Materials You Need Before You Start
Lay everything out before you touch the decal. You'll want a variable heat gun (a hair dryer works only for small numbers or tiny logos), plastic razor blades or a plastic scraper like the Lil Chizzler, a drill, and a rubber eraser wheel attachment. Keep microfiber towels and an adhesive remover on hand for the cleanup phase, plus a buffer for finishing work later.
For the chemical side, something like Better Boat Adhesive Remover or Goo Gone handles most residue without drama. Both are widely available and gentler than mineral spirits or acetone on painted surfaces.
- Variable heat gun or hair dryer (small decals only)
- Plastic scraper or Lil Chizzler
- Drill + rubber eraser wheel
- Marine-safe adhesive remover
- Microfiber towels, nitrile gloves, eye protection
Pro Tip: Test your adhesive remover on a hidden patch of gelcoat first. Some citrus-based cleaners can dull a glossy finish if left too long, and you won't know until it's too late.
How Do You Know Which Removal Method to Use?
Press a fingernail into a corner of the decal. If it flexes and peels a little, it's still intact, and heat will work. If it snaps or flakes like old paint, it's brittle, and the eraser wheel will do the job faster and with less risk. If there's no vinyl left at all, just a ghostly outline of glue, you're already past both of those steps and into adhesive cleanup.
The surface matters too. Gelcoat tolerates heat better than painted topsides, and aluminum needs the gentlest touch of the three.
- Flexible, sticks together when pulled: start with heat
- Cracked, brittle, flakes on contact: start with the eraser wheel
- No vinyl, just tacky residue: go straight to adhesive remover
Pro Tip: If the vinyl starts breaking into confetti-sized pieces under the heat gun instead of peeling in a sheet, stop. That's your sign to switch to the eraser wheel rather than keep chasing it with more heat.
How Do You Remove Boat Decals With a Heat Gun?
Heat is the cleanest starting point for stickers that are still flexible, because it softens the adhesive without grinding into the surface underneath. It also gives you the most control of any method here, which matters if you're working near a painted edge or a name panel you want to keep sharp.
- Wash and dry the area so dirt doesn't grind into the finish.
- Warm the vinyl to roughly 115 to 150 degrees Fahrenheit, holding the gun 6 to 12 inches away and keeping it moving constantly.
- Slide a plastic blade under one corner at a low angle and start lifting.
- Peel the vinyl back on itself, slowly, reheating any section that resists.
- Stop the moment the vinyl tears instead of peeling. That's your cue to switch tools.
Keeping the heat gun moving and testing a small section first prevents the kind of overheating that leaves a permanent soft spot in gelcoat.
Pro Tip: Work top to bottom on vertical stripes. Gravity helps the peeled section fall away instead of sticking back down while you work the next inch.
When Should You Use a Rubber Eraser Wheel Instead?
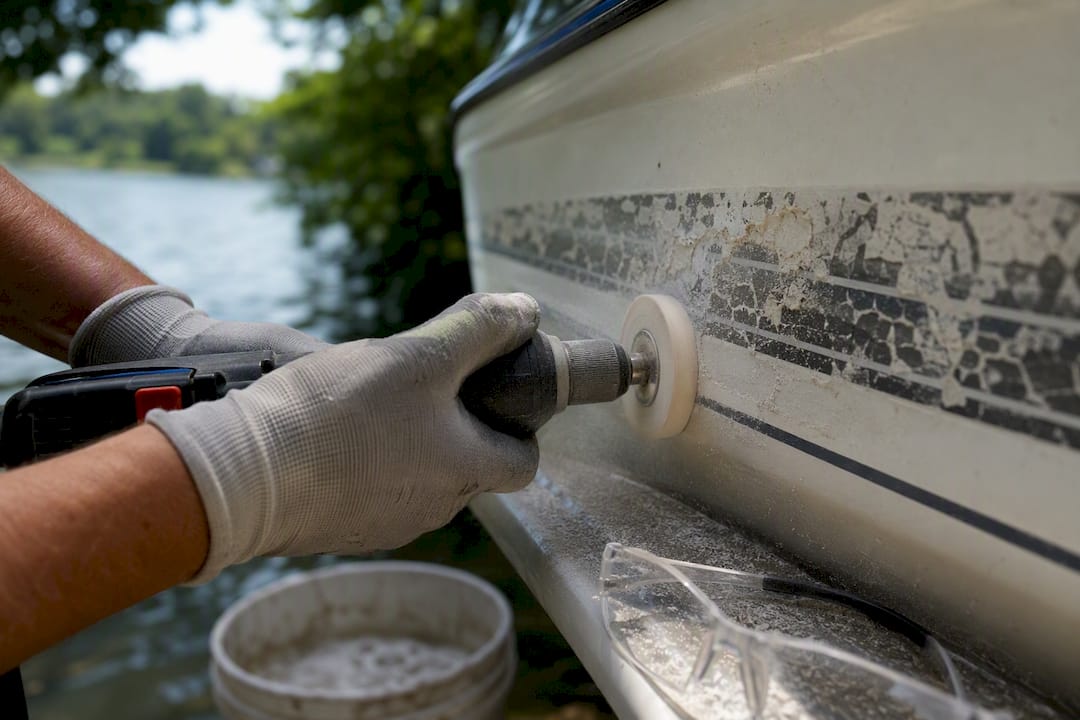
Once vinyl turns brittle, heat stops being your friend. It just makes the plastic more likely to shatter into fragments that leave adhesive scattered across the surface. A drill-mounted rubber eraser wheel relies on friction, not heat, which lifts both the vinyl and the glue underneath without digging into the gelcoat.
- Attach the eraser wheel to your drill and mount it securely.
- Keep the drill in the 1,000 to 1,500 RPM range. Faster speeds generate heat you don't want; slower speeds increase pressure and scratch risk.
- Work in small sections, roughly the size of your palm, before moving on.
- Wipe away the rubbery debris with a dry towel every minute or so to check the surface underneath.
This method delivers a roughly 98% clean removal rate on cracked, aged decals, though it runs about 40% slower than heat on vinyl that's still fresh. That's the trade-off: reliability on old decals, patience required on new ones.
Pro Tip: Wear eye protection and a dust mask. Old vinyl grinds into a fine powder that you don't want to breathe in over a multi-hour job.
Manual Scraping: The Low-Tech Option for Small Jobs
For a single registration number or a small decal on a surface you're nervous about, soapy water and a plastic scraper is about as low-risk as removal gets. It's slow for anything bigger than a foot or two, but it's the gentlest option on delicate paint.
- Soak the decal thoroughly with warm water and dish soap.
- Hold a plastic scraper nearly flat against the surface, almost parallel rather than angled.
- Slice under the edge and work in short, controlled strokes, re-wetting as you go.
A little moderate heat from a hair dryer can loosen a stubborn edge without the intensity of a full heat gun.
Pro Tip: Keep a spray bottle of soapy water in one hand and the scraper in the other. Dry vinyl grips the gelcoat; wet vinyl slides.
How Do You Get Rid of Sticky Adhesive Residue?
Once the vinyl is off, you're usually left with a tacky outline. A dedicated adhesive remover is the right next move rather than reaching for whatever solvent is under the sink. Professional detailers treat adhesive removal as a separate phase from vinyl removal, and they lean on marine-safe products rather than grinding the glue off mechanically.
- Test the remover on a hidden spot first.
- Apply it generously over the residue.
- Lay a microfiber towel over the area to slow evaporation and extend the dwell time, which makes the remover work harder for you.
- Gently lift the loosened glue with a plastic blade.
- Wipe the area with a 50/50 rubbing alcohol and water mix to neutralize any aggressive solvent residue.
Better Boat Adhesive Remover and Goo Gone both handle typical marine adhesive without much fuss. Save mineral spirits for genuinely stubborn spots, and avoid metal razors or straight acetone on gelcoat unless you've confirmed compatibility on a test patch.
- Work in a ventilated area
- Wear nitrile gloves
- Keep solvents away from open flames
Pro Tip: If the residue is old and sun-baked, warm it slightly with a hair dryer before applying the remover. Warm adhesive breaks down faster than cold.
How Do You Fix the Ghost Outline Left Behind?
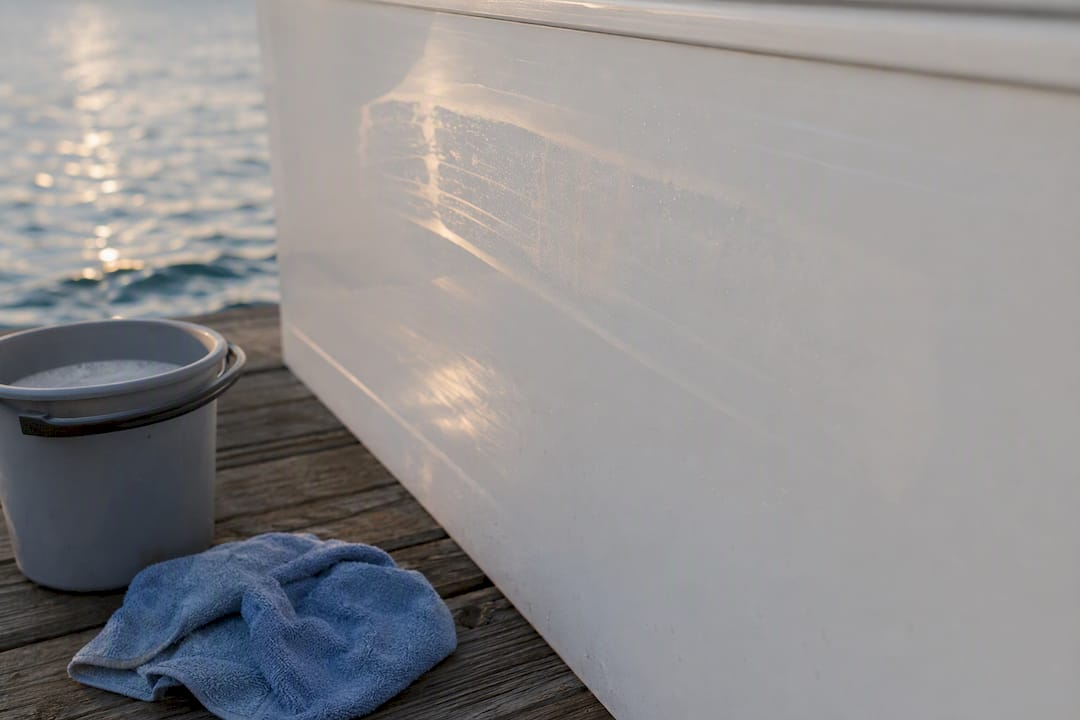
Even a clean removal job often leaves a faint outline where the vinyl protected the gelcoat from years of UV exposure while the surrounding surface faded slightly. Compounding and polishing closes that gap so the old outline stops being visible.
- Clean and fully dry the area.
- Apply a light cutting compound if the ghosting is visible in direct sunlight.
- Follow with a finishing polish to restore the shine.
- Let it cure, then apply a UV-blocking wax or sealant.
A dual-action polisher speeds up larger areas; a hand pad is fine for a single number or small logo. If the ghosting spans multiple panels or the gelcoat looks scorched, that's a job for a professional rather than a weekend project.
Pro Tip: Don't wax immediately if you're planning to apply new decals. Wait 2 to 3 days so new adhesive has a clean surface to bond to.
Does the Hull Material Change Your Approach?
Gelcoat handles moderate heat reasonably well but scorches permanently if you linger too long in one spot. Painted topsides need a gentler touch. Skip aggressive scraping and pick solvents carefully, since some paint clears react badly to citrus-based removers. Aluminum is the trickiest of the three: lower heat, milder solvents, and lighter mechanical pressure all matter, since aggressive methods can accelerate oxidation on a mill-finish surface.
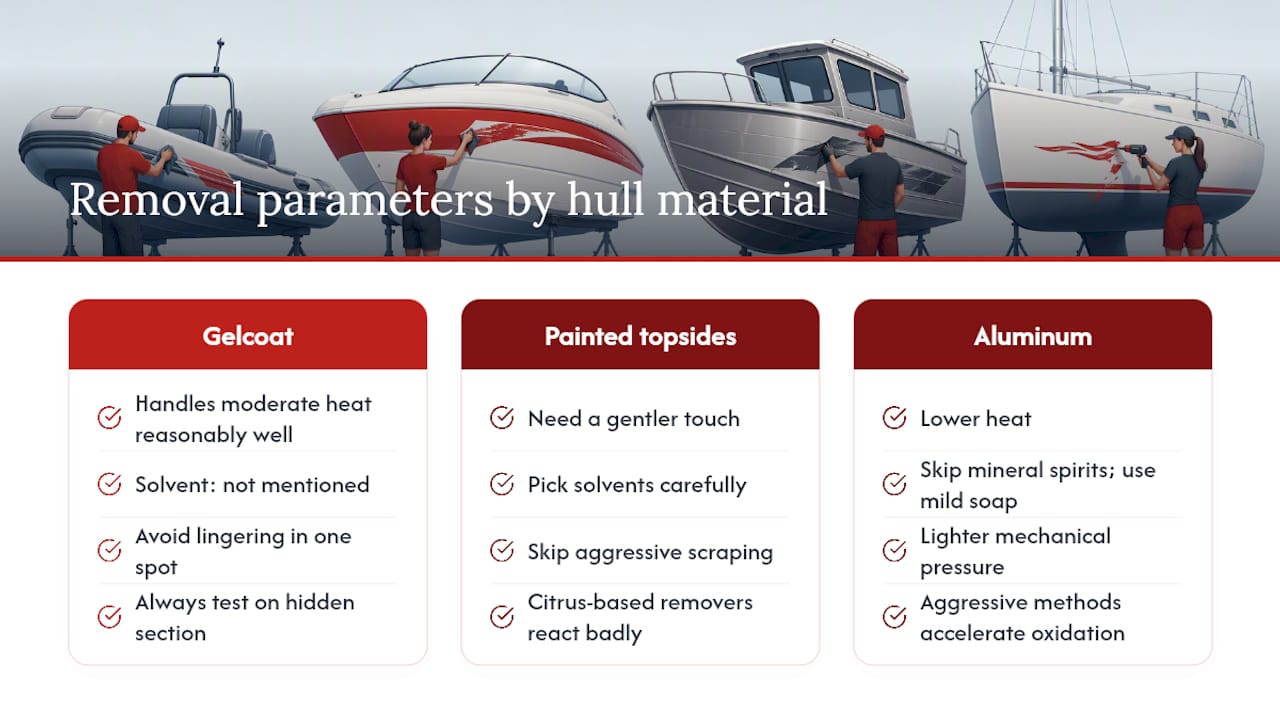
Always test your chosen method on a hidden section first, regardless of hull material.
Pro Tip: On aluminum, drop your eraser wheel speed toward the low end of the RPM range and skip mineral spirits entirely. A mild soap-based remover is usually enough.
How Long Does Decal Removal Take, and What Does It Cost?
A single registration number takes 15 to 30 minutes with basic tools. A medium decal panel runs 1 to 3 hours depending on age and hull material. A full stripe job can eat several hours or stretch into a full day, especially if you're also compounding and polishing afterward.
Budget-wise, a heat gun and a set of plastic scrapers will run you under $60 total if you don't already own them. Adding a drill and eraser wheel attachment pushes that to roughly $80 to $150. Hiring a professional detailer costs more upfront but saves your gelcoat if the job is large or the finish is hard to match.
- Eye protection and nitrile gloves for every step
- Ventilate the area when using solvents
- No open flames near adhesive removers
- Test any product on an inconspicuous spot first
What Does the Research Say About Eraser Wheel Speed?
The RPM band that matters most is 1,000 to 1,500. Stay inside it and a drill-mounted rubber eraser wheel removes roughly 98% of cracked or aged vinyl cleanly, without gouging the gelcoat underneath.
The mechanism is friction, not brute abrasion. That's why it works so well on brittle vinyl that would shatter under heat, but why it's overkill for a decal that would peel off in one clean sheet anyway.
Pro Tip: Wipe the wheel and the surface every 60 seconds or so. It's the easiest way to catch a hot spot before it becomes a mark you can't buff out.
When Does This Job Call for a Professional Instead of DIY?
Call a pro once ghosting spans multiple panels, once you spot a scorch mark or a deep scratch from a slipped scraper, or once the boat's gelcoat is an older, harder-to-match color. Renaming a boat that has full-length, multi-panel striping is a good example. The stakes of a mismatched repair are higher than the cost of a detailer's afternoon, and a rushed DIY fix on expensive gelcoat rarely saves money once you factor in the redo.
Need New Decals After Cleaning the Old Ones Off?
Once the surface is clean, most boat owners are legally required to display current registration numbers again, and this is where a fresh, better-fitted decal set earns its keep. Registrationdecals cuts every decal from marine-grade, UV-resistant, saltwater-proof vinyl, and its online design tool lets you enter your registration numbers, pick colors and fonts, and have a proof ready in minutes rather than days.
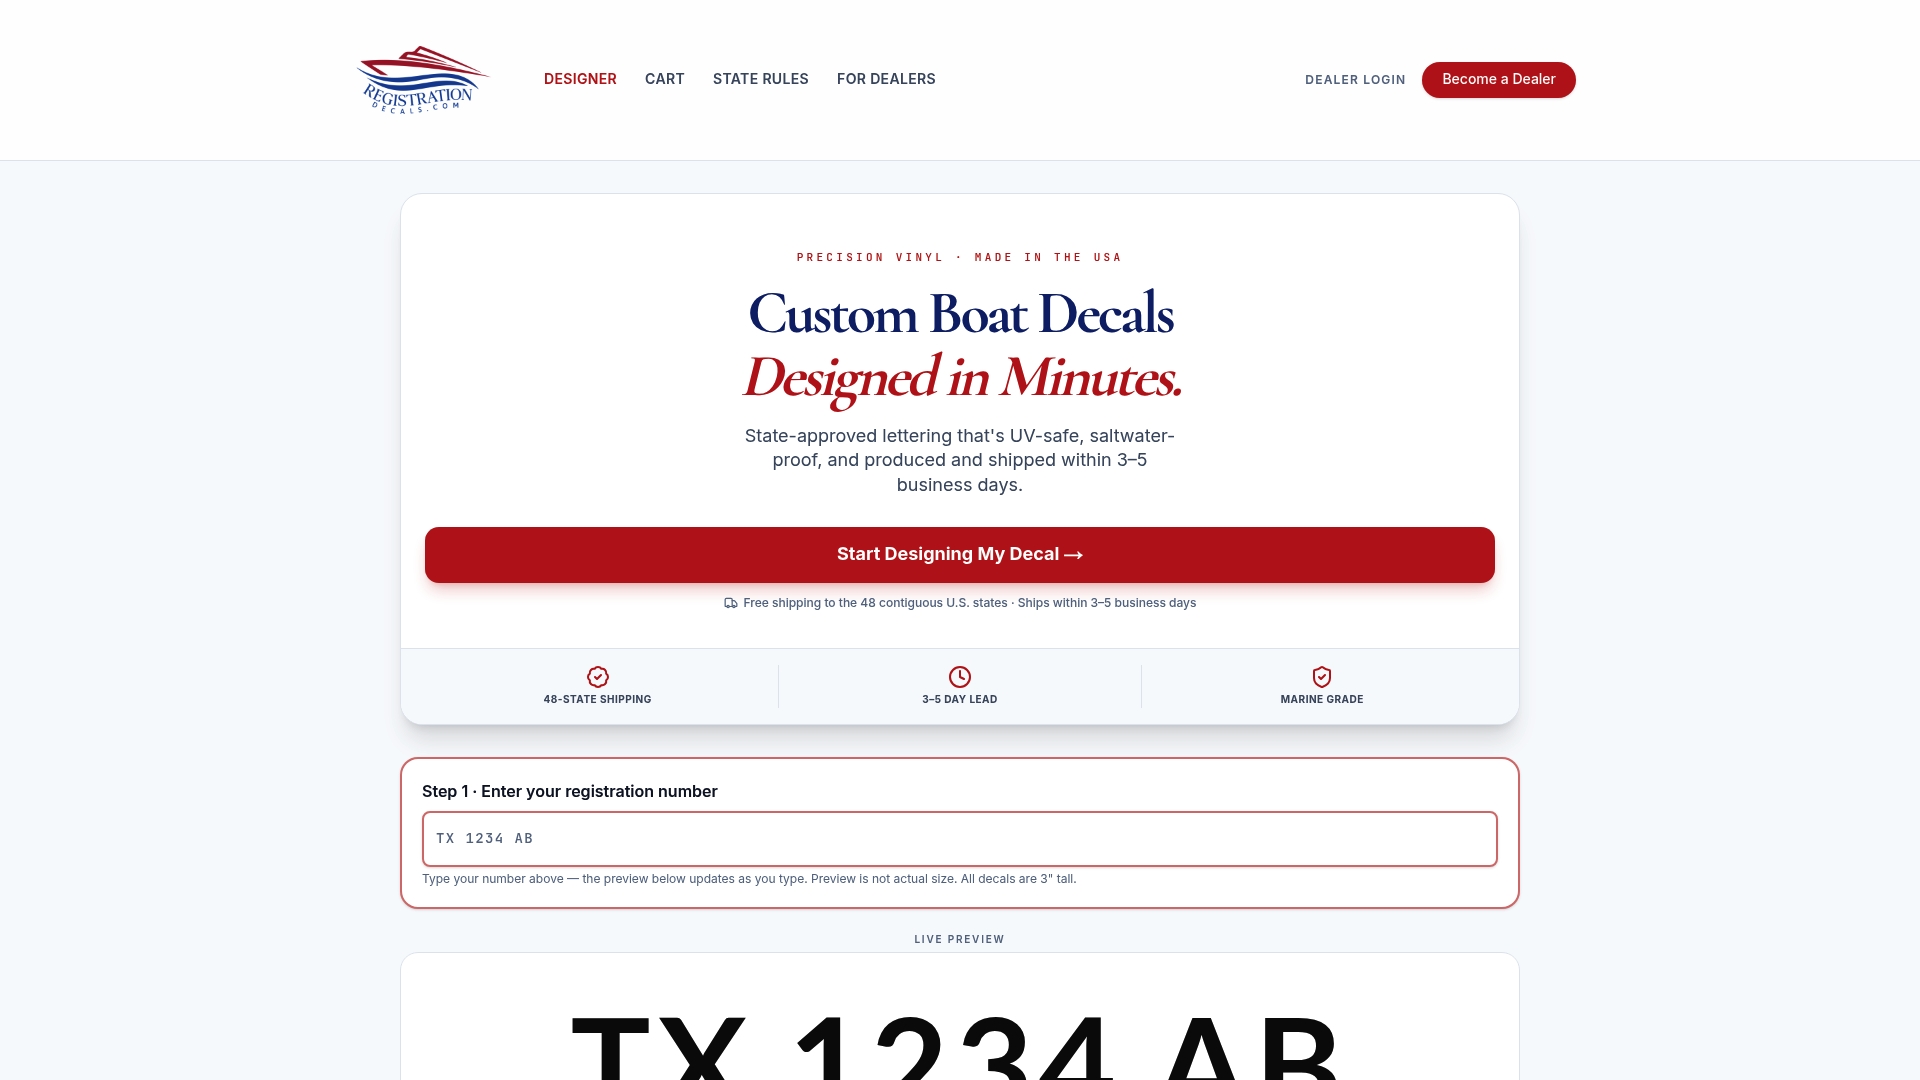
Orders ship in 3 to 5 business days with free shipping across the contiguous United States, so you're not stuck running an unregistered boat while you wait. If you're also curious how long the new set will hold up before you're back here doing this again, the answer is worth a look before you order your replacement decals.
Frequently Asked Questions
What's the fastest way to remove boat decals without damaging the paint? For intact, flexible vinyl, a variable heat gun paired with a plastic scraper is typically the fastest safe method. For brittle or sun-baked decals, a drill-mounted eraser wheel at 1,000 to 1,500 RPM usually outpaces heat because it won't shatter the vinyl into fragments.
Can I use a razor blade to scrape off old boat stickers? Avoid metal razors on gelcoat. They scratch the surface easily, and a plastic scraper or eraser wheel accomplishes the same lift without that risk.
What removes sticky adhesive residue after taking off vinyl lettering? A dedicated marine-safe adhesive remover, applied with dwell time under a microfiber towel, handles most leftover glue. A 50/50 rubbing alcohol and water rinse afterward removes any lingering solvent film.
Will removing old decals leave a visible outline on my hull? Often, yes, since UV fading around the decal creates a ghost outline. Compounding and polishing the area typically blends it back into the surrounding finish.
Is it safe to use a heat gun on an aluminum boat? Use lower heat and gentler pressure on aluminum than you would on gelcoat. Testing a hidden spot first is especially important, since aluminum is more prone to oxidation from aggressive solvents and excess heat.
Sources
- How To Remove Boat Decals: A Damage-Free Guide | Better Boat
- Vinyl boat lettering DIY application and repair - Practical Sailor
- Removing Vinyl Boat Lettering and Decals - Boat Trader Blog
- How to Remove Vinyl Decals | West Marine