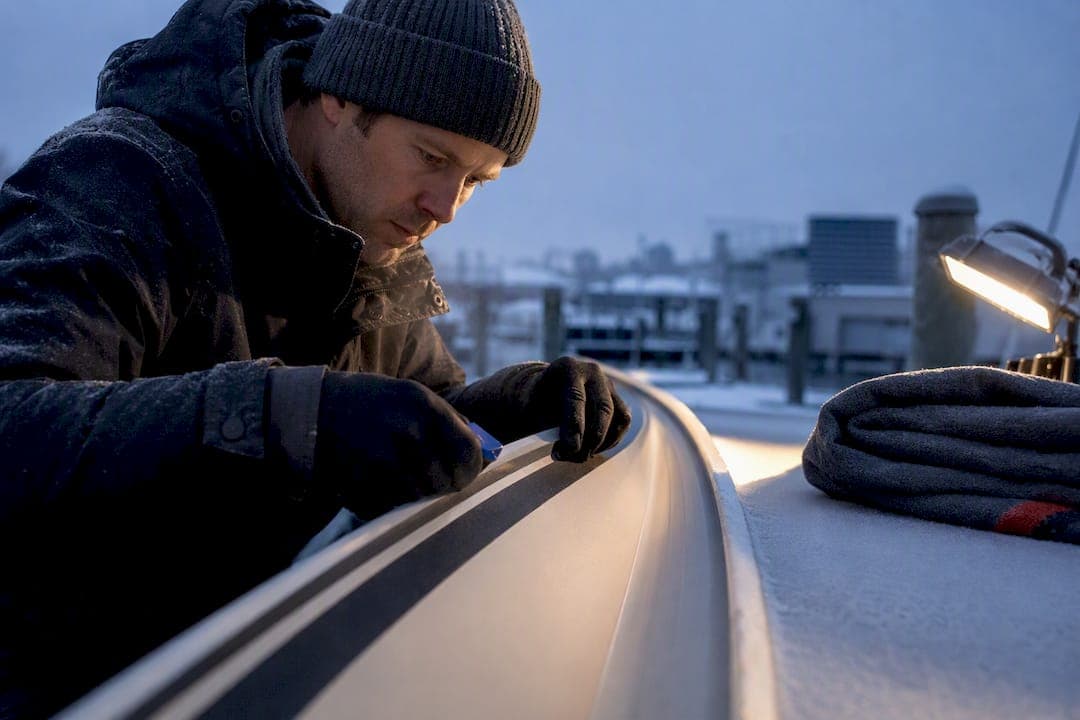
Yes, you can apply decals in cold weather, but only if you treat the substrate and vinyl the same way. Warm both surfaces until they're touch-warm, choose a cold-rated film when temperatures stay low, use firm overlapping squeegee pressure, and post-heat every edge before you call the job done. Skip any one of those steps and you're gambling on adhesion. The full checklist and technique breakdown follow below.
TL;DR:
- Vinyl films need a surface and air temperature of at least 50°F (10°C) for reliable adhesion; standard vinyl struggles below 41°F to 50°F.
- Proper surface prep in cold weather requires thorough cleaning, drying, and confirming the surface is touch-warm and above dew point to prevent moisture issues.
- Vinyl and tools should be warmed to touch-warm using low heat sources, and avoiding overheating is crucial to prevent discoloration or bubbling.
- Dry application is strongly recommended in cold conditions, as wet fluids can freeze, causing delamination and adhesion failure.
- For consistent cold-weather installs, use cold-rated films engineered for application down to -20°F and allow extra time for warming, testing, and post-heating procedures.
Table of Contents
- What Temperature Is Safe for Cold Decal Application?
- How Do You Prep a Cold Surface Before Applying a Decal?
- How Do You Warm Vinyl and Tools for Winter Installation?
- Should You Apply Decals Wet or Dry in Cold Weather?
- How Do You Post-Heat and Seal Edges After a Cold Install?
- What Do You Do When a Cold Decal Won't Stick?
- What Marine Installers Know About Cold-Weather Boat Decals
- When Should You Postpone a Cold-Weather Install?
- Registrationdecals Builds Decals That Handle the Cold Before You Even Apply Them
- Where to Learn More About Cold-Weather Vinyl Application
- Sources
- FAQ
What Temperature Is Safe for Cold Decal Application?
Application temperature and service temperature are two different numbers, and confusing them causes most cold-weather failures. Service temperature tells you how the decal performs once it's bonded. Application temperature tells you whether the adhesive can actually grip in the first place, and that's the number that matters the moment you're standing outside with a squeegee.
Most general-purpose vinyl films need the surface and air near 50°F (10°C) or warmer to install reliably, according to Innotech's cold-weather installation guidance. Push below that without warming anything, and adhesive tack drops sharply.
Cold snaps installers actually deal with:
- General-purpose pressure-sensitive vinyl: install above roughly 41°F to 50°F (5°C to 10°C), per industry guidance summarized by MyDecalPrinter
- Cold-rated specialist films: some product lines, like Drytac's Polar series, are engineered for application down to about -20°F (-4°C)
- Anything below your film's rated minimum: warm the panel first or postpone
Pro Tip: If your job site regularly drops below 40°F, order a cold-rated film instead of fighting standard vinyl every time the weather turns. It costs more per roll but saves you the rework.
How Do You Prep a Cold Surface Before Applying a Decal?
Frost, condensation, and road salt hide in plain sight, and any one of them will quietly kill adhesion before you even notice. Cold surfaces also hold moisture longer than warm ones, so the prep sequence matters more here than in summer conditions.
- Wash first. Use mild soap and water to strip salt, grime, and de-icing residue, then rinse completely and let the surface dry.
- Wipe with isopropyl alcohol. Use lint-free cloths, not paper towels, which shed fibers that get trapped under the film and create bubbles.
- Test readiness. Press a strip of masking tape onto the surface. If it lifts easily or feels damp underneath, the panel isn't ready.
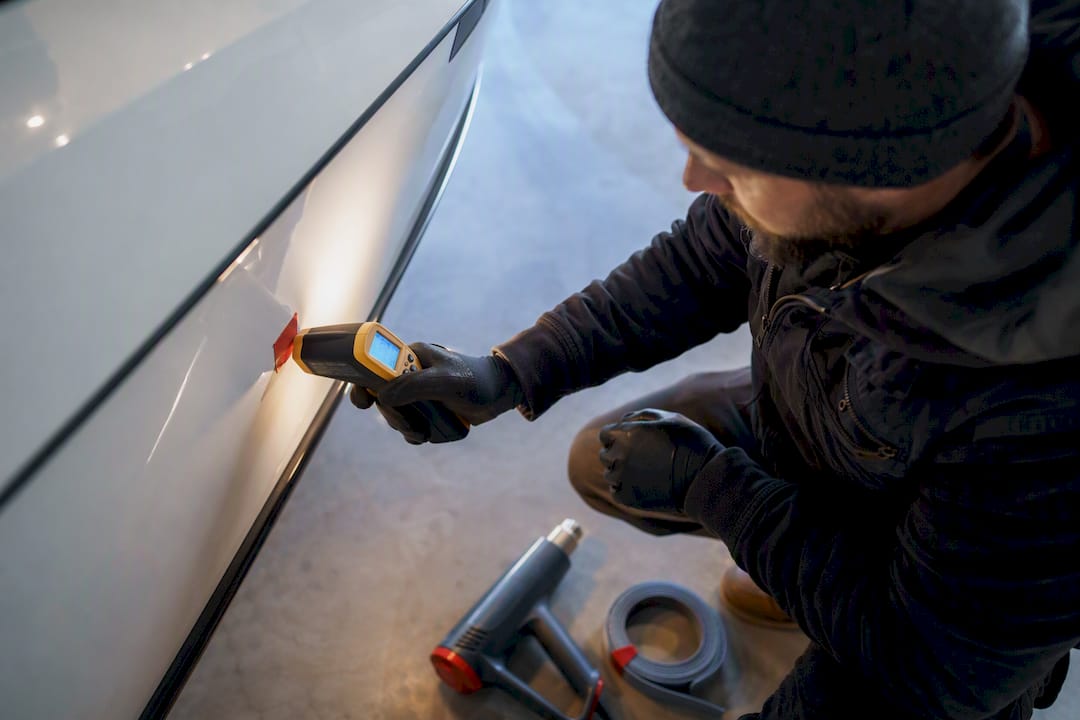
- Check the temperature with an infrared thermometer. You want the surface touch-warm and above the dew point, not just "not freezing."
- Let temperatures stabilize. Never bring a warm panel straight into cold outdoor air. The temperature swing causes instant condensation on the surface, which sits right where your adhesive needs to bond.
Skipping step five is the mistake installers make most often, because it feels like you're saving time. You're actually creating the exact moisture problem the alcohol wipe was supposed to solve.
How Do You Warm Vinyl and Tools for Winter Installation?
Cold vinyl is stiff, brittle at the edges, and far less forgiving during application. It also has almost none of the tack it needs to grab a surface, since installer field reports note that adhesive tack can drop by as much as half at subzero temperatures unless both the film and the substrate are warmed first
Acclimatize rolls of vinyl and transfer tape indoors for at least 24 hours before a job whenever your schedule allows it. If you're working out of a truck or van, keep the material in a warm crate or cab until the moment you're ready to peel and apply, a habit installers who work outdoors year-round rely on constantly.
Warming tools that actually work in the field:
- A hair dryer on low heat for gentle, even warming of small panels
- A heat gun on its lowest setting, kept moving constantly, for spot warming stubborn corners
- Heat mats or heat lamps for warming a substrate before the vinyl ever touches it
Pro Tip: Aim for "touch-warm," not hot. If you can't comfortably rest your palm on the surface for a few seconds, you're overheating the paint, decal, or laminate underneath, and that's how you get discoloration or bubbling instead of a clean bond.
Measure with an infrared thermometer rather than guessing. Guessing is how installers scorch a clear coat trying to fix a problem that a slower, cooler pass would have solved.
Should You Apply Decals Wet or Dry in Cold Weather?
Dry application wins in cold weather, almost without exception. Wet application relies on application fluid to let you slide the decal into position, but in freezing conditions that fluid can freeze before it evaporates, and trapped, frozen fluid under the film is a direct cause of delamination.
- Peel only what you can apply in the next minute or two. Cold vinyl loses workability fast once it's exposed to the air.
- Work in smaller sections rather than one long pull. This keeps the exposed adhesive from cooling before it contacts the surface.
- Use firm, overlapping squeegee strokes, applying more pressure than you would in warm weather, since cold adhesive needs the extra push to wet out properly.
- Hold and reinforce edges by hand immediately after squeegeeing, since they're the first place lift starts.
- For curves, pre-warm and form the vinyl in stages. Stretching cold vinyl around a curve is how it cracks instead of conforming.
How Do You Post-Heat and Seal Edges After a Cold Install?
Post-heating is what separates a decal that survives winter from one that starts lifting at the corners within a week. Installers describe controlled post-heat as close to a secret weapon for cold jobs, because it forces the adhesive to wet out fully against the surface after the film has already been pressed down.
- Sweep a heat gun evenly across edges and any formed or curved areas, keeping the tool moving so you never park heat in one spot.
- Stay in a controlled, moderate range. You're activating adhesive, not scorching vinyl.
- Apply edge sealer or adhesion promoter only where needed, thin and neat, particularly on low surface energy plastics or powder-coated metal.
- Leave the install alone for 24 to 48 hours. No washing, no flexing. Cold slows the adhesive's bond strength buildup, and it needs that window to finish curing.
What Do You Do When a Cold Decal Won't Stick?
Corners that lift within minutes, or a decal that feels floaty instead of gripped, both point to the same root cause: insufficient warmth during application. Re-warm the affected section, squeegee it again with firm pressure, and add adhesion promoter at the edges if the surface allows it.
- Press masking tape onto the surface before you start. If it lifts easily, the panel isn't warm or dry enough yet.
- Check surface temperature with an infrared thermometer rather than trusting your hands alone.
- Do a touch check on the vinyl roll itself. Stiff, cold-to-the-touch vinyl needs more acclimatization time before it will cooperate.
| Step | What to check | Fix if it fails |
|---|---|---|
| Warm vinyl & substrate | Touch-warm, confirmed with IR thermometer | Warm longer; move to indoor acclimatization |
| Clean & dry surface | Masking tape adhesion test holds | Re-clean with isopropyl alcohol, re-test |
| Peel small sections | Vinyl stays workable during application | Reduce section size, work faster |
| Squeegee firmly | No floaty feel, edges seated | Re-squeegee with more overlapping pressure |
| Post-heat edges | Even, controlled heat sweep | Reheat gently, avoid overheating |
| First 24 to 48 hours | No washing or flexing | Extend wait time in sustained cold |
What Marine Installers Know About Cold-Weather Boat Decals
Boat decals face a harder version of every cold-weather problem, because marine-grade vinyl also has to survive salt spray and UV exposure once winter passes. Some decals are built from marine-grade, UV-safe, saltwater-proof vinyl to handle conditions where low temperatures combine with salt residue.
- Textured hulls need extra heat-and-press attention, since gelcoat texture leaves gaps that cold adhesive struggles to fill without a slow, deliberate pass. Registrationdecals's step-by-step heat-and-press guide for textured hulls walks through that process in detail.
- Avoid clear-coating directly over a fresh decal in cold weather. The coating and the adhesive both need their own cure windows, and stacking them too soon traps moisture underneath.
- Full application steps for registration decals, including surface prep and transfer tape handling in cold air, are covered in the guide to applying vinyl boat registration decals.
When Should You Postpone a Cold-Weather Install?
Sustained sub-freezing temperatures with no way to warm the substrate are a hard stop. If you can't get a hull, panel, or vehicle body above touch-warm and hold it there, you're not installing a decal, you're setting up a callback. High-value or high-exposure assets deserve that patience.
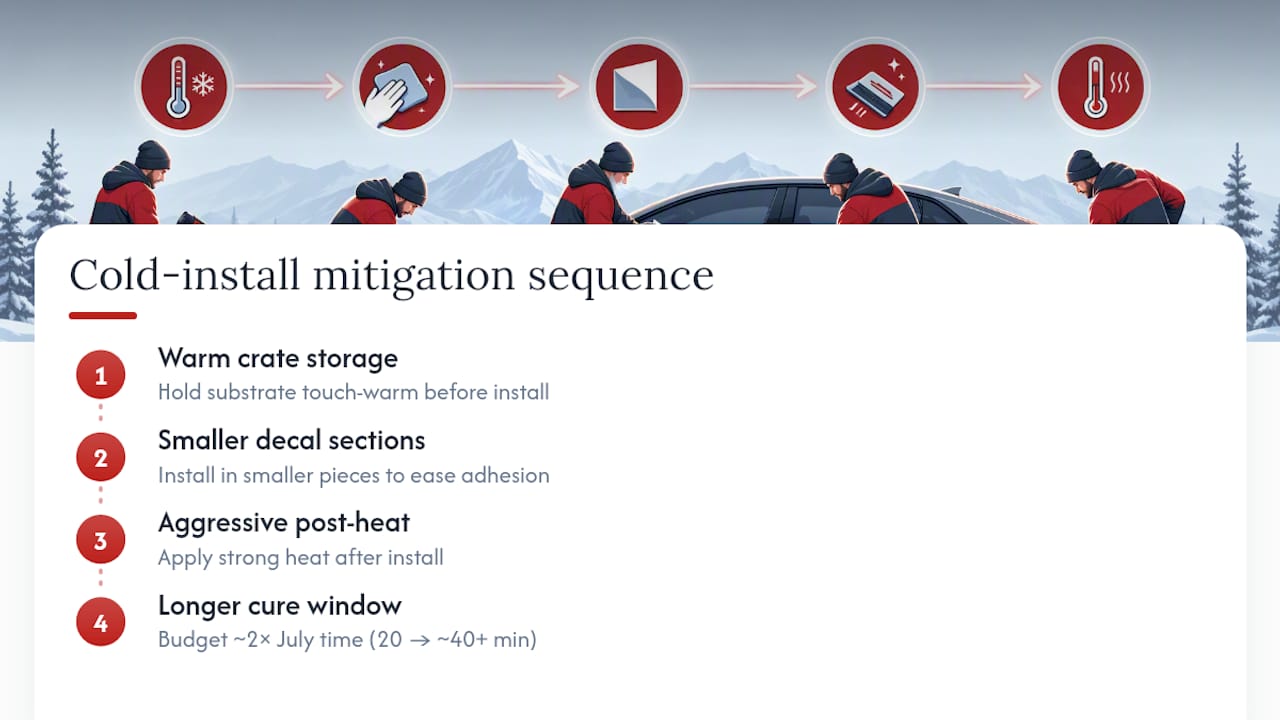
Urgent jobs, like fleet numbers or safety decals needed before a deadline, can still proceed with mitigations: warm crate storage, smaller sections, aggressive post-heat, and a longer cure window before flexing or washing. Budget real extra time for this. A cold install that would take twenty minutes in July can easily take twice that once you add warming, testing, and post-heat steps into the sequence.
Registrationdecals Builds Decals That Handle the Cold Before You Even Apply Them
Registrationdecals is the option for boat owners and marina operators who'd rather start with vinyl engineered for harsh conditions than fight standard film in freezing weather. Every decal is cut from marine-grade, UV-safe, saltwater-proof vinyl, built with cold and salt exposure already factored into the material, not something you compensate for during installation.
Production runs 3 to 5 business days with free shipping across the contiguous United States, and the online design tool lets you enter your registration numbers, pick colors and fonts, and get a compliant set moving without waiting on a custom quote. Marinas and dealerships handling volume orders can work through the wholesale dealer program instead of ordering one boat at a time. If winter installation is part of your seasonal routine, design your decal set now and have it ready before the next cold front rolls through.
Where to Learn More About Cold-Weather Vinyl Application
For deeper technical guidance beyond this playbook, several supplier and installer resources are worth bookmarking. Drytac's overview of cold-weather film options covers specialist products rated for extreme low temperatures, while Innotech's do's and don'ts guide breaks down acclimatization practices in more detail. For vehicle wrap owners specifically, this vinyl wrap maintenance guide covers storage habits that extend film life through winter months.
Sources
- The Do's and Dont's of Cold Weather Vinyl Installation | Innotech
- Keeping your cool with cold weather installations | Drytac
- Cold-Weather Installs: How to Get Decals to Stick at −10 °C (2025 Guide) — North American Decal
- Applying Vinyl Decals in Cold Weather — Coastal Signs Plus
FAQ
Can You Put Vinyl Decals on When It's Cold?
Yes, but only with preparation. Warm the substrate and vinyl to touch-warm, confirm the surface is dry with a masking tape test, and use a cold-rated film if temperatures stay below your standard vinyl's minimum application range.
Is It Better to Apply Decals Wet or Dry in Cold Weather?
Dry application is safer in cold conditions. Application fluid used in wet installs can freeze before it fully evaporates, and trapped, frozen moisture underneath the film leads to delamination.
How Long Should Paint Dry Before Applying Decals?
Fresh paint needs to fully cure before a decal goes on, and that curing process slows significantly in cold weather, so plan for a longer wait than you would in warmer conditions. Check the paint manufacturer's cure guidance for your specific temperature range before installing.
What Temperature Can Vinyl Stickers Withstand?
General-purpose vinyl typically needs application temperatures around 41°F to 50°F (5°C to 10°C) to install correctly, while cold-rated specialist films can be applied down to roughly -20°F (-4°C) when installed per manufacturer instructions. Service temperature range, once installed, is usually wider than the application minimum.