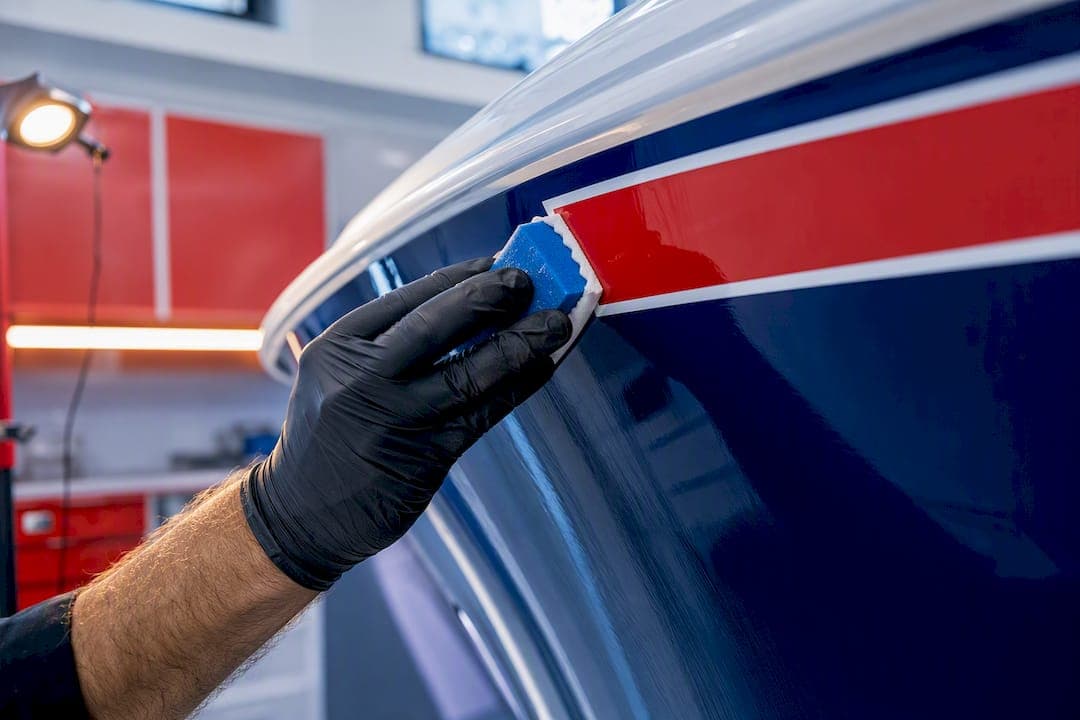
Marine registration decals can stick to a cured ceramic coating, but adhesion is far less reliable than on bare gelcoat, and failures like lifting edges and bubbling show up more often on coated hulls. The safer, more durable approach is applying your decals to clean, raw gelcoat first, then letting a detailer coat over and around them. If your boat is already ceramic coated, you still have workable options, covered in the remediation steps below.
TL;DR:
- Applying decals before ceramic coating ensures better adhesion and seals the decal edges against moisture, reducing bubbling and lifting over time.
- Coating after decal application is challenging because cured ceramic shells repel adhesives, often requiring removal of the coating down to gelcoat for reliable decal bonding.
- For already coated hulls, proper surface preparation, including removing the coating and testing vinyl adhesion, is essential for decals to stay long-term.
- Using cast vinyl with marine-grade adhesive and UV-resistant lamination maximizes decal lifespan, typically lasting 5 to 7 years above waterline.
- Regular maintenance involves gentle cleaning and early touch-up of lifting edges with adhesive or heat, with full reapplication needed once adhesion fails.
Table of Contents
- Should You Apply Decals Before or After Ceramic Coating?
- My Hull Is Already Coated: What Are My Options?
- How Do You Apply Marine Registration Decals for Maximum Durability?
- What Vinyl and Adhesive Hold Up Best on Boat Hulls?
- How Do You Maintain and Repair Decals Over Time?
- Why Trust This Guidance on Marine Decal Adhesion?
- A Practical Take on Sequencing Decals and Coatings
- Order Marine-Grade Decals Built for This Exact Workflow
- Sources
Should You Apply Decals Before or After Ceramic Coating?
The order matters more than most boat owners realize. Ceramic coatings cure into an ultra-smooth, chemically resistant shell, and once cured, they're doing exactly what they're designed to do: repelling things that try to bond to the surface, including adhesive. That's great for water beading and UV protection. It's a problem when the next thing you want to stick to the hull is a state-mandated registration number.
Applying decals first, then coating over them, solves this. The ceramic layer settles around the decal edges once it cures, which helps seal that boundary against moisture intrusion instead of leaving it exposed. It's a sequencing trick more detailers should be talking about with their clients.
Sometimes coating-first happens anyway. A haul-out slot gets scheduled before your decals arrive, or a detailer needs the boat back on the water. If that's your situation:
- Ask your detailer to mask off or skip the exact zones where numbers and registration decals will go.
- Confirm the masked areas stay free of wax, sealant overspray, and buffing compound residue.
- Schedule decal application as soon as possible after the coating cures rather than waiting months.
Pro Tip: Call your detailer before the appointment, not after. A five-minute conversation about masking the transom and bow numbers saves you a much harder adhesion problem later.
My Hull Is Already Coated: What Are My Options?
Cured ceramic coatings are what surface scientists call low-energy surfaces, meaning liquids and adhesives struggle to wet out and grip them the way they would on gelcoat or paint. That's why decals resist bonding to a hardened coating, especially on curved sections of the hull or anywhere the decal edge takes regular water friction.
You have a real path forward, though it takes more prep than a fresh gelcoat install:
- Strip the area with a dedicated marine wax and coating remover, not a general household cleaner.
- Wipe the same spot with 70% isopropyl alcohol to pull any remaining film the remover left behind.
- Let the surface dry completely. Rushing this step is the single most common reason preparation fails.
- Cut a small test patch of your decal vinyl and apply it to an inconspicuous section of the coated area. Give it 48 to 72 hours and check for lift at the corners.
- If the patch holds, proceed with the full decal. If it lifts, move to local coating removal.
An adhesion promoter can help bridge the gap between vinyl adhesive and a slick ceramic surface, but treat it as a supplement, not a fix. Some installers report success adding stripes and graphics over polished or ceramic-treated hulls, but professional consensus is that skipping proper surface chemistry is what causes most failures, not the coating itself.
When the patch test fails, the reliable fix is removing the coating from just that section down to gelcoat, then applying the decal to that raw surface. It's more labor than most owners expect, but it's the only method that consistently holds.
Pro Tip: Keep the test patch small, maybe two inches square, and use a scrap piece of the same vinyl you plan to order. It costs you nothing but a few days of waiting.
How Do You Apply Marine Registration Decals for Maximum Durability?
Getting this right the first time beats troubleshooting a peeling number six months from now. Follow this sequence:
- Check conditions first. Aim for a dry day between 50 and 90 degrees Fahrenheit. If the gelcoat is newly applied or repaired, let it cure fully before applying anything, since fresh paint and recent gelcoat work against adhesion.
- Clean in stages. Wash the hull section with marine soap and water, rinse thoroughly, then wipe with a 70% isopropyl alcohol solution to remove oils, salt film, and wax residue.
- Let it dry completely. Give the surface at least 15 to 20 minutes in the sun or a fully dry cloth pass. Chemically clean beats visually clean every time; a hull can look spotless and still carry a thin film that blocks adhesion.
- Position before committing. Use painter's tape to set the decal's placement and check it against state spacing and visibility rules before peeling any backing.
- Choose your method. Dry application works fine for smaller, flat registration numbers. For larger decals or curved hull sections, a wet application (light soapy water on the surface and decal adhesive) buys you time to reposition without trapping air.
- Squeegee from the center out. Use overlapping strokes at a low angle, pushing air and moisture toward the edges rather than trapping bubbles in the middle.
- Seal every edge. Press down firmly along all decal borders. This is the point most people rush, and it's exactly where bubbling and lifting typically start.
- Give it 24 to 48 hours before washing the area or exposing it to prolonged water contact, and wait longer than that before applying any ceramic coating on top.
For a closer look at squeegee technique and wet versus dry application, Registrationdecals' step-by-step application guide walks through both methods in more detail.
What Vinyl and Adhesive Hold Up Best on Boat Hulls?
Not all vinyl performs the same once it's living on a hull that sees saltwater, fuel spray, and constant UV exposure. Cast vinyl, roughly 2 to 3 mil thick, paired with a marine-grade acrylic adhesive is the standard for a reason: it conforms to curved hull sections without shrinking back the way calendered vinyl does over time.
Look for these specs when ordering:
- Cast vinyl construction, not calendered, especially for anything applied to a curved bow or transom.
- A minimum 7-year outdoor durability rating from the manufacturer.
- A UV-resistant overlaminate on any printed or multi-color decal, since laminated prints commonly last roughly twice as long as unlaminated ones under salt spray and abrasion.
- Marine-grade acrylic adhesive rated for constant moisture exposure, not a general-purpose adhesive borrowed from indoor signage.
A properly specified cast vinyl decal with the right adhesive and lamination can realistically last 5 to 7 years in normal marine use, which lines up with typical registration renewal cycles in most states. One caveat worth flagging: none of this vinyl is rated for fully submerged sections of the hull, so keep placement above the waterline where the material is designed to perform. For a deeper look at what drives that lifespan up or down, Registrationdecals' guide on how long marine vinyl lasts breaks down the variables.
How Do You Maintain and Repair Decals Over Time?
Regular maintenance is simple: wash with mild marine soap and water, and skip anything with strong solvents, ammonia, or abrasive polish compounds near the decal edges, since those can eat into the adhesive or dull a ceramic coating nearby.
Check decal edges every few months for early signs of lift, especially at corners and along the leading edge that takes the most water pressure underway. A little firm pressure and a heat gun on low, held a few inches back, can sometimes reseat a small lifted corner as a temporary fix.
- If lifting spreads beyond the edge, that's not a heat-gun problem anymore.
- Full removal and reapplication is the permanent solution once adhesive failure sets in.
- If the hull underneath is ceramic coated, plan to strip that section of coating before placing the new decal, since reapplying over the same compromised surface tends to fail again.
Pro Tip: If you catch lifting early, at the very tip of a corner, a small dab of marine-grade vinyl adhesive under the flap often outlasts a full heat-and-press fix.
Why Trust This Guidance on Marine Decal Adhesion?
Registrationdecals builds its decals from marine-grade, UV-safe, saltwater-proof vinyl specifically for the conditions covered in this guide, not general-purpose signage material repurposed for boats. Orders move through production in 3 to 5 business days with free shipping across the contiguous United States, so a decal-first workflow doesn't mean waiting weeks before your detailer can get to the coating step.
For readers who want to go deeper on technique, the guide to clear-coating over decals and the breakdown on preventing decal fading both expand on points covered here.
A Practical Take on Sequencing Decals and Coatings
Most owners chasing the shiniest possible hull get the order backward. I'd recommend registration decals go on before ceramic coating almost every time, because the alternative asks a cured, low-energy surface to do a job it wasn't built for.
If timing forces coating first, patch-test before committing to a full decal, and budget for the possibility of stripping a small section of coating later. It's not the outcome anyone wants, but it beats guessing.
— Taylor
Order Marine-Grade Decals Built for This Exact Workflow
Registrationdecals is the practical alternative to guessing whether a generic decal will hold up against saltwater, sun, and a ceramic-coated hull. Every decal ships in marine-grade, UV-safe, saltwater-proof vinyl, built specifically for the decal-first sequencing this guide recommends, with production in 3 to 5 business days and free shipping across the contiguous United States.
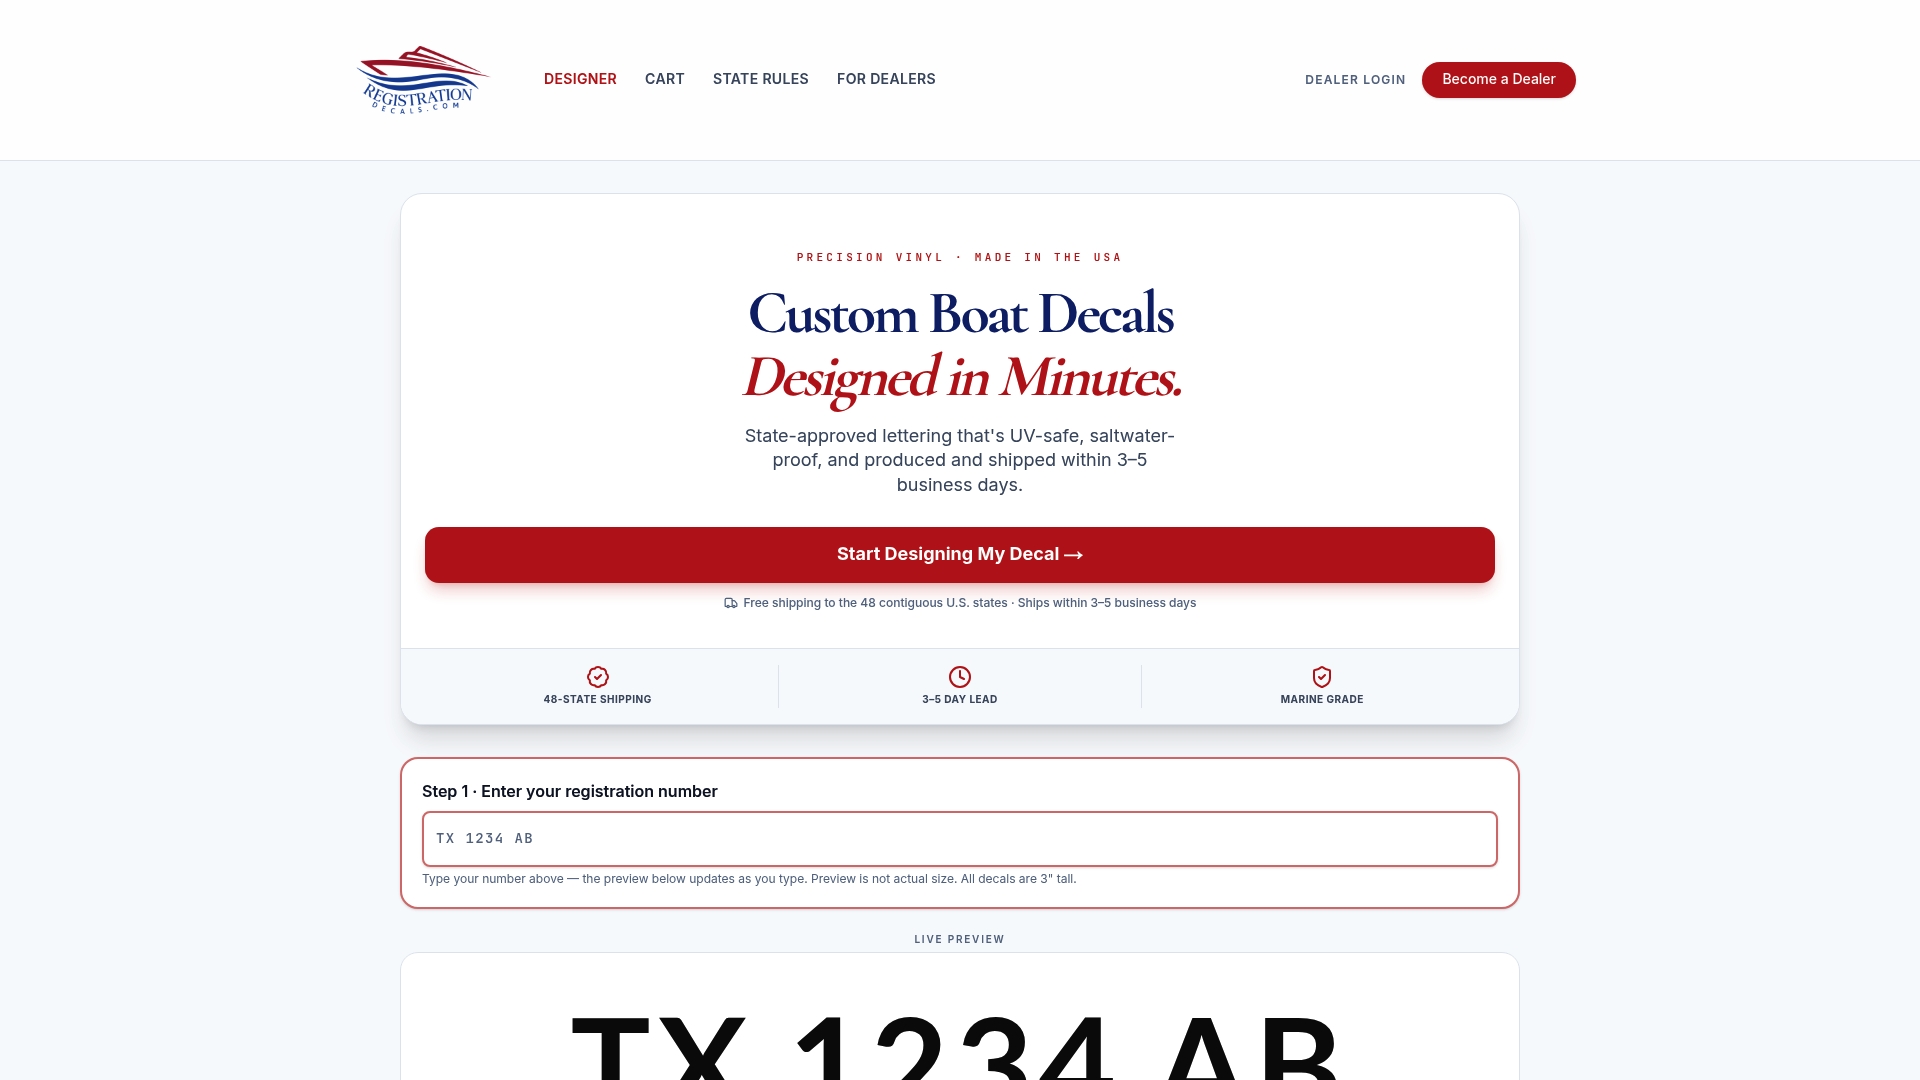
The online design tool lets you enter your registration numbers, pick colors and fonts, and preview the layout before you order, whether you're outfitting one boat or placing a bulk order for a marina or dealership fleet. If you're coordinating with a detailer, check your state's specific requirements on the boat registration decal regulations page before you finalize placement, then head to Registrationdecals to build your set and get it ordered before your next coating appointment.
Sources
For more on coating chemistry and adhesion limits, see Will Decals Stick to Ceramic Coating? and the waterproof vinyl materials guide. For prep and bubble-free application steps, check the boat rego sticker application guide. Detailing background comes from Diamond Brite's marine ceramic coating overview.
- Will Decals Stick to Ceramic Coating? | 2026 Guide
- How to Make Waterproof Vinyl Decals for Boats and Outdoor Use — Printable Press
- How to Apply Boat Rego Stickers Without Bubbles | Step-by-Step 2026