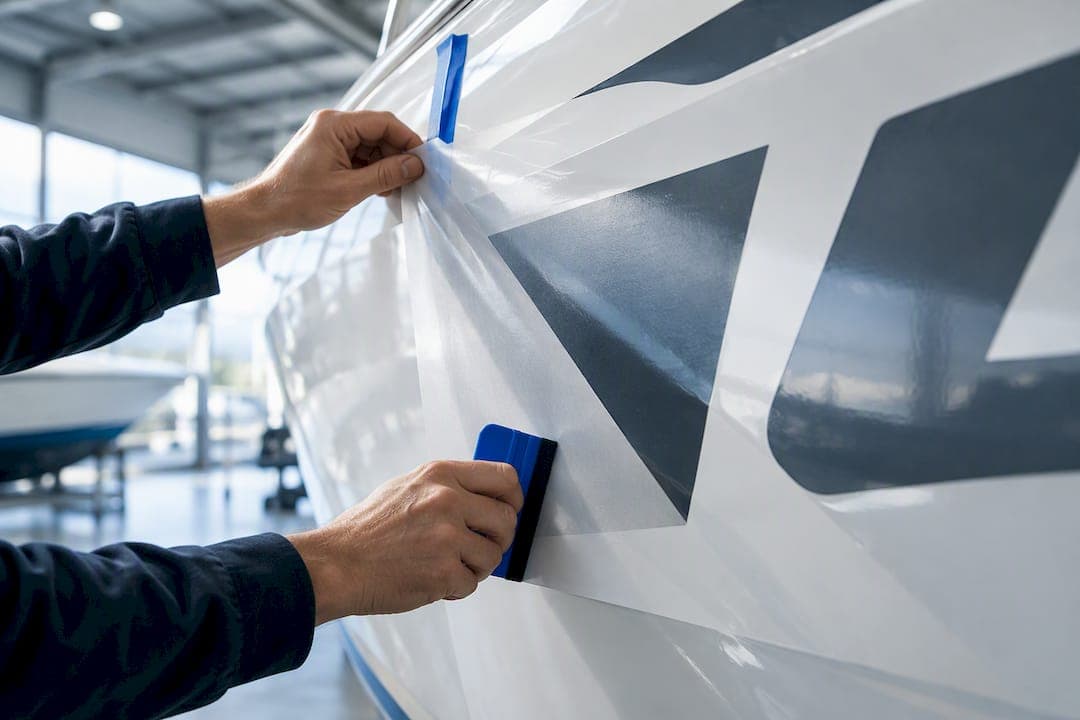
The hinge method is a decal application technique where you tape the graphic in place, fold it back at a center or top hinge, and squeegee outward from that hinge line in stages. It solves the biggest problem in vinyl application: keeping a large decal aligned while you install it alone, without letting the exposed adhesive touch down crooked or trap air. All you need is painter's tape, transfer tape, and a squeegee, along with the patience to work one half at a time. RegistrationDecals.com relies on this same logic when guiding customers through boat number installs.
TL;DR:
- Proper surface preparation and using the right materials are crucial; skipping these steps causes most decal application failures.
- The center-hinge method divides large decals into two halves for easier, more accurate installation, especially on wide or curved surfaces.
- Firm, overlapping strokes starting from the hinge outward push trapped air to the edges, minimizing bubbles and wrinkles during application.
- For tall or curved surfaces, use top hinges, relief cuts, or smaller sections to enhance flexibility and conformability.
- Practice on scrap vinyl before the actual install to master pressure and tape behavior, reducing mistakes during the final application.
Table of Contents
- What Is the Hinge Method for Decals?
- How Do You Apply Decals Using the Center-Hinge Method?
- Adapting the Hinge Method for Large or Curved Surfaces
- How Do You Fix Bubbles and Lifting After Applying a Decal?
- Why Manufacturers Build Their Instructions Around the Hinge
- A Few Honest Notes From Practice
- Order Custom Marine Decals Built for the Hinge Method
- Sources
- FAQ
What Is the Hinge Method for Decals?
The hinge method breaks a big decal into two manageable halves, joined by a temporary tape "hinge" that keeps the whole graphic locked in position while you apply one side at a time. It's the standard approach anyone installing boat numbers, wall graphics, or vehicle lettering should know, because it removes the guesswork of trying to lay down an entire sheet in one motion.
Before you hinge anything, gather the right materials and check your surface. Skipping either step is the most common reason installs go sideways.
What you'll need:
- Transfer tape (also called application tape), sized to match your decal
- Painter's tape or masking tape, 1 to 2 inches wide, plus a wider strip for the actual hinge
- A squeegee or plastic applicator, the felt-edged PA-1 style works well on painted surfaces
- Sharp scissors or a utility knife for trimming liner and tape
- Isopropyl alcohol and a lint-free cloth for cleaning the surface
- Optional: a level or a phone leveling app, a heat gun for curved panels, and a spare release sheet for burnishing practice
Clean the surface thoroughly and let it dry completely. If you're working over fresh paint, follow the paint manufacturer's cure time before applying any vinyl decal, since bonding too early can trap solvents under the film. On older or delicate paint, 3M recommends a quick adhesion check, sometimes called a tape-snap test, before committing to a permanent graphic. If the substrate fails that test, don't install a removable graphic on it. Removal later could pull paint with it, which won't be covered under any material warranty.
Once the surface passes inspection, measure your placement and mark light reference points with a pencil or a strip of tape. Keep the decal's backing liner on until the hinge is fully set. That backing is doing you a favor: it protects the adhesive from dust and premature contact while you get everything square.
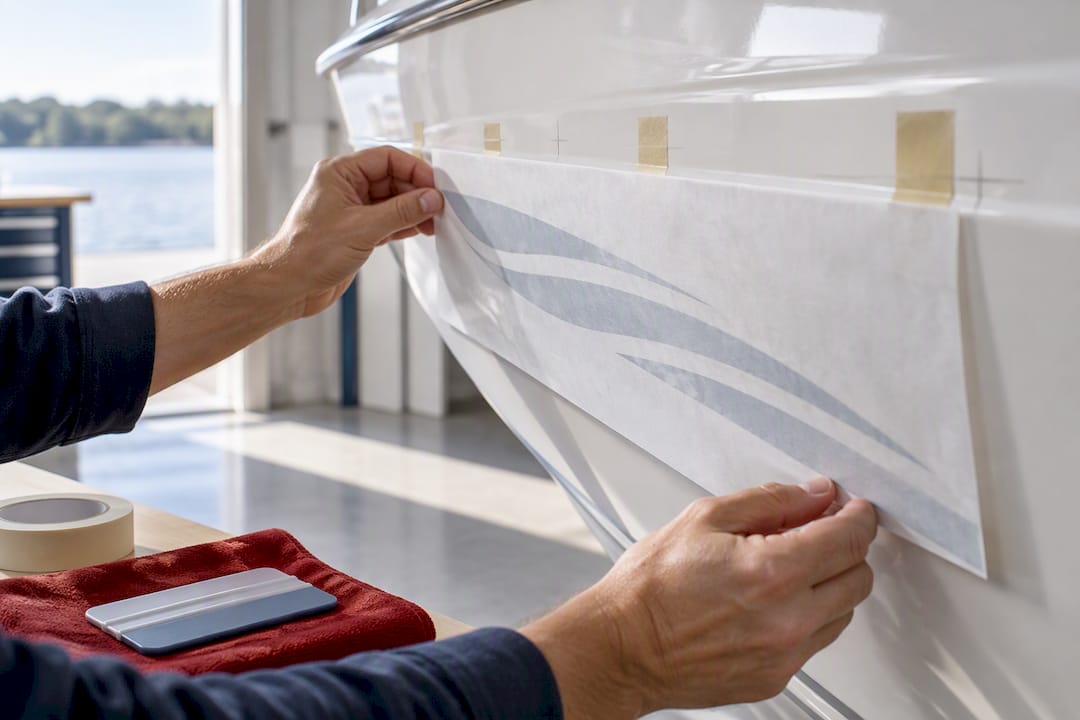
Pro Tip: Snap a quick photo of your marked placement lines before you start hinging. If the tape shifts mid-install, you'll have a reference to realign against instead of eyeballing it from memory.
How Do You Apply Decals Using the Center-Hinge Method?
Center hinging is the most reliable version of this technique for anything wider than a few inches, and it's the version Siser and 3M both build their installation bulletins around. Here's the sequence, start to finish:
- Position the decal, backing still on. Set it exactly where you want it and secure the corners with small strips of temporary tape so it can't shift.
- Lay a hinge across the center, either vertically or horizontally depending on the graphic's shape. Choose the orientation that gives you the shortest fold distance. A wide, short decal usually wants a vertical hinge; a tall, narrow one usually wants a horizontal hinge. Double check level before moving on.
- Fold back one half along the hinge, exposing the backing liner on that side. Peel the liner away up to the hinge line only, then cut off that section of liner and set it aside.
- Hold the exposed half slightly away from the surface so the adhesive doesn't touch down early, then squeegee from the hinge outward in overlapping strokes, using firm, even pressure. This is the step people rush, and it's the one that determines whether you get a flat, bubble-free bond or a mess.
- Repeat on the other half. Fold it back, cut the remaining liner, and squeegee outward from the hinge again. Once both sides are down, remove the hinge tape and peel the transfer tape at a low, shallow angle, burnishing back down any spot that starts to lift as you go.
Working from the hinge outward isn't just a habit sign installers picked up randomly. Firm, overlapping strokes starting at the center compress the adhesive layer and push trapped air toward the edges as you go, rather than sealing air pockets in the middle where you can't reach them.
Pro Tip: If you're right-handed, squeegee away from your body starting at the hinge. Pulling the squeegee toward yourself tends to drag the film and stretch it slightly out of shape.
Adapting the Hinge Method for Large or Curved Surfaces
A single center hinge works fine on a decal the size of a boat number set. It starts to strain once you're dealing with a full-length hull graphic, a tiled wrap panel, or anything wrapping around a curve. In those cases, the technique needs a few adjustments.
- Choose top hinge over center hinge for tall panels. A top hinge, where the entire graphic hangs from a single strip along the top edge, is common for vertical panels or paint masks where gravity can work in your favor instead of against you.
- Break big or tiled graphics into independent hinge sections. Each tile or panel gets its own hinge, and any cuts you make between design elements should only go through the film, never into the substrate underneath.
- Warm curved surfaces gently before applying vinyl, if the material allows it, and work in smaller sections rather than trying to wrap one continuous stretch in a single pass.
- Use partial laminations or relief cuts on tight curves to let the film relax into the shape instead of fighting it, easing tension as you squeegee rather than after the fact.
- Skip the heat gun on printed film with delicate inks or heat-sensitive adhesives. Warming helps plain cast vinyl conform, but it can distort ink or soften certain adhesives past their working range.
Small curved objects, like a tumbler or a rounded console edge, benefit from a scaled-down version of the same idea: a narrow hinge made from a strip of transfer paper or parchment, applied and peeled one side at a time to keep wrinkling to a minimum.
How Do You Fix Bubbles and Lifting After Applying a Decal?
Even a clean hinge job runs into small problems. Most of them have quick fixes if you catch them early.
- Small bubbles: Prick the bubble with a pin or fine needle, then press the air out toward the nearest edge with your squeegee. Don't try to lift and reset a whole panel for one bubble.
- A bubble full of dust or debris: Lift that section, wipe the adhesive lightly, and reapply rather than squeegeeing dirt permanently under the film.
- Lettering or a corner lifting during liner removal: Stop immediately, lay the transfer tape back down, burnish it flat, and try removing it again at a shallower angle. Yanking it off fast almost always makes it worse.
- Cold or textured surfaces: Vinyl adhesive doesn't bond well below a certain temperature threshold. If you're installing in cold conditions, check a cold-weather installation guide before you start, since waiting for warmer conditions often beats fighting a stiff, uncooperative decal. Textured gelcoat or rough fiberglass needs the same patience; a textured-hull application guide walks through the extra pressure and heat those surfaces typically need.
Once everything is down, do a final pass with firm, overlapping squeegee strokes across the whole graphic, and give the adhesive time to wet out fully before the surface takes any real abuse. Application tape adds abrasion resistance during that final squeegee pass, which is part of why hinge installs done with proper transfer tape hold up better than freehand attempts on thin printed film. Inspect the edges again after 24 hours, once the adhesive has had a full day to settle.
Why Manufacturers Build Their Instructions Around the Hinge
The hinge method isn't a shortcut crafters invented on their own. It's built into official manufacturer procedure because of how pressure-sensitive adhesive actually behaves.
- 3M's installation bulletin documents both top and center hinge procedures as the standard method for dry-applied graphics, specifying firm, overlapping squeegee strokes moving outward from the hinge.
- Pressure-sensitive films bond as soon as they contact a surface under light pressure and aren't meant to be repositioned afterward, which is exactly why the hinge exists: it lets you control precisely when and where contact happens, one section at a time.
- Peeling liner and transfer tape at a slow, parallel angle protects small letters or thin strokes from lifting off before the adhesive has fully grabbed.
- Adhesive chemistry affects wet versus dry technique. Acrylic adhesives, common in outdoor-grade films, generally perform best with dry application, since water can interfere with how the adhesive initially wets out and bonds to the substrate.
A Few Honest Notes From Practice
Most people over-think their first hinge job and then panic the moment a bubble shows up. It happens to almost everyone the first time, and it's rarely fatal to the decal.
Practice on a scrap piece of vinyl and a spare panel before your real install. You're not learning the steps, you already have those, you're learning how much pressure your specific squeegee needs and how your tape behaves when it's humid or cold. For hull-specific quirks or textured gelcoat, Registrationdecals cover edge cases a general tutorial won't. Try it once on something small before you trust it on the project that actually matters.
— Taylor
Order Custom Marine Decals Built for the Hinge Method
Getting the technique right matters more when the decal itself is cheap vinyl that curls, cracks, or fades in a season. There are alternatives to generic printer decals for boat owners: some boat decal sets are made from marine-grade vinyl that is UV-safe and saltwater-proof, cut for easy hinge installation.
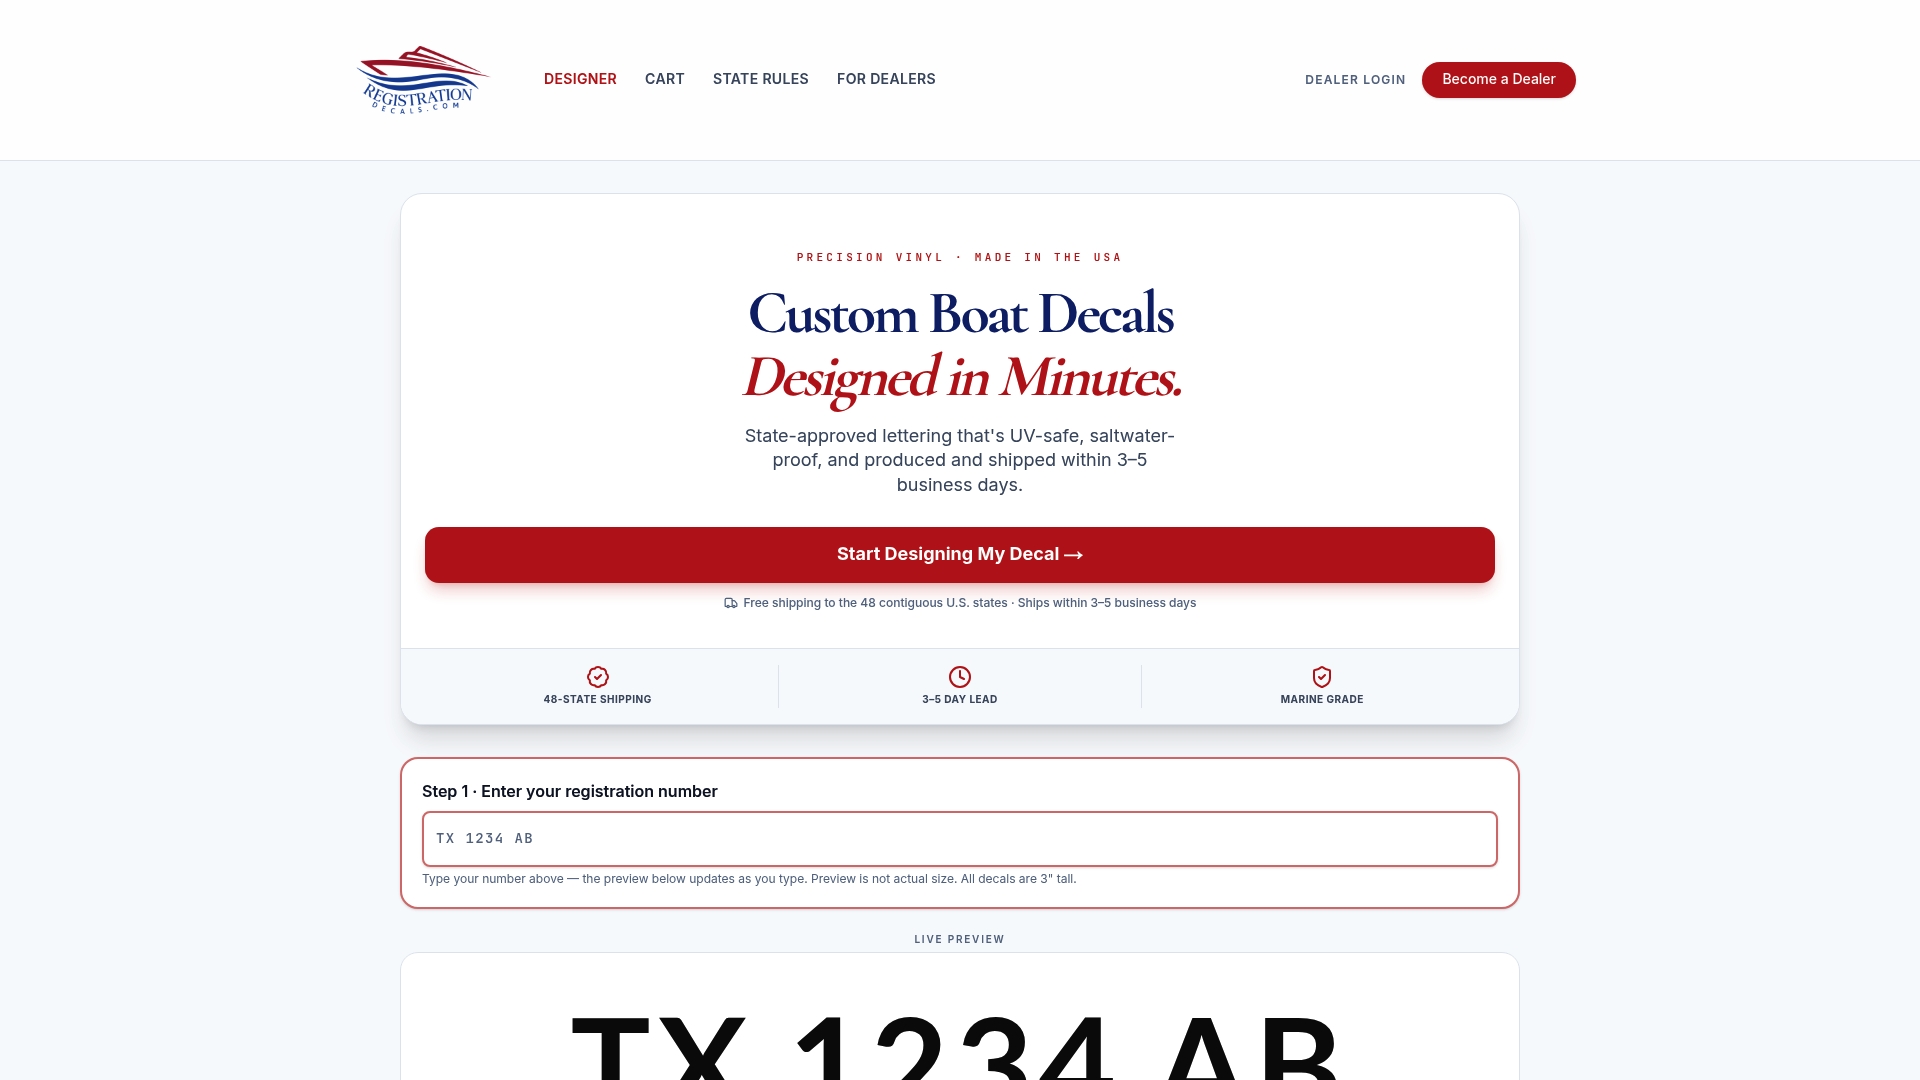
The online design tool lets you enter your registration numbers, pick colors and fonts, and have a finished proof in minutes, no design software needed. Orders ship in 3 to 5 business days with free shipping anywhere in the contiguous United States, so you're not waiting weeks to start your install. If your boat is a pontoon, jet ski, or bass boat with tight placement rules, check the pontoon numbers or jet ski numbers pages for sizing built around those hulls specifically. Once your set arrives, the hinge steps above will get it on straight the first time. Start your design now and have compliant, durable numbers on the water within the week.
Sources
The hinge steps in this guide draw directly from 3M's installation bulletins on hinge procedure and substrate checks, Siser's EasyPSV hinge tutorial for single-person craft applications, and hands-on walkthroughs from SoFontsy and SignWarehouse covering curved surfaces and printed film handling.
- The Hinge Method To Flawless EasyPSV® Applications | Siser North America
- How application tape and hinges can simplify application of printed vinyl graphics | SignWarehouse
- How to Apply Adhesive Vinyl Using the Center Hinge Method | So Fontsy
FAQ
What Is the Hinge Method?
The hinge method is a decal installation technique that uses a temporary tape hinge to hold a graphic in place while you apply one half at a time. It keeps large decals aligned and lets a single person install them without help.
Is It Better to Apply Decals Wet or Dry?
Dry application is generally preferred for acrylic adhesives common in outdoor vinyl, since water can interfere with how the adhesive bonds to the surface. Wet application (using a soapy water solution) is more common with certain repositionable films, but it's not the default choice for a permanent hinge install.
What's the Difference Between a Vinyl Decal and a Sticker?
"Sticker" is a broad, informal term, while a vinyl decal usually refers to a cut or printed vinyl graphic designed to be transferred with application tape. How it installs depends more on its construction, cut vinyl versus printed film versus adhesive backing, than on which label it's given.
Does Heating Up Vinyl Make It Stick Better?
Gentle heat can help vinyl conform to curved or textured surfaces, but it isn't a universal fix. Printed film with delicate inks or heat-sensitive adhesive can distort under a heat gun, so warming should be targeted to the surface, not applied by default to every install.
Does RegistrationDecals.com Explain the Hinge Method for Boat Decals?
Yes. RegistrationDecals.com's application guide covers hull-specific placement and technique alongside the marine-grade decals it sells. Pricing for a custom set starts at $35.99 per set.