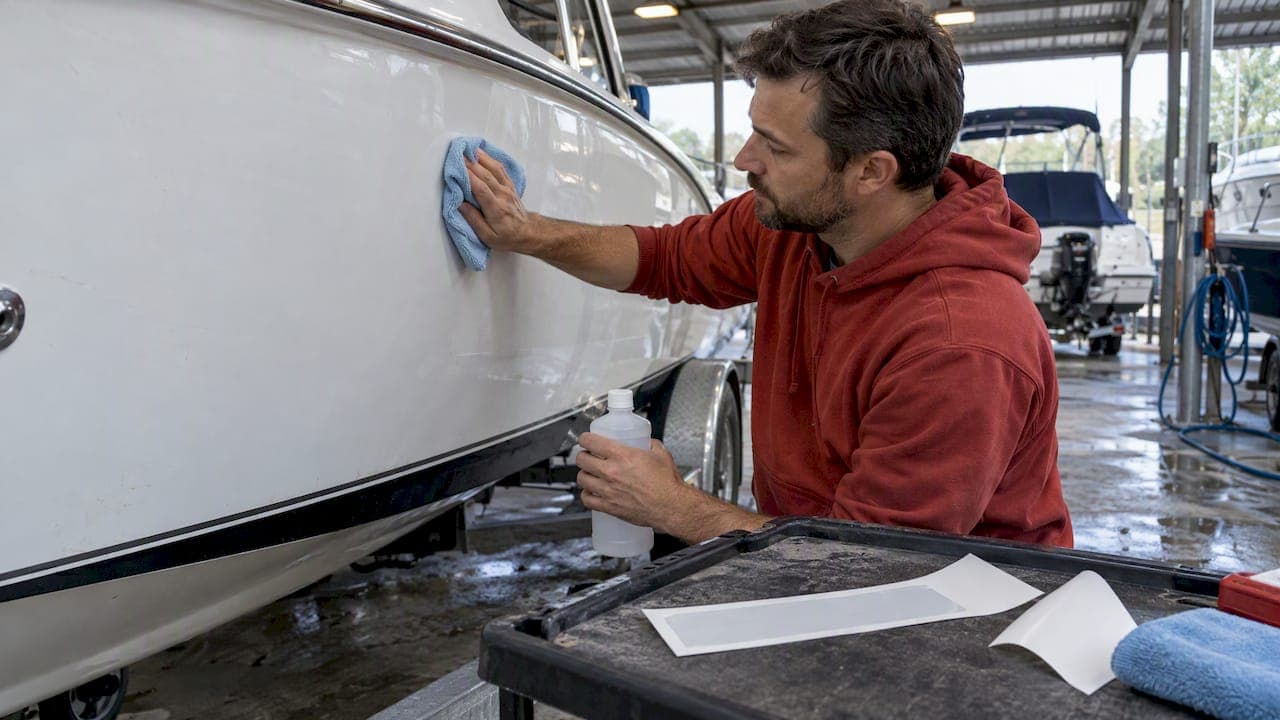
Do not apply decals to a waxed hull. Wax and polish leave a film that blocks the adhesive from bonding to gelcoat or paint, so stickers lift, bubble, or fall off within weeks. If your hull already has wax on it, wash it, degrease it with isopropyl alcohol or a dedicated surface cleaner, run the nail test, and only apply decals once that residue is completely gone.
TL;DR:
- Decals should only be applied to hulls that are completely free of wax, polish, and silicone residues to ensure proper adhesion.
- Proper surface cleaning involves washing, degreasing with isopropyl alcohol, and testing with a nail to confirm the surface is ready.
- Dry application methods are recommended over wet methods to maximize adhesive contact and reduce future lifting issues.
- Mild heat and gentle pressure should be used during application, especially on curves, to prevent stretching or bubbles.
- Routine maintenance includes avoiding waxing near decals for at least a week post-application and cleaning with mild soap and water to prolong decal life.
Table of Contents
- Tools and materials you need before you start
- Why wax, silicone, or polish prevents decals from sticking
- Step-by-step cleaning and de-waxing routine for a waxed hull
- Applying the decal once the hull is ready
- Aftercare: when to wash, when to wax, and maintenance tips
- Author checklist and common mistakes from RegistrationDecals.com's experience
- Methods for safely removing decals from waxed surfaces
- Common problems and troubleshooting decal adhesion on waxed hulls
- When to DIY and when to hire a pro
- A faster path if you'd rather skip the guesswork
- FAQ
- Sources
Tools and materials you need before you start
Before you touch a decal to the hull, gather everything so you are not hunting for supplies mid-job with a half-peeled backing in your hand.
- Marine-grade vinyl registration decals, sized and cut for your hull
- Isopropyl alcohol at 70% or higher, or a manufacturer-approved surface cleaner
- pH-neutral boat soap and several clean microfiber towels
- A plastic squeegee, masking tape, a measuring tape, and plastic razor blades
- A hair dryer or heat gun for gentle, localized heat
- A marine-safe adhesive remover for old residue
A surface prep primer recommended by the film manufacturer is worth having on hand for older or chalky gelcoat, and a clean, dust-free workspace keeps grit from getting trapped under the film while you work.
Why wax, silicone, or polish prevents decals from sticking
Pressure-sensitive adhesives, the kind used on nearly every boat decal, need direct contact with the paint or gelcoat to form a lasting bond. Wax, silicone-based polishes, and even some spray detailers leave a microscopic film on the surface that sits between the adhesive and the substrate, so the decal never actually touches the hull it is supposed to stick to.
Avery Dennison's instructional bulletins require removal of all wax, polish, silicone, grease, and co-polymer or ceramic coatings before applying pressure-sensitive films, and recommend a final clean with a surface cleaner or isopropyl alcohol. The warning matters because these residues are often invisible. A hull can look spotless and still carry enough wax to ruin adhesion.
The failure modes are predictable once you know what to look for: edges that curl up within days, bubbles that form as trapped air and off-gassing push against a weak bond, and decals that peel off whole after a few trips through the wash rack. None of that is a defect in the vinyl. It is almost always a prep problem.
Step-by-step cleaning and de-waxing routine for a waxed hull
A reliable prep routine follows the same order every time, regardless of how the hull looks going in.
- Wash the whole area with pH-neutral boat soap and rinse thoroughly to remove salt, grime, and loose debris.
- Degrease with 70% isopropyl alcohol or a manufacturer surface cleaner, using the two-towel method that Avery Dennison's substrate prep bulletin recommends: one towel wet with cleaner to lift the residue, a second dry towel immediately behind it to wipe the residue away before it redeposits.
- If the hull has a ceramic coating or sealant, check with that product's manufacturer before stripping it; some coatings require a specific remover rather than generic solvents.
- Run the nail test: drag a clean fingernail across the surface. If it glides smoothly or leaves a faint waxy streak, clean again. A properly prepped surface should feel slightly grippy, almost like dry skin.
- Let the hull dry completely and work in a shaded, wind-protected area. Most films apply best in a moderate temperature range, and extreme heat or cold affects both the adhesive and your ability to reposition the decal.
Pro Tip: Do the nail test in two or three spots, not just one. Wax often sits unevenly across a hull, so one clean-feeling patch does not guarantee the rest is ready.
Applying the decal once the hull is ready
Start with layout, not adhesive; for detailed application guidance, follow the step-by-step vinyl decal application for DIYers. Use masking tape to mark a centerline and reference points so the decal goes on straight before any backing paper comes off.
- Peel back only a few inches of backing at a time and tack down the top edge first.
- Work the squeegee outward from the center toward each edge in overlapping passes, pushing air ahead of the tool rather than trapping it.
- Use a hair dryer on low heat to soften the film around curves or concave sections, and avoid stretching it past its relaxed shape.
- Once applied, burnish the whole decal firmly with the squeegee to lock down the edges.
3M's instruction bulletin for its Wrap Film Series 1080 recommends dry application for many wrap films rather than the wet "soap and water" method some installers use on flatter graphics, because residual water trapped under the film reduces the ultimate strength of the bond and can cause lifting weeks later. Dry application, done correctly, typically gives the adhesive its best chance at full contact with the substrate from the first press.
Give the decal a short rest before exposing it to heavy spray, direct hose pressure, or a dock wash down, since the adhesive continues to build strength over the following day.
Aftercare: when to wash, when to wax, and maintenance tips
Leave freshly applied decals alone for the first day or two. The adhesive keeps curing after application, and running the boat through surf or a pressure washer too soon can work water underneath the edges before the bond is fully set.
Skip waxing anywhere near the decal for at least a week, and when you do wax the surrounding hull, mask the decal off rather than letting polish creep onto its edges, since that same wax film that kept it from sticking initially will also loosen it over time. For routine cleaning, stick to mild soap, water, and a microfiber towel, and avoid solvent-based cleaners directly on the vinyl.
If you want extra protection in a harsh sun or salt environment, ask about overlaminates designed for marine vinyl and confirm compatibility with your decal's adhesive before applying one, since not every laminate is built for the same films.
Author checklist and common mistakes from RegistrationDecals.com's experience
Run through a short checklist before you ever peel a backing: is the surface clean by the nail test, is it dry, is the temperature moderate, and has any recent paint, ceramic coating, or wax job been fully cured or removed?

The most common mistake is trusting a hull that "looks clean." A second close behind it is skipping the final IPA wipe because the soap wash seemed thorough enough. Applying decals over a ceramic coating or fresh paint without checking that product's own guidance is another frequent cause of early failure. For hulls with textured gelcoat, our guide to decals on textured hulls covers the extra heat and press steps that smoother hulls do not need.
Methods for safely removing decals from waxed surfaces
Removing an old decal from a waxed or previously waxed hull calls for patience rather than force. Start by softening the vinyl with gentle, even heat from a hair dryer or heat gun held several inches away, working in small sections rather than trying to loosen the whole decal at once.
Once the film is warm and pliable, lift an edge with a plastic razor blade rather than a metal scraper. BetterBoat's removal guidance specifically warns against metal tools because they can scratch or gouge gelcoat, while plastic blades slide under the adhesive without damaging the surface beneath.

After the decal itself comes off, you will usually be left with a ghost outline of old adhesive. A marine-safe adhesive remover, applied with a soft cloth and worked in small circles, clears that residue without attacking the gelcoat's finish. Rinse and wash the area afterward so no remover film is left behind, since that film can interfere with whatever decal or finish goes on next.
For a full walkthrough with more detail on tricky spots like rub rails and transom curves, our step-by-step removal tutorial covers the process start to finish.
Common problems and troubleshooting decal adhesion on waxed hulls
Bubbles under a freshly applied decal almost always mean trapped air or moisture, not a bad batch of vinyl. Small bubbles near the center often work themselves out within a day as the adhesive settles; larger ones may need a pinprick release followed by a firm squeegee pass to flatten them.
Edge lift that shows up within the first week usually points back to incomplete wax removal at that specific spot. Re-clean the area around the lifted section with isopropyl alcohol, press the edge back down, and burnish it firmly. If lift continues, the decal likely needs to come off entirely and go back on after a fresh degreasing pass.
A decal that will not sit flat on a curve is being asked to do more than the vinyl can stretch without heat. Warm the area gently and work the squeegee in smaller, overlapping strokes rather than one long pull, which spreads the tension more evenly across the film.
If a decal looks fine for weeks and then suddenly peels, consider whether recent waxing nearby let polish creep under the edge. Keeping a buffer zone around any decal during routine waxing prevents this from recurring.
When to DIY and when to hire a pro
Flat or gently curved hull sections are reasonable DIY territory once the surface passes the nail test. Deep compound curves, large custom graphics, or hulls with recent paintwork of uncertain quality are better left to a professional installer, who may use a heat tunnel, work the film in sections, and build in a post-heat dwell time that is hard to replicate with a hand-held dryer.
A faster path if you'd rather skip the guesswork
We build marine-grade vinyl registration decals specifically to survive the surfaces boat owners actually deal with: salt spray, UV exposure, and yes, hulls that have been waxed more than a few times. Our online design tool lets you enter your registration number, pick colors and fonts, and have a set ready to ship without any back and forth.
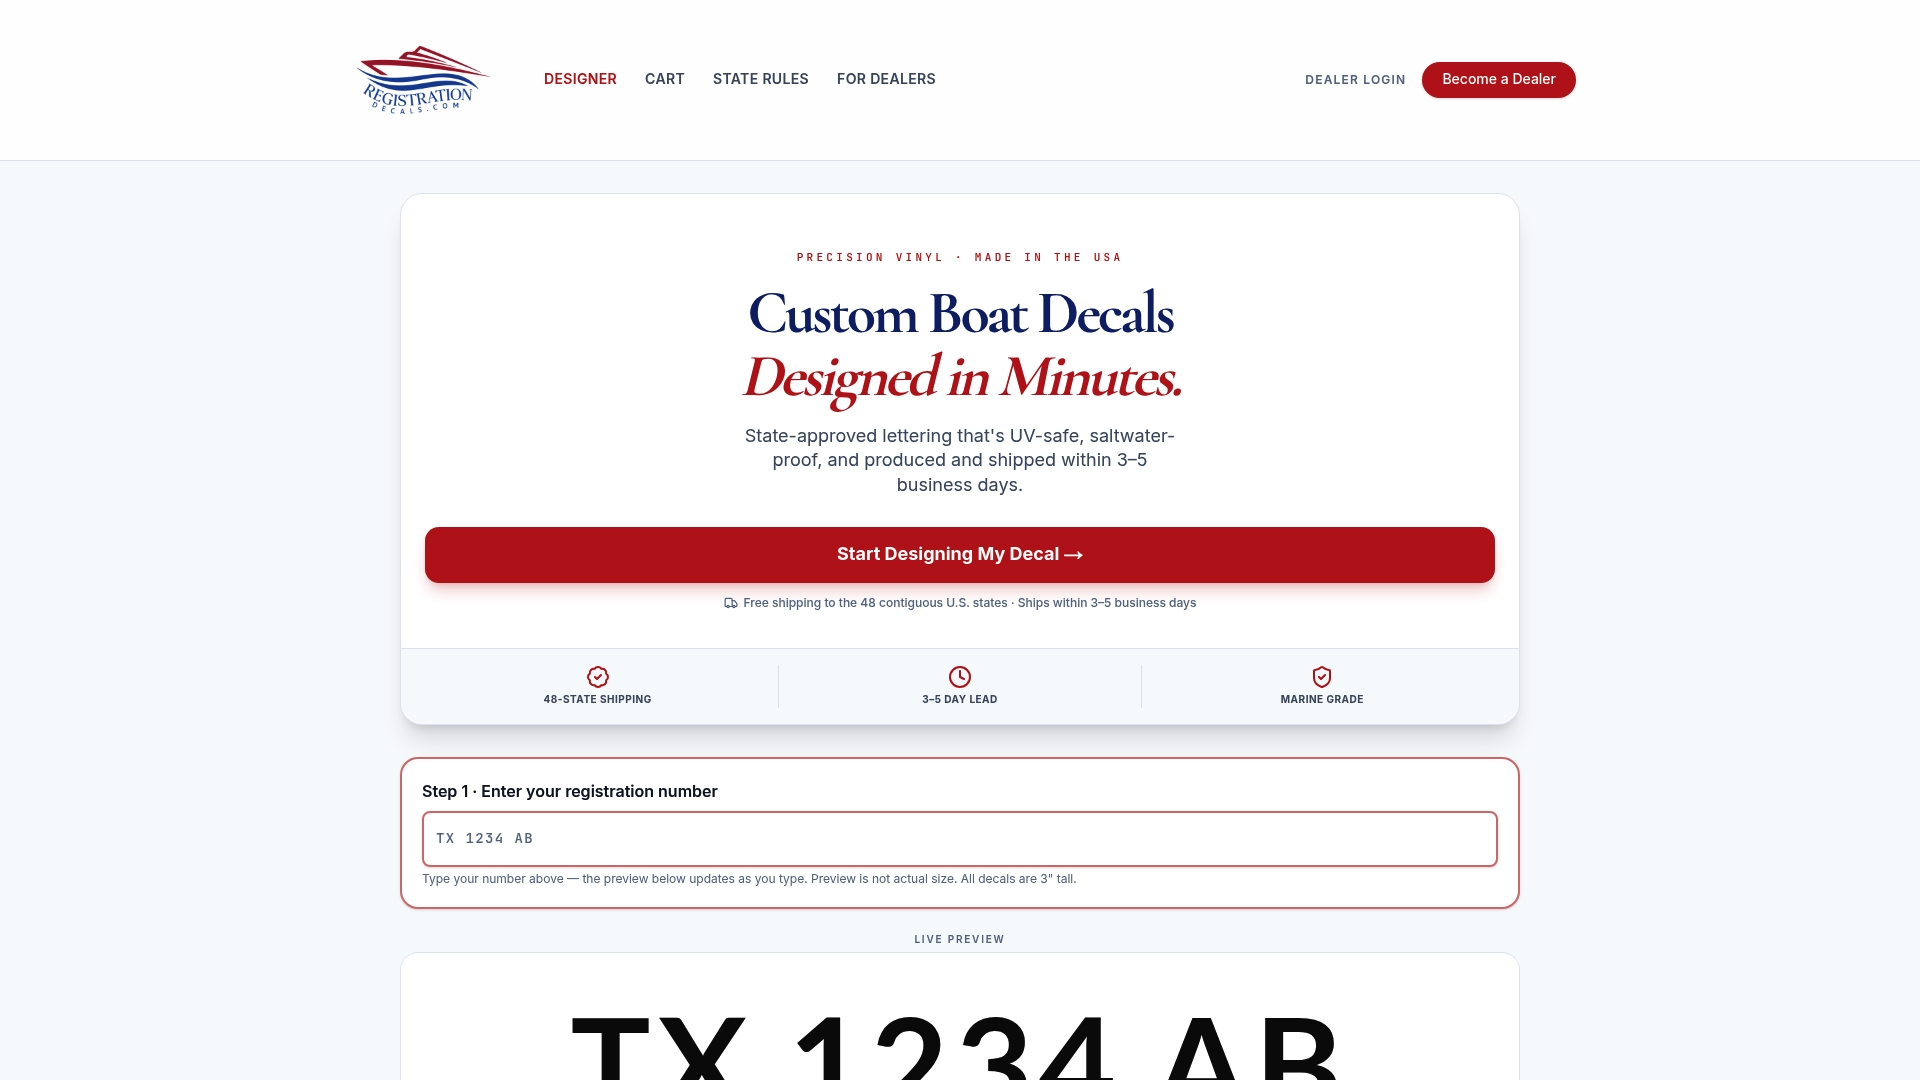
- Production times are generally a few business days, with shipping available in the contiguous United States.
- Dedicated product lines cover jet skis, pontoons, bass boats, aluminum hulls, and center consoles.
- Bulk ordering is available for marinas and dealerships.
Start your custom boat registration decal set once your hull is prepped and ready for a set that is built to hold up.
FAQ
What kind of vinyl should I use for boat decals?
Marine-grade vinyl rated for UV and saltwater exposure is the right choice for a hull, since standard indoor or short-term vinyl breaks down quickly in sun and spray. Cast vinyl films generally conform better to curves than calendered vinyl, which matters on rounded bows and transoms.
Can I use permanent vinyl on a boat?
Permanent adhesive vinyl is designed for exactly this kind of long-term outdoor application and is the standard choice for registration numbers and decorative decals on hulls. The adhesive still needs a clean, wax-free surface to bond properly, regardless of how permanent the formula is rated.
Can you use Windex to apply decals?
Window cleaners like Windex are sometimes used in the wet-application method for flat glass or simple graphics, but 3M's guidance for its wrap films favors dry application for most films, warning that residual water under the film reduces adhesion over time. For a boat hull, isopropyl alcohol followed by a dry application gives a more reliable bond than a wet soap-and-water method.
Should I apply clear coat before or after decals?
If you are planning a fresh clear coat or paint job, let it fully cure first and check with the coating manufacturer on recommended wait times before applying any decal, since uncured finishes can trap solvents under the vinyl. Overlaminates made for use over decals are a separate product from hull clear coat and go on after the decal, not before.
How long do decals last on a properly prepped hull?
Decal lifespan depends heavily on prep quality, sun exposure, and how the hull is cleaned afterward, with well-prepped marine-grade vinyl generally outlasting decals applied over wax or without a proper degrease. Our guide to marine vinyl decal lifespan covers the specific factors that affect how long a set holds up.
— Taylor
Sources
- Printing, Processing and Application Instructions for Vehicle Wrap Graphics (Avery Dennison)
- 3M™ Wrap Film Series 1080 instruction bulletin
- Pro Guide to Vinyl Decal Removal From Boats (BetterBoat)