
Documented vessel markings, in the sense that matters to most recreational boat owners, are state registration numbers and validation decals, not a name plate on a hull. Federal rule requires plain vertical block characters at least 3 inches tall, in a color that contrasts with the hull, displayed on both sides of the forward half of the boat, with the validation decal mounted near the number. This guide walks through materials, measuring, installation, upkeep, and where to order decals that pass inspection the first time.
TL;DR:
- Using marine-grade vinyl with UV and saltwater resistance helps maintain high contrast and pass inspections after months in harsh marine environments.
- Proper placement requires measuring the hull’s forward half, choosing a flat, visible surface above the waterline, and leaving adequate space for the decal and validation sticker.
- Both size and contrast rules must be followed strictly, with decals at least 3 inches tall and visibly contrasting against the hull to ensure readability.
- Removal of old decals and proper surface cleaning are essential steps to prevent peeling, bubbles, or adhesion failure when installing new registration numbers.
- Ordering decals through online tools allows for quick customization and delivery, minimizing compliance risks, especially for seasonal or bulk boat outfitting needs.
Table of Contents
- Regulatory Checklist: Exact Size, Font, Placement, and Spacing Rules
- Material and Durability: Why Marine-Grade Vinyl Matters
- How to Measure, Size, and Prepare Your Boat for Compliant Decals
- Installation and Maintenance: Step-by-Step Application and Upkeep
- Common Pitfalls, Quick Compliance Checklist, and When to Use Backing Plates
- RegistrationDecals.com: Inspection-Ready Decals and Ordering Workflow
- A Boat Owner's Reality Check on Compliance
- Order Compliant Decals Built for Salt, Sun, and Inspection
- Sources
Regulatory Checklist: Exact Size, Font, Placement, and Spacing Rules
Federal rule sets the floor every state builds on. Under 33 CFR § 173.27, registration numbers must be plain vertical block characters at least 3 inches tall, painted or permanently attached to each side of the forward half of the vessel, in a color that contrasts with the hull background. Numbers read left to right, and any letters get separated from the number group by a hyphen or a space equal to the width of a letter.
States layer their own specifics on top of that baseline:
- Texas: Texas Parks & Wildlife requires the same 3" block characters and pairs the number with a decal placed close by, matching the federal contrast rule.
- Ohio: The Ohio DNR commonly places the validation decal about six inches behind the registration number and color codes it by expiration period.
- Pennsylvania: 58 Pa. Code § 93.5 specifies decals roughly 3 inches square, displayed within a few inches of the number.
Two common exceptions matter for dealers and difficult hulls. Boat dealers and testers may run removable plates instead of permanent decals while a vessel is on trial or for sale. And when a curved hull section won't hold flat characters legibly, a backing plate is the accepted fix, not a smaller font. If your boat needs numbers on both sides confirmed for your specific hull layout, that's worth checking before you order anything.
Material and Durability: Why Marine-Grade Vinyl Matters
Non-marine vinyl is the single biggest reason boat owners fail a dockside check months after installing new numbers. Standard pressure-sensitive stickers, the kind sold for cars or storefronts, weren't built for salt spray or constant UV exposure. They yellow within a season, lift at the edges, and lose the contrast that makes a number readable from an inspector's boat. That loss of contrast isn't cosmetic. BoatUS points out that maximum visibility and high contrast are the standard inspectors and enforcement officers actually check against, not just the raw dimensions.
Marine-grade vinyl solves the problem with a different build: UV-stable pigments that resist fading, a saltwater-proof adhesive layer, and often a laminate overcoat that shields against abrasion. When you order decals, ask for:
- Marine-grade cast or calendered vinyl rated for saltwater exposure
- A UV-resistant laminate overlaminate, not just raw vinyl
- Adhesive rated for continuous water contact, not general outdoor use
Good marine vinyl cuts down on how often you're re-ordering and re-installing, which matters more than the small price difference between grades.
Pro Tip: Check your current decals every spring before the first launch. If the color has faded enough that you'd hesitate calling it "high contrast," it's already failed the standard inspectors use, even if the shape is still readable.

How to Measure, Size, and Prepare Your Boat for Compliant Decals
Getting the placement right the first time saves you a second order. Follow these steps before you buy anything:
- Find the forward half of your hull. Measure the total length from bow to stern, mark the midpoint, and confirm your mounting spot sits ahead of it on both sides.
- Pick the flattest, most visible surface above the waterline. Avoid rub rails, hardware, and any spot a fender or ladder regularly covers.
- Measure for 3-inch character height, accounting for any curvature in that section. A cardboard mockup taped in place, or a preview through an online design tool, shows you exactly how the finished set will read at a glance.
- Decide if you need a backing plate. If the hull curves enough that flat block characters won't sit cleanly, a mounting plate gives you a flat surface instead of forcing you to shrink the numbers below 3 inches.
- Confirm space for the validation decal. Leave a clear few inches next to where the number will sit, since most states require the decal close to the number, not on the opposite side of the boat.
Sizing this way before you order prevents the classic mistake of a set that technically meets the height rule but doesn't fit the available flat space on your hull.
Installation and Maintenance: Step-by-Step Application and Upkeep
Old decals have to come off completely before new ones go on, and that step gets skipped more often than it should. Layering a new decal over an old one traps moisture underneath and causes early lifting, according to guidance from the Ohio DNR.
- Remove old decals fully. Use a heat gun on low and a plastic scraper to lift old vinyl and adhesive residue without gouging the gel coat.
- Clean and dry the surface. Wipe with isopropyl alcohol, then let the hull dry completely before applying anything new.
- Apply the decal. Peel back a small section of backing, position it, then squeegee outward from the center to push out air bubbles.
- Seal the edges and let the adhesive cure per the product instructions, ideally in dry, moderate weather rather than direct midday sun.
Once installed, rinse the decal area during regular hull washing to clear salt buildup, and inspect for peeling or fading each spring. Replace a decal the moment contrast starts to fade rather than waiting for it to become unreadable. If you're storing the boat over winter, a light wax around the decal edges (not over them) helps the adhesive hold through temperature swings. For deeper fading prevention steps, see this guide on protecting decal color.
Pro Tip: Apply new decals when the surface temperature is between 50 and 90 degrees Fahrenheit. Adhesive that goes on too cold won't bond fully, and that's often the real reason a "quality" decal peels within a year.
Common Pitfalls, Quick Compliance Checklist, and When to Use Backing Plates
Run through this before every launch:
- Numbers and letters are at least 3 inches tall, plain block style, no script or italics.
- Color contrasts clearly against the hull, front and back.
- Numbers sit on the forward half, both sides, right side up and left to right.
- Validation decal is mounted near the number, current and unexpired.
- No old decal layers hiding underneath the current one.
The most frequent failures aren't exotic. Non-marine vinyl, decals stacked on top of old ones, numbers mounted too low or partly hidden behind rub rails or hardware, and low-contrast color pairings (white on light gray, for instance) account for the majority of compliance issues on inspection. High-contrast pairings, dark on light or light on dark, let enforcement officers verify a number from a distance rather than idling up close, a point BoatUS emphasizes directly. When your hull geometry works against you, a backing plate solves the placement problem without breaking the height rule.
RegistrationDecals.com: Inspection-Ready Decals and Ordering Workflow
RegistrationDecals.com builds its decals from marine-grade vinyl designed to survive UV exposure and constant saltwater contact, which addresses the exact failure points that cause most compliance headaches. The online design tool lets you enter your registration number, pick colors and fonts, and preview the finished decal before you commit to an order, which solves the sizing guesswork from the measuring steps above.
Typical use cases include:
- Individual replacement when existing decals have faded or peeled past legibility.
- Bulk orders for marinas and dealerships outfitting multiple boats with consistent, state-compliant sets.
- Temporary numbering for sales or testing, where a removable option keeps a boat compliant without a permanent install.
Production times typically range from a few days, with shipping available in the contiguous United States, a turnaround that matters when a season's launch date is already on the calendar.
A Boat Owner's Reality Check on Compliance
Most boat owners treat registration decals like a one-time chore, slap them on once, and forget them until an officer points at a faded number during a routine stop. That's backwards. The decal is the cheapest, fastest compliance item on your entire boat, and it's usually the first thing checked. Running through numbers, decals, and your registration card before the season's first launch takes five minutes and saves you a conversation you don't want to have on the water.
— Taylor
Order Compliant Decals Built for Salt, Sun, and Inspection
Once you know the size, placement, and material specs your boat needs, ordering decals should take minutes, not another afternoon of research. Registrationdecals is built around exactly that: a design tool where you enter your registration number, pick a font and color combination that meets the contrast requirement, and preview the finished layout on screen before you pay for anything.
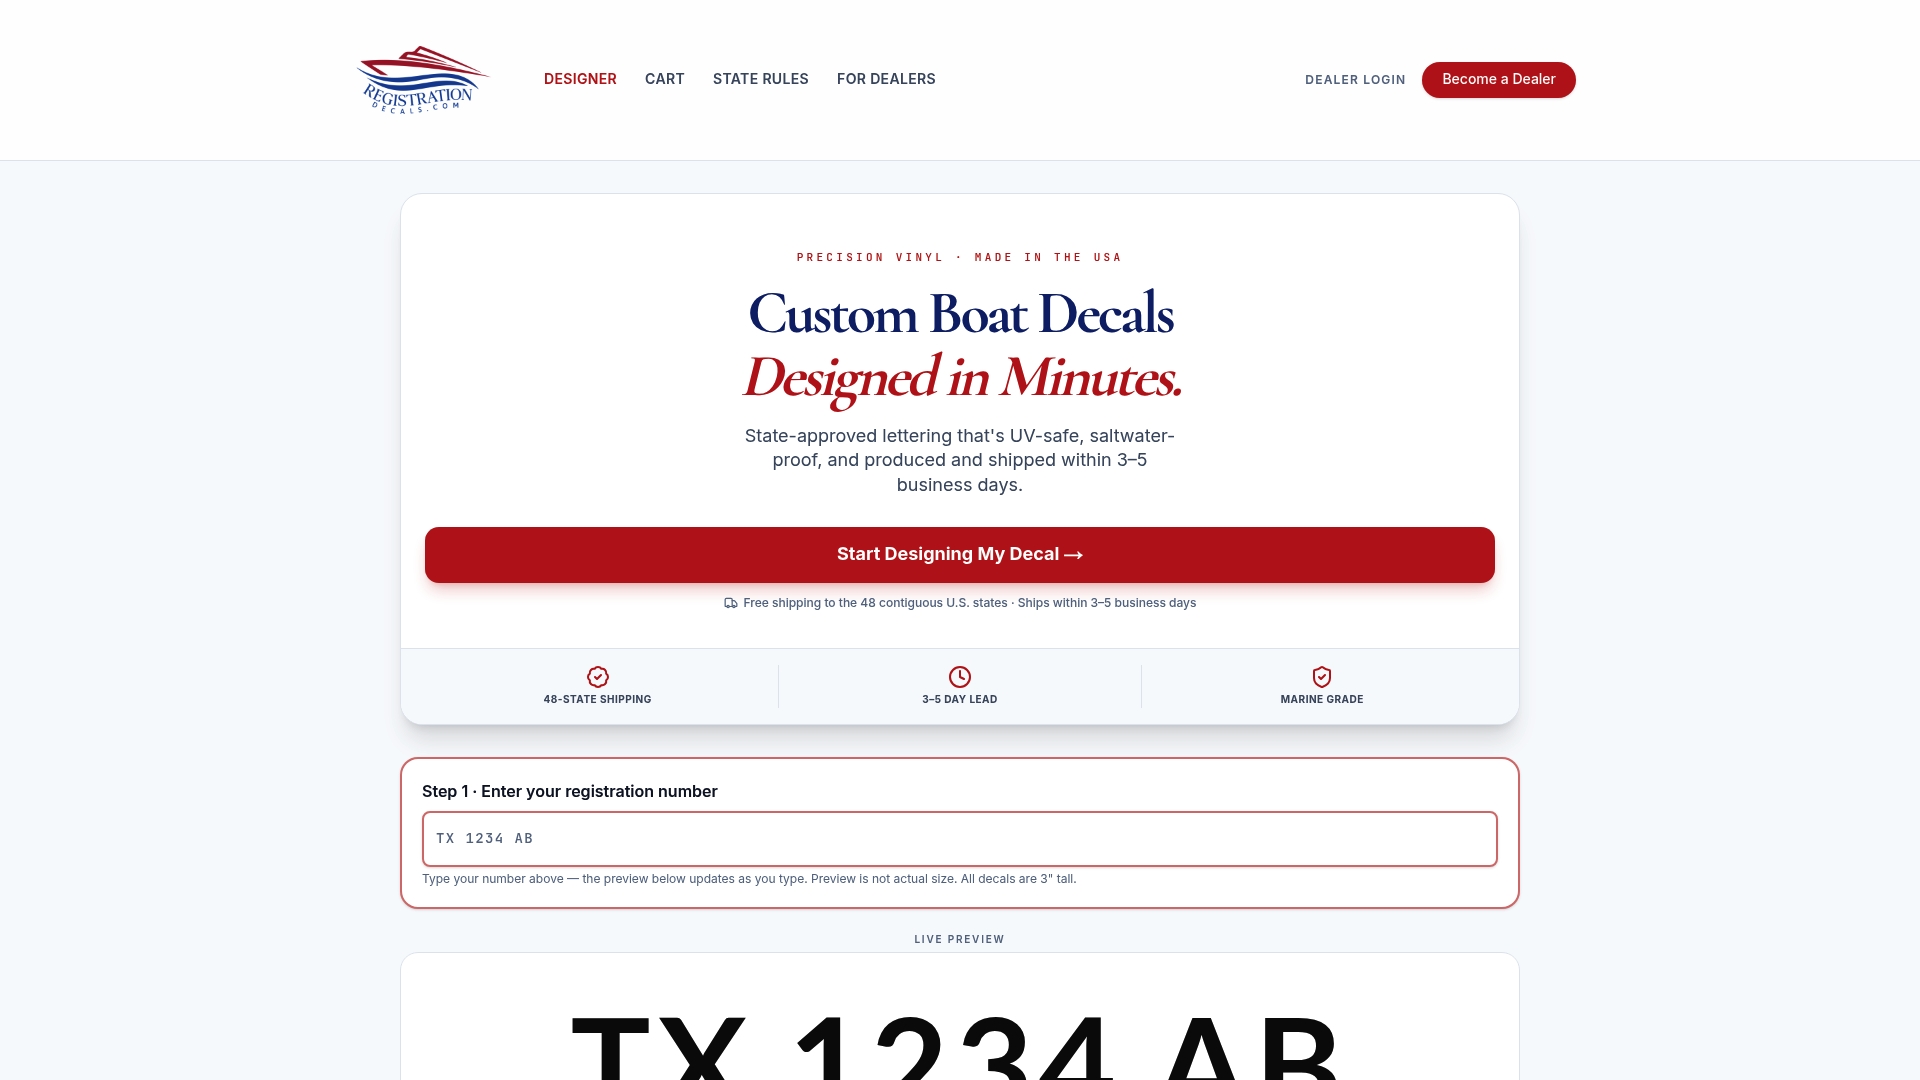
Production times typically range from a few days with shipping offered within the contiguous United States, and marinas or dealerships outfitting multiple boats can place bulk orders through a single platform rather than juggling separate one-off purchases. If your boat has faded numbers right now, or you're prepping a new hull for its first season, design your decal set and get it in the mail before your next launch date. If you're unsure whether your current numbers can even be vinyl instead of painted-on, check the material rules here before you order.
Sources
Federal placement, size, and color rules come straight from 33 CFR § 173.27, the baseline every state builds on. For state-specific variations, Texas Parks & Wildlife and the Ohio DNR both publish clear placement diagrams. For the block-character rule explained in plain terms, see this breakdown of the 3-inch requirement. Boat owners tackling seasonal maintenance broadly, including battery upkeep alongside hull care, can also check this marine battery installation checklist.
- 33 CFR § 173.27 — Numbers: Display; size; color
- BoatUS — registration requirements (study guide)
- Displaying Your Numbers & Decals - Ohio DNR
- CFR compilation — Part 173 (Numbers and related provisions)