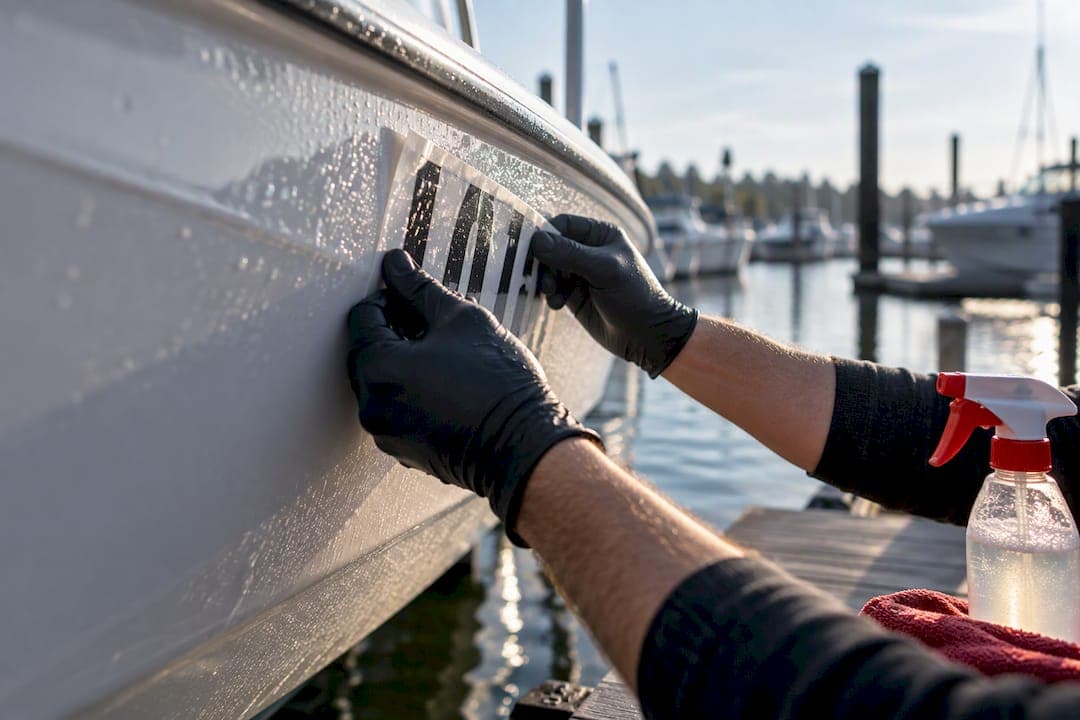
Yes, a mostly-water solution with a drop or two of mild detergent works well as an application fluid for many pressure-sensitive vinyl decals, and it's the same method manufacturers like Avery Dennison document in their own installation bulletins. It buys you time to slide the decal into position before the adhesive grabs. But it isn't universal: skip it on films built with air-egress channels, skip it on heavily textured or curved surfaces, and keep your workspace temperature between 60°F and 80°F for the best results.
TL;DR:
- The soapy water method works best on flat, smooth surfaces and should be avoided on air-egress films, textured surfaces, or curved hulls.
- Mixing the application fluid requires a water-to-detergent ratio of no more than two drops per liter to prevent residue that weakens adhesion.
- Installing decals in temperatures between 60°F and 80°F ensures proper wet-out and reduces the risk of early tack-up or difficulty controlling the vinyl.
- Testing a small section of transfer tape lifted after 30 to 45 minutes verifies the adhesive's set, especially in cool or large-scale applications.
- Marine-grade decals designed for UV resistance and saltwater exposure facilitate easier wet application and long-term adhesion on boats.
Table of Contents
- How Do You Apply a Decal Using the Soapy Water Method?
- When Should You Use Wet vs. Dry Decal Application?
- How Do You Fix Bubbles or Tack-Up Problems?
- What Marine-Specific Precautions Should Boat Owners Take?
- What Do Experienced Installers Actually Do Differently?
- Get Marine-Grade Decals Built for a Clean Wet Install
- Sources
- FAQ
How Do You Apply a Decal Using the Soapy Water Method?
Soapy water application, sometimes called the wet method or wet-slide technique, buys you a window to reposition a decal before the adhesive sets permanently. It's the go-to approach for flat pressure-sensitive vinyl where precision matters more than speed, and it's the same basic technique behind water slide decal application on hobby models and full-scale boat lettering alike.
What you need before you start
Gather everything first. Stopping mid-application to hunt for a squeegee is how bubbles and misalignment happen.
- A clean spray bottle (one that's never held anything oily or scented)
- Mild dish detergent with no wax additives, moisturizers, or added fragrance
- A felt-edge squeegee
- Low-tack masking tape or transfer tape
- Lint-free microfiber towels
- A pin or fine needle for venting stubborn air pockets
Mixing the application fluid
The ratio matters more than most people assume. Avery Dennison's own wet-application bulletin calls for a solution that's overwhelmingly water, with no more than two drops of mild detergent per liter. For smaller jobs, that translates to roughly one drop per 16 ounces of water. Too much soap leaves behind a residue film that weakens the bond between adhesive and substrate, which defeats the entire purpose of a clean install.

If you're working in cold or humid conditions, some installers add a small splash of isopropyl alcohol to help the fluid evaporate faster. Keep it minimal. A few drops in a full spray bottle is plenty; too much can affect adhesive tack in ways that are hard to reverse.
Cleaning the surface
Wash the substrate with your soapy solution and a soft cloth or pad, then rinse and dry it completely. 3M's substrate preparation guidance recommends detergent and water for routine cleaning, but switching to isopropyl alcohol or a mild solvent wipe when you're dealing with grease, wax, or old adhesive residue. Wipe the surface immediately before applying the decal. Dust and lint that settle in the gap between cleaning and application end up trapped under the vinyl forever.
The application sequence
Once the surface is dry, lightly mist both the substrate and the exposed adhesive side of the decal with your soapy solution. Position the decal using your masking tape as a hinge, then lay it down starting from the center and working outward. Use overlapping squeegee strokes, always moving from the middle toward the edges, which mirrors Avery Dennison's own squeegee technique for pushing trapped fluid and air out ahead of the vinyl rather than sealing it in.
Go back over the edges a second time before you touch the transfer tape. This step gets skipped constantly, and it's the reason so many DIY installs end up with lifted corners a week later.
Pro Tip: Don't wet the paper backing or liner itself when spraying. A soaked liner makes the decal slippery and harder to control, and excess fluid trapped between the liner and adhesive slows your working time instead of extending it.
How long to wait before removing transfer tape
This is where patience pays off. For small lettering jobs, practical installation guides suggest 30 to 45 minutes of dry time before you attempt to peel back the transfer tape. Larger decals or cooler ambient temperatures can stretch that window to an hour or more.
Test a corner before committing. Lift a small section of transfer tape at a low angle. If the vinyl stays put and the edges show no sign of pulling away with the tape, you're clear to proceed. If it looks glossy or the vinyl tugs at all, give it more time. Removing the tape too early, while the adhesive is still wet-out and soft, is the single most common cause of shifted lettering and lifted edges on otherwise well-installed decals.

When Should You Use Wet vs. Dry Decal Application?
The wet method isn't a default setting. It's a tool for specific situations, and using it on the wrong film type causes more problems than it solves.
Flat glass, smooth acrylic, and most flat painted surfaces are ideal candidates for the soapy application method. These substrates give you a stable, non-porous plane where soapy water can spread evenly and let you slide the decal into perfect alignment without the adhesive grabbing prematurely.
Air-egress films are a different story entirely. These films, sometimes marketed as air-release or bubble-free vinyl, have microscopic channels engineered into the adhesive backing that let trapped air escape during a dry application. 3M's own instruction bulletin is direct about this: the wet method is discouraged for these films because trapped liquid interferes with that air-release design, which can leave you with moisture bubbles that never fully clear. The same caution applies to many wrap films and most textured or porous substrates, where soapy water tends to pool rather than squeegee out cleanly.
Temperature matters just as much as film type. Professional installers generally target a 60°F to 80°F range for both surface and ambient air. Below 50°F, adhesive gets stiff and doesn't wet-out properly. Above 90°F, it can tack up almost instantly, giving you no working time at all. If you're stuck installing decals in cold conditions, our guide on applying decals in cold weather covers the adjustments that make a difference.
One more distinction trips people up constantly: waterslide transfers and durable pressure-sensitive vinyl are not the same product, even though both sometimes involve water during application. Waterslide decals need 2 to 3 light coats of acrylic clear spray after they dry to protect the printed image. Durable vinyl, by contrast, usually skips the sealant step entirely, and applying the wrong topcoat can actually damage the vinyl. Check the product data bulletin for your specific material before assuming either rule applies.
How Do You Fix Bubbles or Tack-Up Problems?
Most installation problems have a fix if you catch them early. Panic and a fresh sheet of vinyl are rarely the first move.
- Small, scattered bubbles usually clear with a squeegee pushed outward toward the nearest edge.
- Stubborn bubbles that won't budge can be vented with a fine needle, then pressed flat with a cloth-wrapped squeegee.
- If the bubble is actually trapped water rather than air, give the installation time. As the moisture evaporates through the vinyl's micro-pores, small water bubbles often flatten on their own within a day.
- Severe lifting along an edge or a bubble that keeps returning after repeated flattening usually means the adhesive never made proper contact. At that point, pulling the decal and starting over beats fighting a losing battle.
- Tack-up, when the adhesive grabs before you've finished positioning the decal, almost always traces back to working in temperatures above that 80°F range. Note the conditions and plan your next install earlier in the day or in the shade.
Pro Tip: If you're dealing with a gentle curve after the moisture has fully evaporated, a controlled pass with a heat gun can help the vinyl relax into the contour. Never apply heat while the surface is still wet. It traps moisture under the film instead of releasing it.
For a deeper walkthrough of bubble repair specifically on boat hulls, see our guide on fixing decal bubbles with safe heat and needle technique.
What Marine-Specific Precautions Should Boat Owners Take?
Marine environments punish shortcuts. Saltwater, UV exposure, and constant temperature swings on a hull mean your application technique has less room for error than a garage or storefront install.
- Apply wet-method decals above the waterline, on flat, smooth sections of the hull where the vinyl has full, even contact.
- Stick with marine-grade vinyl designed for UV and saltwater exposure, and skip the wet method on any film with air-egress channels or on heavily textured gelcoat.
- Let the adhesive fully wet-out before the boat touches water again. Marine installers commonly recommend waiting up to 48 hours for a complete cure, since submerging a fresh install too soon undercuts long-term adhesion.
- On textured or non-flat hull surfaces, dry application paired with controlled heat tends to hold up better than a wet install. Our guide to decals on textured hulls breaks down the technique.
- If you're planning a ceramic coating after your decals go on, apply and fully cure the decals first. Coating over freshly applied vinyl before it has wet-out can trap moisture and interfere with the coating's bond.
What Do Experienced Installers Actually Do Differently?
Pros test a corner before committing to the whole job, every time. It costs thirty seconds and tells you whether the fluid ratio, temperature, and film type are actually cooperating on that specific surface, on that specific day.
They also read the film manufacturer's instruction bulletin before assuming soapy water is even appropriate. A cheap bottle of dish soap can save or sink a job depending on the vinyl.
For large runs, fleet lettering, or high-value marine wraps, many installers switch to commercial application fluid rather than a homemade mix. The consistency matters more once mistakes get expensive. Stage big jobs in sections, confirm your technique on the smallest or least visible panel first, and scale up once you've proven it works.
— Taylor
Get Marine-Grade Decals Built for a Clean Wet Install
Decals cut from marine-grade vinyl that's UV-resistant and saltwater-proof can make the application process simpler, allowing the wet method and the material to cooperate rather than conflict.
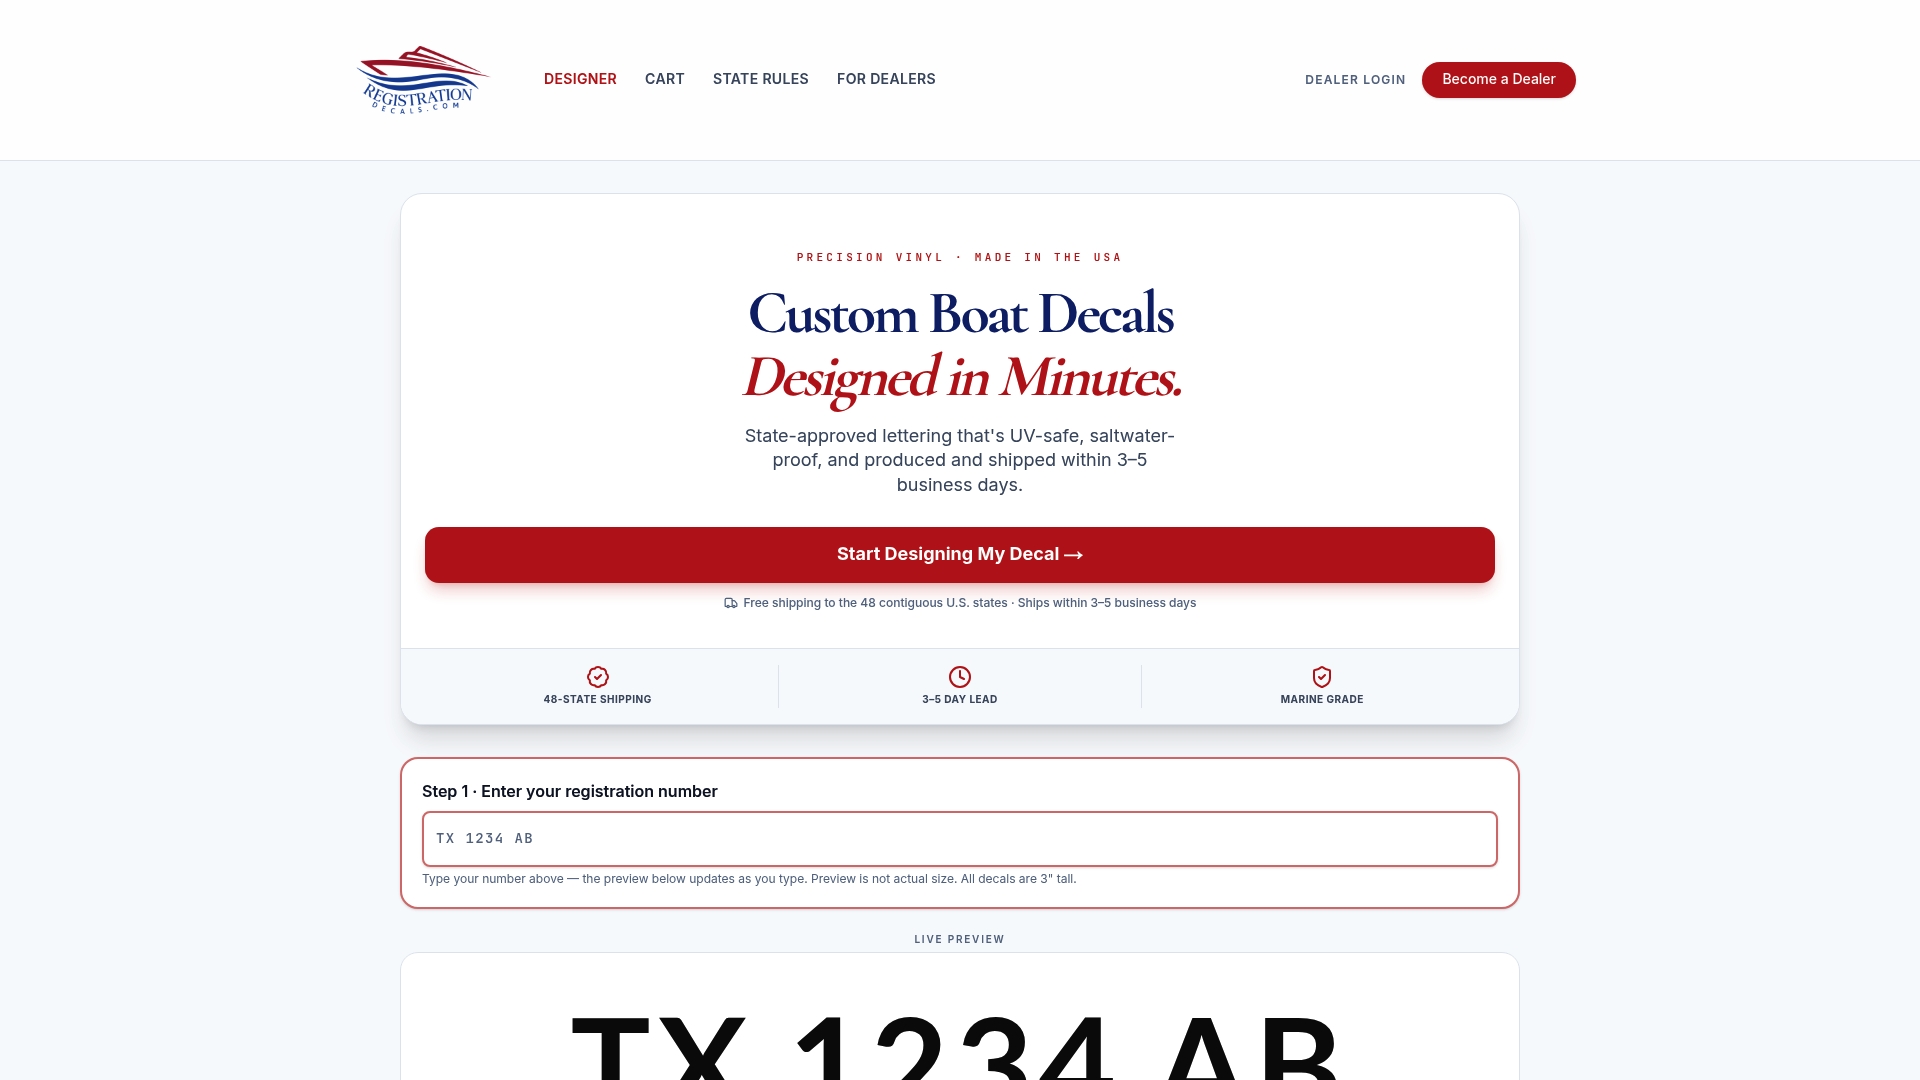
An online design tool can let users enter registration numbers, pick colors and fonts, and order a finished, state-compliant decal set. Production may take 3 to 5 business days with shipping available in the contiguous United States. Whether you're outfitting a pontoon, a bass boat, an aluminum hull, or a jet ski, the same wet-application principles in this guide apply directly to what arrives in your package.
If you want the exact placement and sizing rules before you start spraying soapy water on your hull, our step-by-step application guide walks through it alongside state compliance specifics. Order your custom registration numbers today and have professional-grade decals in hand within days, ready for the technique you just learned.
Sources
- IB 1.2 - Wet application method (Avery Dennison)
- How to apply vinyl window decals without air bubbles — a professional guide
- Complete instructions for the installation of wet vinyl
- Waterslide decal paper for inkjet printers
FAQ
Is It Okay to Apply Decals With Soapy Water?
Yes, for most flat, non-porous, pressure-sensitive vinyl decals. Use a mostly-water mix with no more than two drops of mild detergent per liter, and avoid it on air-egress films or heavily textured surfaces.
Can I Use Windex to Apply Decals?
Glass cleaners like Windex contain ammonia and other additives that can interfere with adhesive tack, so they're not recommended as a substitute for a simple detergent and water mix. Stick to mild dish soap diluted heavily in water, as outlined in the mixing steps above.
Is It Better to Apply Decals Wet or Dry?
It depends entirely on the film and the surface. Flat glass and smooth painted panels work well with the wet method, while air-egress films and textured or curved surfaces generally perform better with dry application.
Do You Have to Seal Waterslide Decals After Applying?
Yes. Waterslide transfers need 2 to 3 light coats of acrylic clear spray once they've dried to protect the image. Durable pressure-sensitive vinyl, like the marine-grade decals from Registrationdecals, typically skips sealing altogether.
How Long Should I Wait Before Removing Transfer Tape?
Most small jobs need 30 to 45 minutes before the tape is safe to remove, though cooler temperatures or larger decals can extend that. Test a corner first. If the vinyl stays in place and shows no sign of pulling with the tape, you're good to proceed.