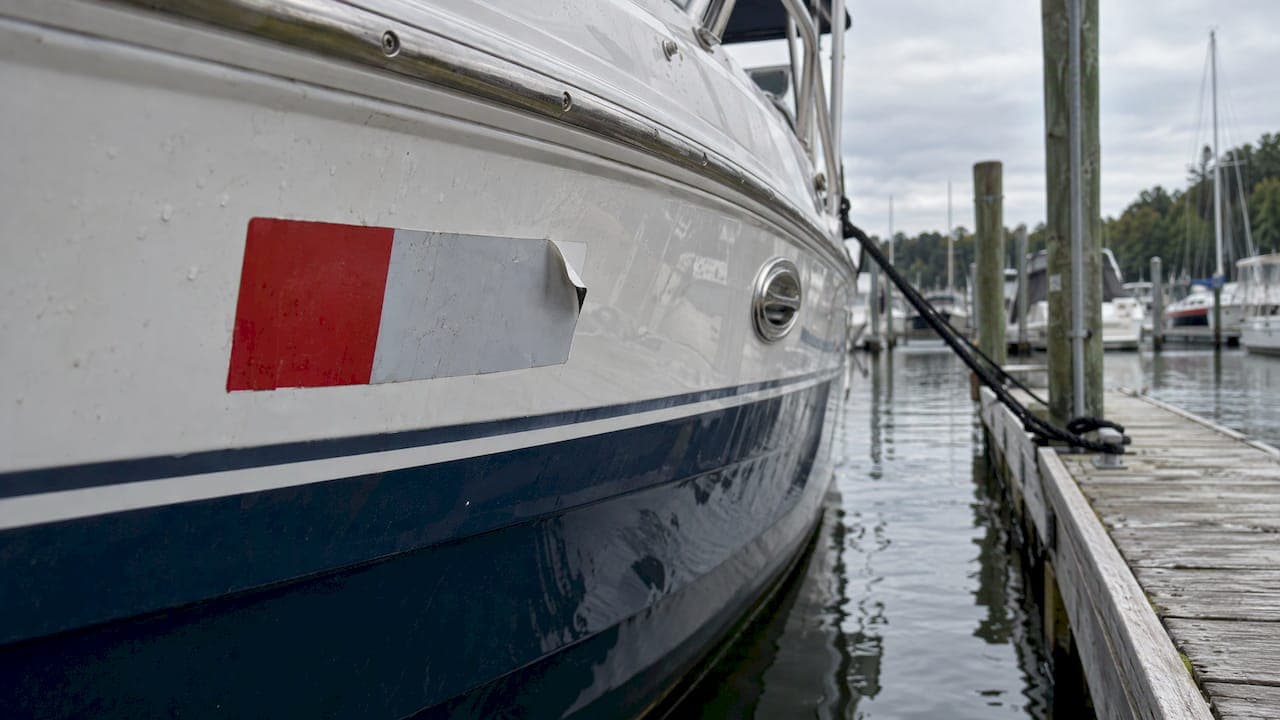
If only the edge or corner of a boat decal is lifting, you can usually fix it in 20 minutes: lift the loose section, clean the surface underneath, warm the vinyl gently, press it down hard, and seal the edge. If the whole decal has lost its grip, or the vinyl is cracked and brittle, replacement is the better repair. This guide walks through both situations for registration numbers and other marine vinyl.
TL;DR
- Clean under the lifted edge with soap and water, then a 1:1 isopropyl alcohol and water wipe. Never use acetone, MEK or lacquer thinner on gel coat.
- Warm the vinyl gently, press it down with firm, even pressure, and hold it until it cools.
- Seal the edge with a liquid edge sealer or edge sealing tape if the boat lives in sun, spray and salt.
- Leave the repair alone and unwashed for at least 48 hours so the adhesive can set.
- If the decal is cracked, shrunken or lifting along most of its length, order a new set instead of patching it.
Table of Contents
- Why decal edges lift first
- Check whether the decal can be saved
- Step-by-step: fix a lifting edge
- Seal the edge so it stays down
- What not to use
- Does heat make vinyl stick better?
- The first days after the repair
- Keep edges from lifting again
- Our perspective
- Replace the set when a repair will not hold
- FAQ
- Sources
Why decal edges lift first
Edges are the weak point of any vinyl graphic. The center of a letter is held in place by the vinyl around it. An edge has nothing on one side, so water, dirt, wax and UV have a direct path to the adhesive line. On a boat, add wash-down hoses, trailer spray, saltwater and hours of sun, and the corners of numbers such as 4, 7 and 1 are the first to go.
The usual causes are:
- Surface contamination at install. Wax, polish, mold release, fingerprints or silicone left a film that the adhesive never fully bonded to.
- Not enough pressure. Arlon, a marine vinyl manufacturer, explains that insufficient pressure can cause lifting and that post-heating is the only way to verify whether enough pressure was applied.
- Washing too early. Vinyl adhesive needs time to cure. MACtac advises against cleaning graphics for the first 48 hours after application.
- Application over a poor surface. Cracked gel coat, antifouling paint, a fresh ceramic coating or a waxed hull all give the adhesive less to hold. We have separate guides on gel coat cracks before decals, decals on antifouling paint and decals on waxed hulls.
- Trapped moisture or gas. Small bubbles and lifted patches sometimes share a cause. See our page on outgassing under boat decals.
Knowing the cause matters because it tells you whether a simple press-down will hold. If the lift is a result of a dirty surface, cleaning is the fix. If it is a result of a failed surface, no adhesive trick will last.
Check whether the decal can be saved
Before you pick at anything, look closely at the decal in good light.
A decal is worth repairing when:
- The lift is a corner or a short run of edge, an inch or two at most.
- The vinyl is still flexible and lies flat when you gently fold the lifted part back.
- The exposed adhesive is still slightly tacky, not dry and dusty.
- The hull surface under it is intact, with no flaking paint or open gel coat cracks.
A decal is better replaced when:
- The vinyl is cracked, chalky or shrunken, leaving a visible gap of adhesive residue around the letters.
- The lift runs along a large part of the decal.
- The adhesive has turned to dirt-streaked, dry residue.
On registration numbers, there is a practical reason to be strict. State rules require the numbers to be legible and in good condition, and a number with a curling corner can be misread from a distance. If the set is past saving, taking it off cleanly is the first step. Our guide to removing adhesive from gel coat without dulling the finish covers that.
Step-by-step: fix a lifting edge
Work in the shade on a dry, mild day. The hull should be cool to the touch.
What you need
- Mild boat soap and clean water
- Isopropyl alcohol (IPA) mixed 1:1 with water in a spray bottle
- Lint-free towels
- A hair dryer or low-setting heat gun
- A plastic squeegee or a soft cloth wrapped around a firm pad
- Optional: liquid edge sealer and a small brush, or clear edge sealing tape
The steps
- Wash the area. Use soap and water with a soft sponge, then dry with lint-free towels. Arlon recommends soap and water with a soft sponge and lint-free towels for cleaning polyester gel coat, and warns against harsh solvents.
- Lift the loose edge only as far as it wants to go. Do not peel up vinyl that is still bonded. Fold the loose part back gently with a fingernail or a plastic card.
- Clean the exposed surface and the back of the vinyl. Wipe the hull under the edge with the 1:1 IPA and water mix on a lint-free towel. Arlon lists this wipe as the final step for new polyester gel coat. Dab the adhesive side of the vinyl lightly, or just blow off loose grit. Do not scrub the adhesive.
- Let everything dry completely. Alcohol evaporates fast, but give it a minute. Trapped moisture is the quickest way to fail again.
- Warm the vinyl. Hold the hair dryer a few inches away and keep it moving. You want the vinyl warm and pliable, not hot. A warm film conforms to the surface and the adhesive flows better.
- Press down firmly. Lay the edge back into place and work from the bonded area out toward the edge, squeegeeing with firm, even pressure. Avery Dennison's edge instructions tell installers to re-squeegee and re-heat edges with firm pressure so the film bonds to the substrate.
- Hold it until it cools. Keep pressure on for 30 to 60 seconds so the vinyl does not spring back as it cools.
- Seal the edge if the spot is exposed (next section).
- Leave it alone. Do not wash or hose the area for at least 48 hours. Our page on the 24 to 48 hour rule for boat decals and the one on curing time for boat decals explain why.
If the edge pops up again within a day or two, the surface was still contaminated or the adhesive is spent. At that point stop re-pressing it. Replace the decal.
Seal the edge so it stays down
Pressing the vinyl down fixes the bond. Sealing protects it. Water that creeps under an edge lifts it again, and on a boat that happens fast.
Two types of products are used for this:
Liquid edge sealer. 3M describes its liquid edge sealers 3950 and 4150S as colorless, single-component liquids that you apply in a smooth, continuous motion with the supplied dauber or a 1/4-inch brush. Avery Dennison's instruction calls for one thick coat with a clean 1 cm brush, covering both the film edge and the substrate with no gaps. Check the product's own bulletin for compatibility with your film and hull finish before you start.

Edge sealing tape. This is a clear pressure-sensitive tape used on cut edges and seams. 3M says edge sealing minimizes the effects of prolonged or severe exposure by providing a water- and contaminant-tight seal. It suits long straight edges more than small numerals.
Tips for applying sealer to registration numbers
- Seal only after the vinyl is pressed flat, and only on a clean, dry edge.
- Use a small brush and a steady hand. Letters have a lot of edge for their size, and a wobbly line shows.
- Seal the lifted corner and a half inch of the edge on either side of it. Sealing an entire set is optional, but worthwhile on a boat that sits in direct sun or is used in salt water.
- Clean off drips right away, following the sealer's own instructions.
What not to use
The top search results for this problem are mostly forum threads, and the advice there runs from contact cement to super glue. We would not use either on a boat.
- Household glues, contact cement and super glue. They turn yellow, harden and crack as the vinyl flexes, and they can stain the gel coat. They also make the decal much harder to remove cleanly later, which matters when the numbers must be updated.
- Acetone, MEK and lacquer thinner. Arlon says not to use these on polyester gel coat. They can cloud the finish and soften the vinyl.
- Wax or polish under the edge. Both leave a slick film. If the hull was polished recently, clean the strip under the edge with the IPA mix first.
- Pressure washing the area soon after repair. A hard jet will lift an edge that has not set.
If you plan to ceramic coat the hull, finish the decals first. A coating applied over or against fresh vinyl can compromise the bond, as we explain in applying decals before ceramic coating.
Does heat make vinyl stick better?
Yes, up to a point. Warm vinyl softens and conforms, and the pressure-sensitive adhesive wets the surface better when it is warm. That is why Avery Dennison's instruction pairs re-squeegeeing with re-heating, and why Arlon uses post-heating to set film.
The levels differ greatly, though. For graphics that wrap severe contours, Arlon recommends heating to 90 to 100 degrees C during installation and afterward to set the film. That is professional installer practice with a controlled heat source and a surface thermometer. For a small edge repair on your own boat, use a hair dryer on a warm setting and keep it moving. You are aiming for the vinyl to feel warm to the back of your hand, not for a glossy hull to feel hot. Overheating can shrink the vinyl, distort letters and damage the finish.
If the film is cold, say below the range in the manufacturer's application guide, warm the hull gently first. Adhesive does not flow well in cold, damp conditions.

The first days after the repair
The first 48 hours decide whether the repair holds. Keep the area dry, keep the boat out of heavy spray if you can, and skip the wash. When you do wash, use soft sponges and mild soap, not brushes, and never aim a pressure washer at an edge. Our friends on the vinyl side of the industry explain the same timing logic in their guide to vinyl maintenance in the first days: wait before you wash, then be gentle.
If you want to learn why the adhesive needs that time, our curing time guide covers it.
Keep edges from lifting again
Most repeat lifting is preventable. A short checklist:
- Prep like it matters. Wash, rinse, dry, then wipe with the 1:1 IPA and water mix. On new hulls, remove mold-release residue with the product the boat manufacturer recommends before the IPA wipe.
- Use the right application method. A very light soapy water mist helps you position vinyl, but too much soap weakens the bond. Our soapy water method sets a maximum of 2 drops per liter.
- Press every edge. Go over the perimeter of each number twice, with firm pressure.
- Give it time. Do not wash for 48 hours, and avoid launching and heavy spray in the first day if possible.
- Add protection. An overlaminate shields the print and the edge from UV and abrasion. We outline how it works in making decals last 7 to 10 years with overlaminate.
- Check once a season. Run a fingernail along the edges at the start of each boating season. A lifting corner you catch early is a 5-minute fix.
Our perspective
We make registration decals every day, and the pattern behind lifting edges is almost always the same: the vinyl was fine, the surface or the first 48 hours were not.
That is why we produce our decals in-house from marine-grade vinyl chosen for UV and saltwater resistance, and why our installation guide spends more words on cleaning and pressure than on the decal itself. A good film on a clean hull, pressed down properly and left alone to cure, is designed to ride out a hard season.
When an edge does lift, patching it is a reasonable fix if the vinyl is still flexible. When it is not, a fresh set is cheaper than an afternoon of repeat repairs, and it keeps your numbers legible, which is the point of having them. Use our installation guide and you will rarely need this article.
Taylor
Replace the set when a repair will not hold
When the vinyl itself has aged out, a new set resets the clock. Our online design tool lets you enter your registration number, pick colors and fonts, and see the result before you order. Sets are made in-house, production takes 3 to 5 business days, and shipping is free across the contiguous United States. A custom set starts at $35.99 per set on our custom boat registration numbers page.
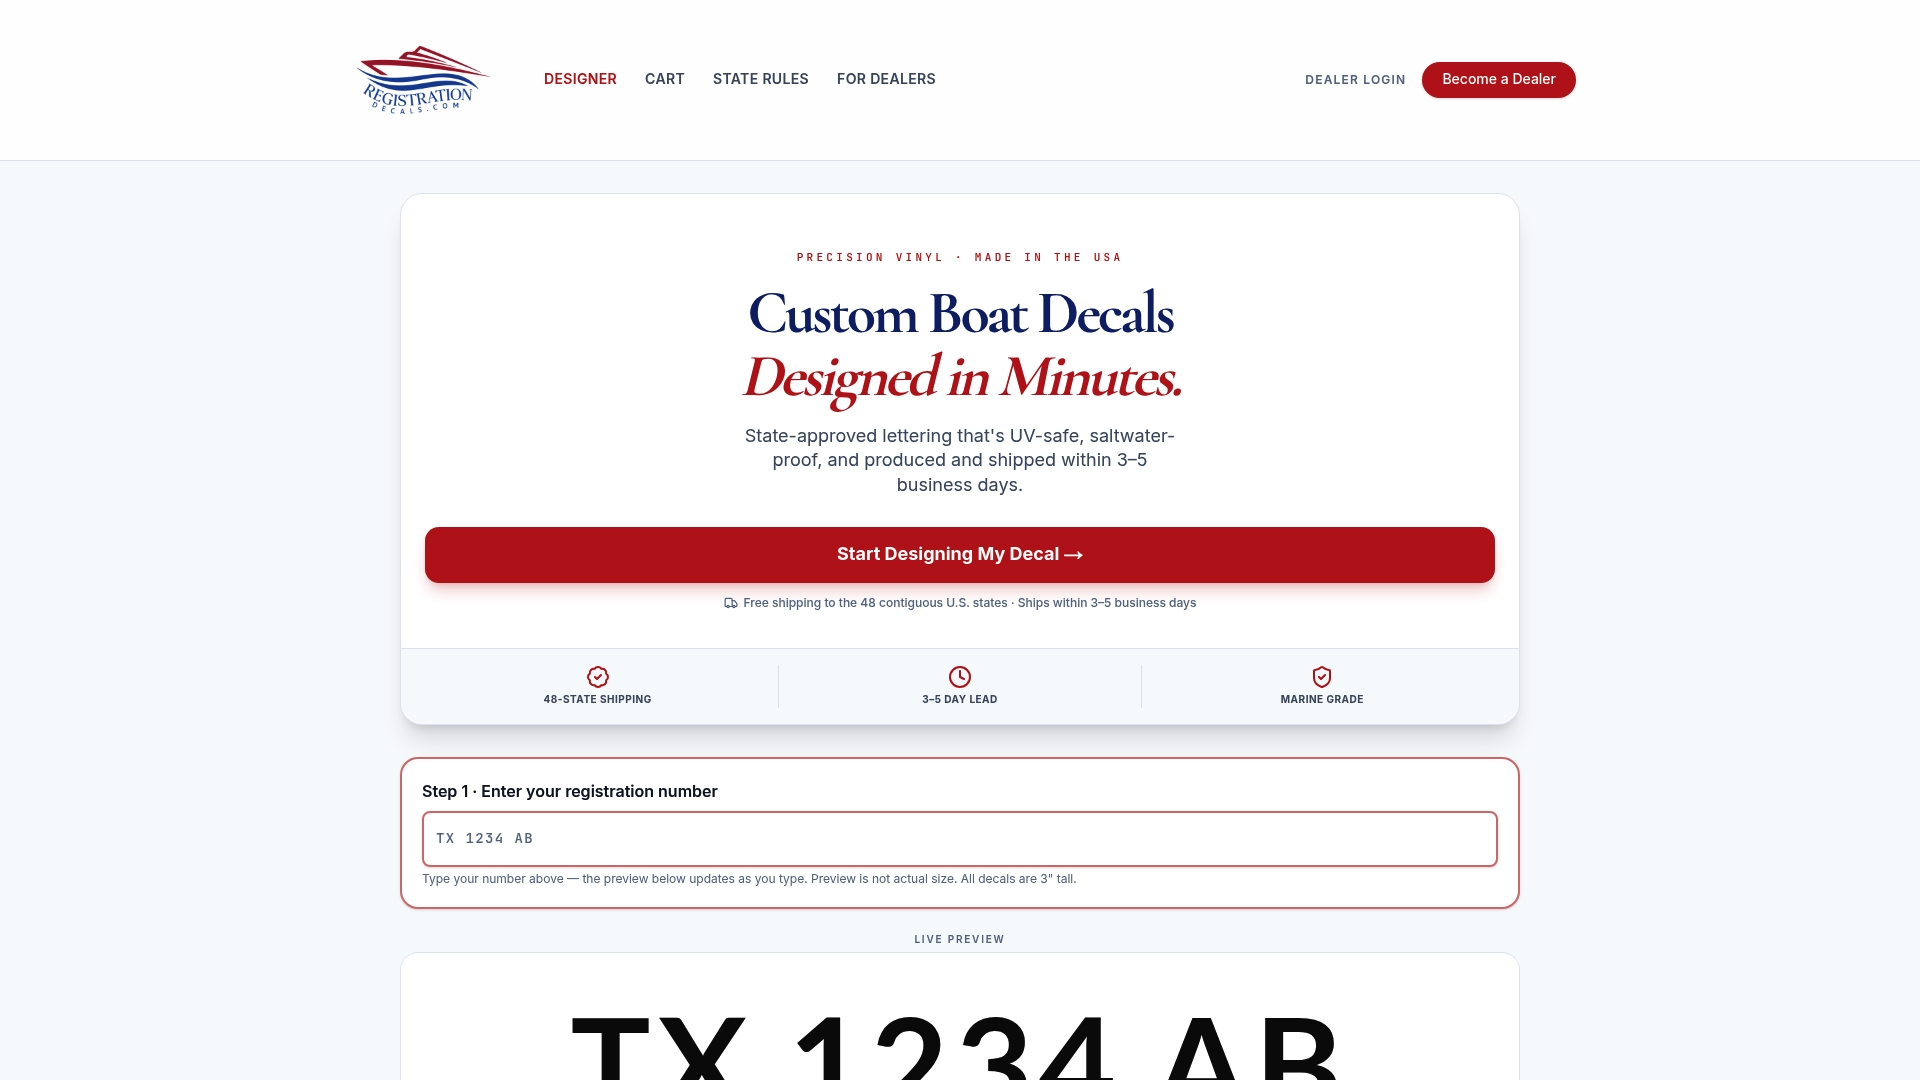
We also make numbers sized for specific hulls: center console numbers, pontoon numbers, bass boat numbers, aluminum boat numbers and jet ski numbers. Check your state's rules for size, color contrast and placement before you order.
FAQ
Can I just glue the edge down?
We advise against it. Household glue and contact cement harden, yellow and can stain gel coat, and they make later removal messy. Clean the surface, warm the vinyl, press it firmly and seal the edge with a purpose-made edge sealer instead.
Will a hair dryer help a decal stick again?
Often, yes, if the adhesive is still tacky. Gentle heat makes the vinyl soft and helps the adhesive flow into the surface. Clean the surface first, press down firmly while the vinyl is warm, and hold it until it cools. Keep the dryer moving so you do not overheat the film.
What should I clean the hull with before re-pressing a decal?
Start with soap and water, dry with lint-free towels, then wipe with a 1:1 mix of isopropyl alcohol and water. Arlon advises against acetone, MEK and lacquer thinner on polyester gel coat.
How long before I can wash the boat after a repair?
Wait at least 48 hours. MACtac recommends not cleaning graphics for the first 48 hours after application so the adhesive can cure. After that, use mild soap and a soft sponge, and keep pressure washers away from the edges.
When should I replace the decal instead of repairing it?
Replace it if the vinyl is cracked, shrunken or brittle, if the lift covers much of its length, or if the edge keeps popping up after a clean repair. A new set is the safer choice when your registration numbers must stay legible.
Sources
- Avery Dennison IB 1.7: Application Instructions for Edge Sealer
- 3M Product and Instruction Bulletin: Edge Sealers
- Arlon Application Tips for Marine Marking
- Arlon: What causes wraps to bubble, curl, or lift on the edges?
- MACtac TB 5.0 Marking films application guide
- Vinyl wrap maintenance after installation